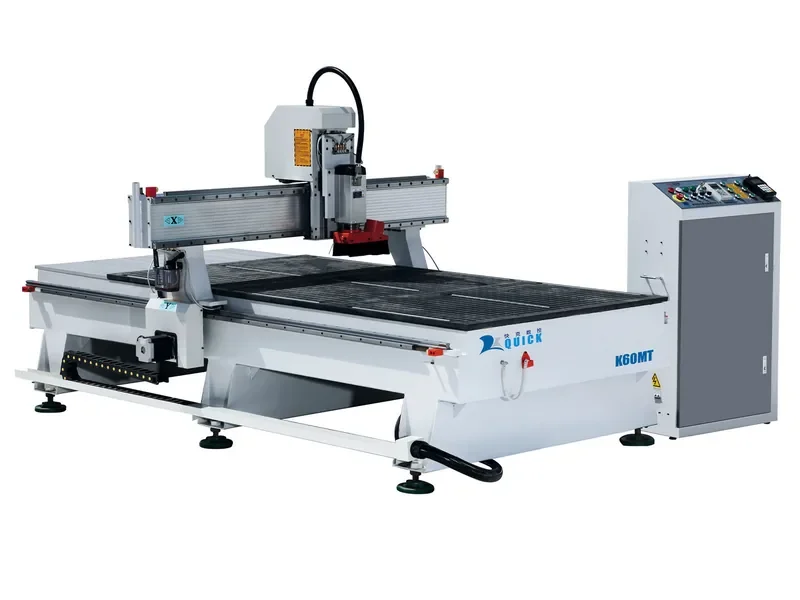
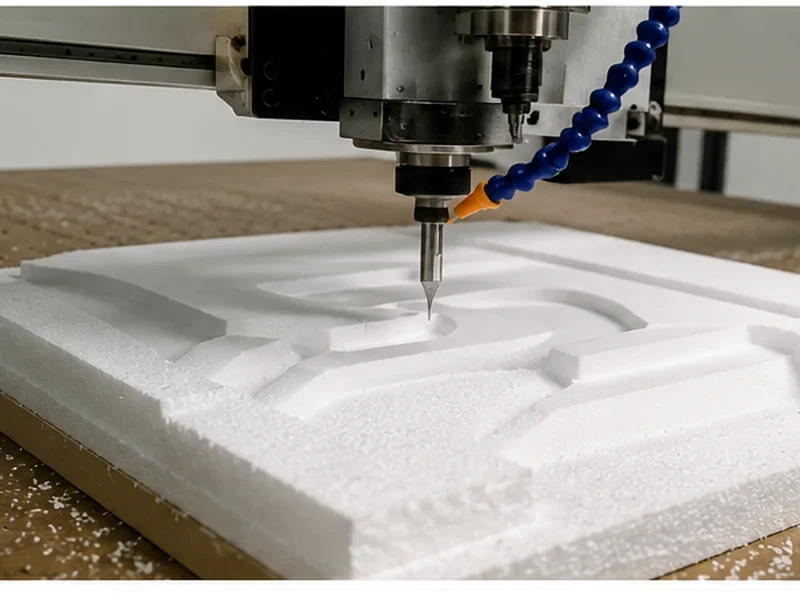
Yes, a CNC router can cut many rigid plastics well—but don’t treat every plastic the same. Start with the exact material and grade, then match the cutter, chip load, holding method and chip removal to that material. For flat sheets that need profiles, pockets, grooves or drilling, a 3-axis router is often the simplest place to start. Move to ATC when the same part keeps calling several tools. If the material is flexible, unusually heat-sensitive, filled, or the job needs tight multi-face machining, another process can make more sense.
If you are cutting acrylic, HDPE, ABS, PETG, polycarbonate or other rigid plastics, start with the material and the part—not the machine brochure. The main questions are simple: can the material be held securely, can the chips get out of the cut, and can you repeat the finish you need without melting or moving the part?
Start With These Six Things
- Identify the exact plastic first. Acrylic, HDPE, UHMW, ABS, PETG, polycarbonate and acetal do not behave the same way.
- Heat is controlled by making real chips and removing them. A dull tool, low effective chip load or recutting trapped chips can turn cutting into rubbing.
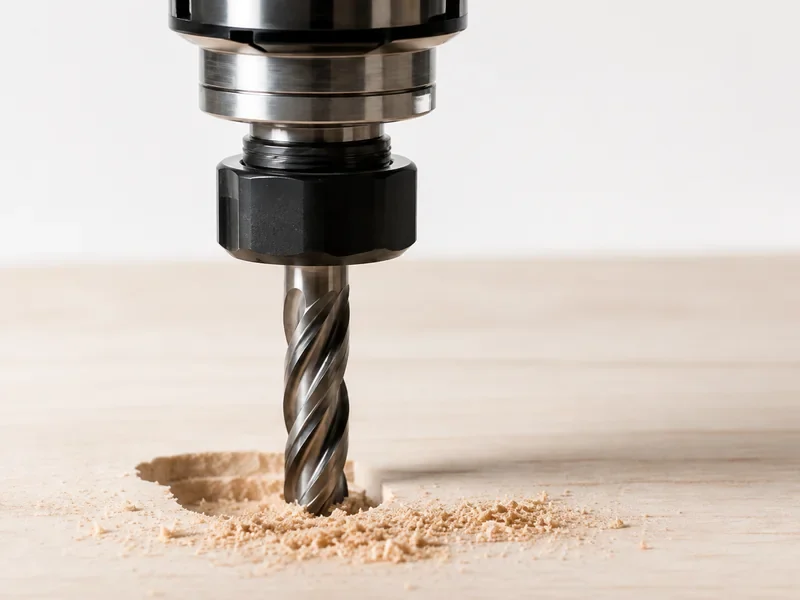
- Plastic-specific cutter geometry matters. Single-flute or O-flute tools are a common starting direction for many plastic-sheet operations, but final geometry must match the exact material and edge requirement.
- Full-sheet vacuum is not proof that small parts will stay fixed. Through-cuts can reduce holding area; tabs, onion-skin strategies, tape, clamps or dedicated fixtures may be required.
- Do not copy a universal RPM/feed table. Use the cutter maker’s starting data, calculate chip load, and validate the exact grade, thickness, tool, hold-down and finish target with a controlled test.
- ATC is a workflow decision, not a plastic requirement. It pays off when the same parts need repeated tool changes.
When a CNC Router Makes Sense for Plastic
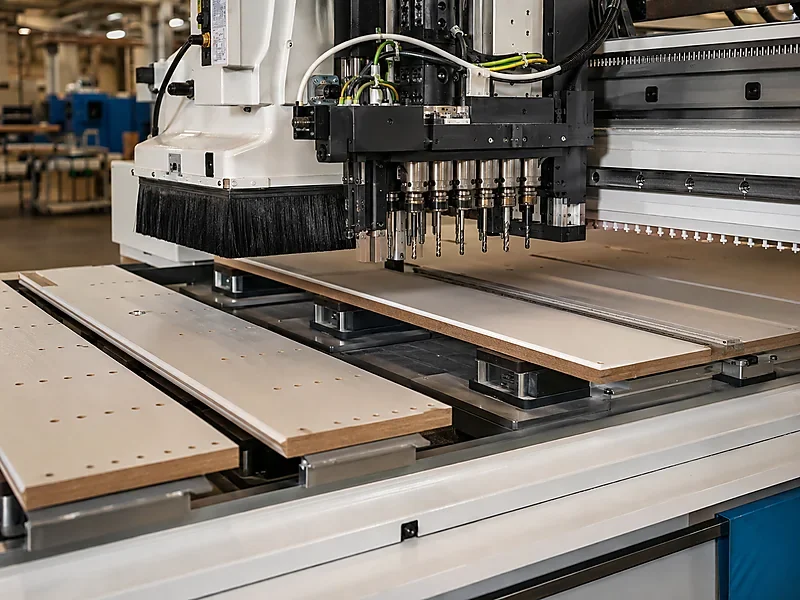
A CNC router is strongest when the job starts from rigid sheet or plate and needs programmed profiling plus face operations. That includes outside contours, internal cutouts, pockets, slots, V-grooves, drilling, engraving, chamfers and other features that a simple through-cut process cannot complete in one setup.
| What you are making | Where we would start | Why | What to check first |
|---|---|---|---|
| Rigid plastic sheet profiles, pockets, grooves, holes | CNC router | Combines through-cutting and controlled-depth machining in one programmed setup. | Material grade, thickness, sheet/part size, edge target, tool count and holding method. |
| Repeated plastic parts needing several cutters | ATC CNC router | Reduces manual tool-change interruptions between profiling, engraving, drilling or finishing operations. | List the actual tools and tool-change sequence per part. |
| Thin acrylic where glossy through-cut edges dominate | Compare router and laser | A laser may suit some edge-focused 2D work; a router is stronger when pockets, drilling, chamfers or thicker sections are important. | Exact polymer, thickness, edge requirement and thermal/process safety. |
| Flexible films, fabric-like plastics or soft sheet | Look at knife cutting | A rotating cutter can pull, stretch or deform unsupported flexible material. | Flexibility, backing, roll/sheet form and cut-through requirement. |
| Small engineering parts with tight multi-face features | Compare a CNC mill or machining center | Part rigidity, fixturing, feature access and tolerance may favor a metalworking-style machining platform. | Drawing, tolerance, reference strategy, part geometry and production quantity. |
Do not buy a router because somebody shows one successful cut in “plastic.” The real question is whether your exact material can be held, cut, cleared and repeated at the finish and output you need.
Different Plastics Behave Very Differently on a Router
The material family changes chip behavior, heat sensitivity, stiffness, edge appearance and fixturing. Use this table to narrow the process down—not as a universal parameter chart.
| Plastic | How well it fits a router | What usually goes wrong | What to check first |
|---|---|---|---|
| Acrylic / PMMA | Usually a good fit for sheet routing | Melting, chips welding back into the cut, cloudy or chipped edges | Cast or extruded acrylic, thickness, edge finish, protective film and chip clearing. |
| HDPE / UHMW-PE | Usually works well for profiles and parts | Stringy chips, chips getting cut again, or small parts moving | Grade, stiffness, part size, holding method and cutter geometry. |
| ABS | Can work well when the setup is right | Heat, burrs and stringy chips | Sheet grade, thin features, edge finish and a real test piece. |
| PETG | Needs a careful setup | Softening and smeared edges | Exact grade, thickness, sharp cutter, chip removal and required finish. |
| Polycarbonate | Can work well, but test it first | Heat, tough chips, stress or part movement | Grade, thickness, part geometry, holding and a controlled trial. |
| Rigid / foam PVC | Possible, but check the exact material first | Heat, burrs, dust or fumes, plus material-safety concerns | Exact formulation, SDS, ventilation, chip control and where the machine will run. |
| Acetal / POM, nylon and other engineering plastics | Router or mill depending on the part | Size change, burrs, holding and tighter tolerances | Drawing, material grade, important tolerances, part size and batch quantity. |
| Filled or reinforced plastics | Check the material before choosing the process | Fast tool wear, abrasive dust and material-specific hazards | Filler or reinforcement, SDS, tooling and extraction needs. |
If most of your work is acrylic, see our How to Cut Acrylic With a CNC Router page for a more focused look at that material.
Get These Five Things Right Before You Run a Batch
1. Start with the exact plastic and the finish you need
“Plastic sheet” is not enough. Tell us whether it is acrylic, HDPE, ABS, PETG, polycarbonate, POM or another material, plus the grade if you know it. Add the thickness, sheet size, smallest part and the edge finish you need. If the formulation is unknown or contains fillers, check the material safety information before deciding how to handle chips, dust and ventilation.
2. Use a sharp cutter that can make and clear a real chip
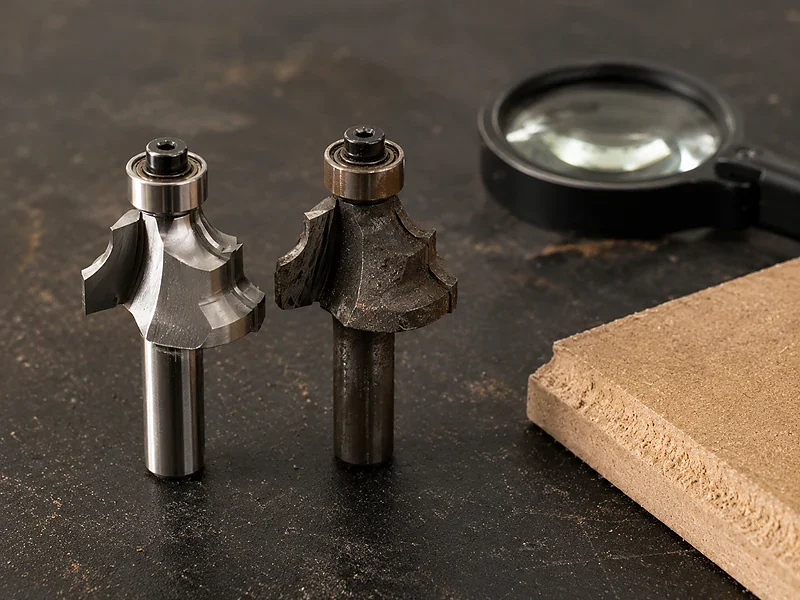
Plastic needs a sharp cutting edge and enough flute space to get the chip out. Single-flute and O-flute tools are common starting points for many plastic jobs, but the exact diameter, flute count and cutting direction still depend on the material, thickness and finish.
3. Set feed and spindle speed together
RPM by itself does not tell you much. Feed, RPM and flute count work together through chip load:
Chip load = Feed rate ÷ (Spindle RPM × Number of flutes)Use the cutter maker’s starting data for the tool and material family, then test your exact setup. You want a clean chip that leaves the cut—not dust, rubbing or welded debris.
If the plastic starts melting, slowing the feed can make things worse. Check the whole setup: tool sharpness, tool geometry, feed, RPM, flute count and whether chips are getting trapped and cut again.
4. Make sure the sheet and the small parts stay put
A full sheet can look perfectly secure on vacuum at the start and still let small parts move near the final through-cut. Check the spoilboard, vacuum zones and leakage, then use tabs, onion skin, tape, clamps or a dedicated fixture when the part needs more help staying in place.
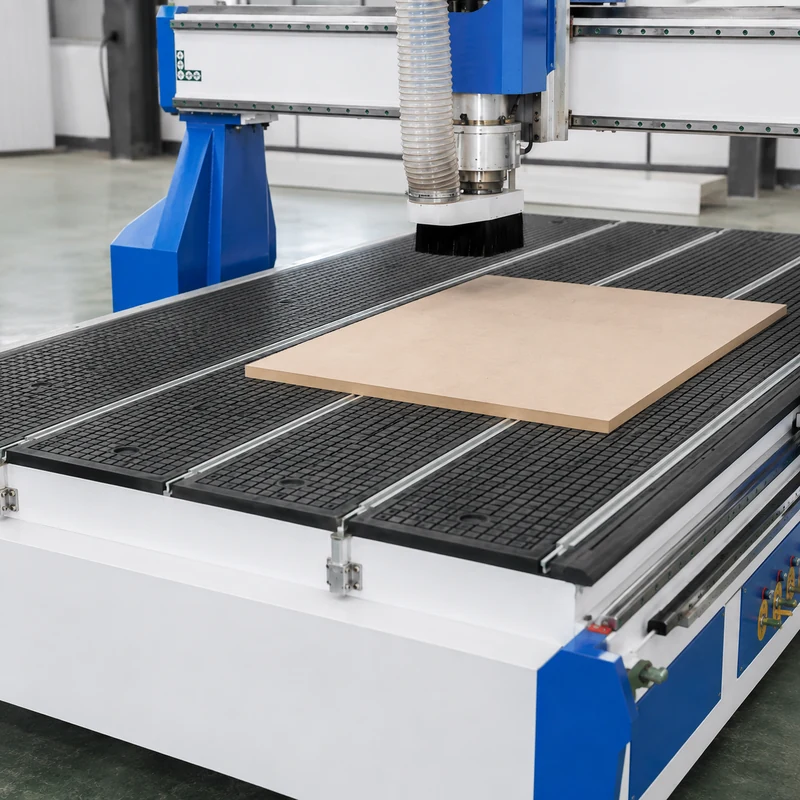
5. Run one representative part before you commit to the batch
Check the edge, burrs, welded chips, pockets, holes, dimensions, scratches and whether the part stayed flat. If the edge has to look optically clear, decide whether routing alone is enough or polishing is part of the finished process. Once the part passes, record the material grade, tool, holding method and process settings so the next batch starts from something proven.
If the Plastic Melts, Burrs or Moves, Start Here
| What you see | What may be causing it | What to try next |
|---|---|---|
| Melted edge or welded chips | The cutter is rubbing, the tool is dull, chip load is too low, or chips are getting trapped and cut again | Start with a sharp plastic-cutting tool, rebalance feed and RPM together, clear the chips better, then test again. |
| Cloudy or rough acrylic edge | Too much heat, chips being recut, a worn tool, runout, or expecting a polished edge straight off the router | Get the chips and heat under control, check the tool and runout, then decide whether the finished part also needs polishing. |
| Stringing or heavy burrs | The cutter geometry is wrong, the edge is dull, the cut is too hot, or the part is not supported well | Check the cutter and sharpness, hold the part more securely, then tune the cut from the tool maker’s starting data. |
| Part shifts near breakthrough | Vacuum holding drops as the profile opens, the zones are not controlled well, or small parts are not being retained | Add tabs, onion skin, tape or a fixture, and change the cut order so the part stays secure longer. |
| Chipping or cracking at entry | The plunge is too aggressive, the part is poorly supported, or the cutter is not right for the material | Try a ramp or helix entry, improve support and check the cutter on a real sample. |
| Tool breaks or stalls | Chips are packing, the cutter is taking too much at once, stick-out is too long, the tool is dull, or the part is moving | Stop and find the real load problem before adding spindle power or changing settings at random. |
| Dimensions drift during a batch | The part is heating up or moving, the tool is wearing, the material changes, or the measuring method is inconsistent | Check whether the change is coming from the machine, material, tool or measurement, then set a practical inspection interval. |
Plastic-cutting tool makers publish O-flute tools and chip-load guidance for a reason: the cutter, feed, RPM and flute count have to work together. That is why we do not give one “magic” RPM and feed table for every plastic. The same setting can behave very differently on another material, cutter or machine setup.
Choose the Machine Around the Way You Actually Cut the Plastic
Once the cutting method is clear, the machine choice gets much easier. Don’t ask only, “Which router can cut plastic?” Ask whether the machine fits your sheet size, tool sequence, holding method and chip-control plan without adding unnecessary manual work.
Standard 3-Axis Router
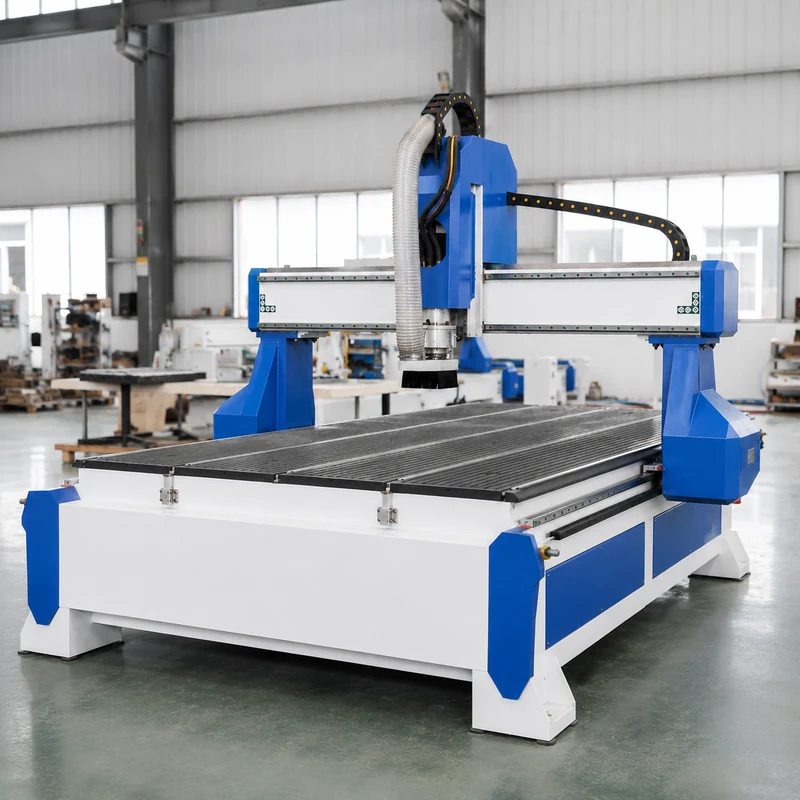
Start here when most parts use one cutter or only occasional manual tool changes. It is suitable for many rigid-sheet profiles, grooves, pockets, drilling and engraving tasks when the machine size and holding system match the job.
ATC CNC Router
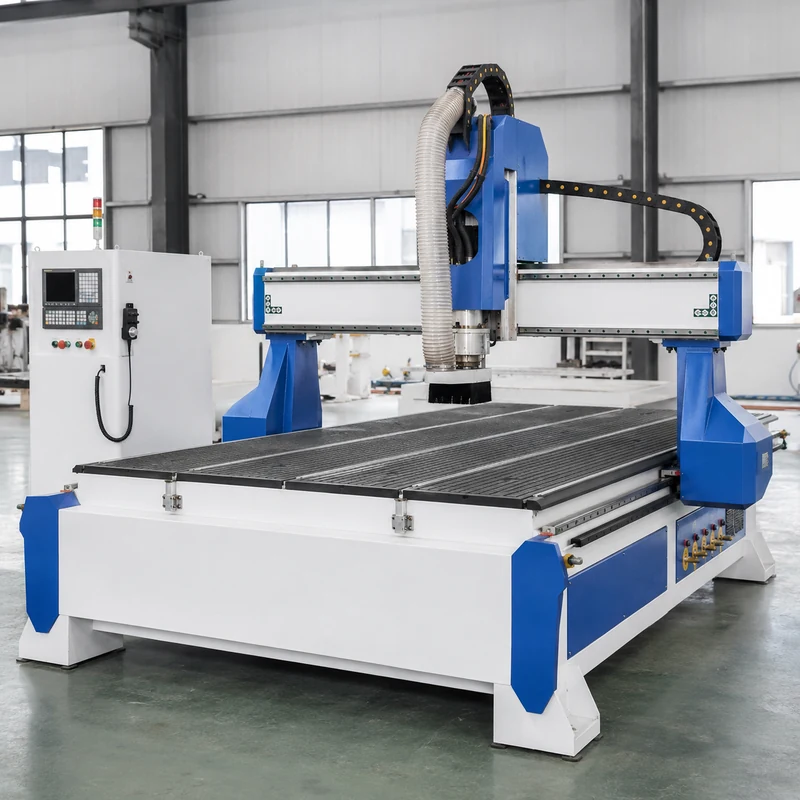
Move to ATC when production repeatedly switches among profiling, drilling, engraving, chamfering, roughing or finishing tools. The value is fewer manual interruptions in a repeated multi-operation cycle.
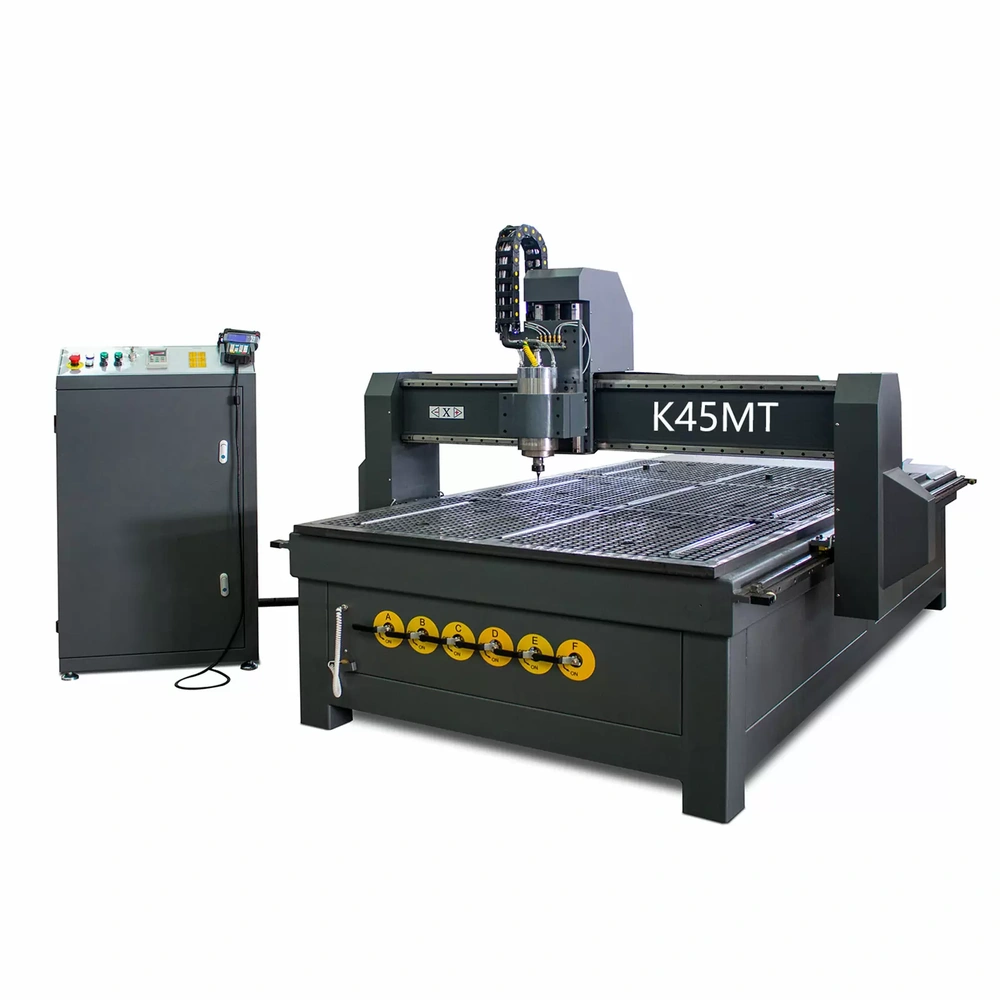
These things matter more than a big spindle number
- Working area: match the largest stock and part layout, not only the finished part dimension.
- Z clearance: account for stock thickness, fixture or sacrificial layers, cutter length and safe movement.
- Table and workholding: define full-sheet versus small-part production, vacuum zoning, T-slot/clamp needs and fixture strategy.
- Tool-change method: count how many tool changes occur per part and per shift before deciding whether ATC creates real production value.
- Chip and dust control: define how chips leave the cut and how the selected material will be collected safely.
- Control and CAM workflow: make sure the programmed operations, tool library and operator workflow suit the production team.
If the same part needs a profile cutter, engraving cutter, drill and chamfer tool every cycle, ATC is worth a serious look. If nearly every job stays on one tool, an automatic changer may add cost without fixing anything important.
Not sure which router setup fits your plastic?
Send the plastic grade, thickness and maximum size, drawing, main operations and finish or tolerance target, and your output target. That is enough for us to start narrowing down whether a standard 3-axis router, ATC router or another process makes more sense.
Send Your Plastic JobA Common Mistake: The Router Cuts Through, but the Finished Parts Still Fail
A plastics shop moves a job from wood sheet to a rigid thermoplastic and keeps the same general wood-routing cutter. The spindle is running fast for the feed, there is no clear chip-removal plan, and everyone assumes the small nested parts will stay fixed just because the full sheet starts out secure on vacuum.
What happens: chips weld back into the cut, the edge starts to smear, and several small parts move near breakthrough. More spindle power does not fix it.
Why: the cutter is rubbing and recutting chips instead of making a clean chip that gets out of the cut. At the same time, the holding gets weaker as the small parts are released from the sheet.
What to change: identify the exact plastic, start with a sharp plastic-suitable cutter, use the cutter maker’s chip-load guidance, improve chip removal and add tabs, onion skin, tape or a fixture where the small parts need more holding.
The useful check: do not move into batch production until one representative part passes the edge, size and holding checks with the exact material, thickness, tool and holding method written down.
Know Exactly What Plastic You Are Cutting
Routing is mechanical cutting, but it can still create chips, fine dust and heat. If you are cutting PVC, filled plastics, composites or a material you do not know well, get the exact material name and SDS before deciding how to handle ventilation, extraction and waste. Do not assume every plastic chip or dust stream is harmless.
If the exact material or the required dust and ventilation controls are unclear, check the SDS and your workplace safety requirements before running production.
You Can Start With Just These 5 Things
You do not need to prepare a complete machine specification before contacting us. For the first discussion, these five things are enough.
Acrylic, HDPE, ABS, PETG, polycarbonate, POM or the material name from your supplier.
Give us the common thickness and the largest sheet, plate or finished part you expect to run.
DXF, PDF, STEP or another clear drawing is enough to start.
Profiles, pockets, grooves, drilling, engraving or chamfers, plus any important edge or tolerance requirement.
Tell us whether this is prototype work, batch production or regular daily production.
If you already know the smallest part, cutter list, holding method, dust or ventilation limits, workshop power or other production details, send them too. They help later, but you do not need all of them for the first message.
Show Us One Real Plastic Job First
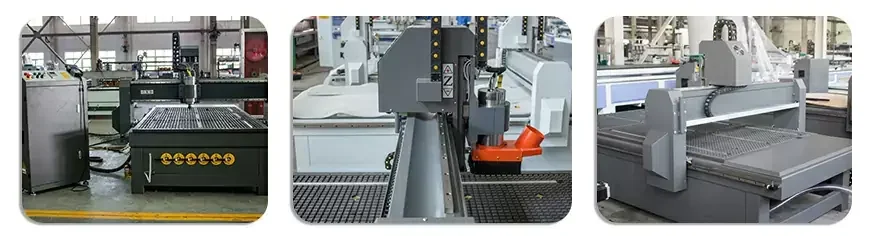
Send the material, thickness, drawing, main operations and the finish you need. We’ll first look at whether the job is really a good router application, then whether a standard 3-axis machine is enough or repeated tool changes make ATC worthwhile.
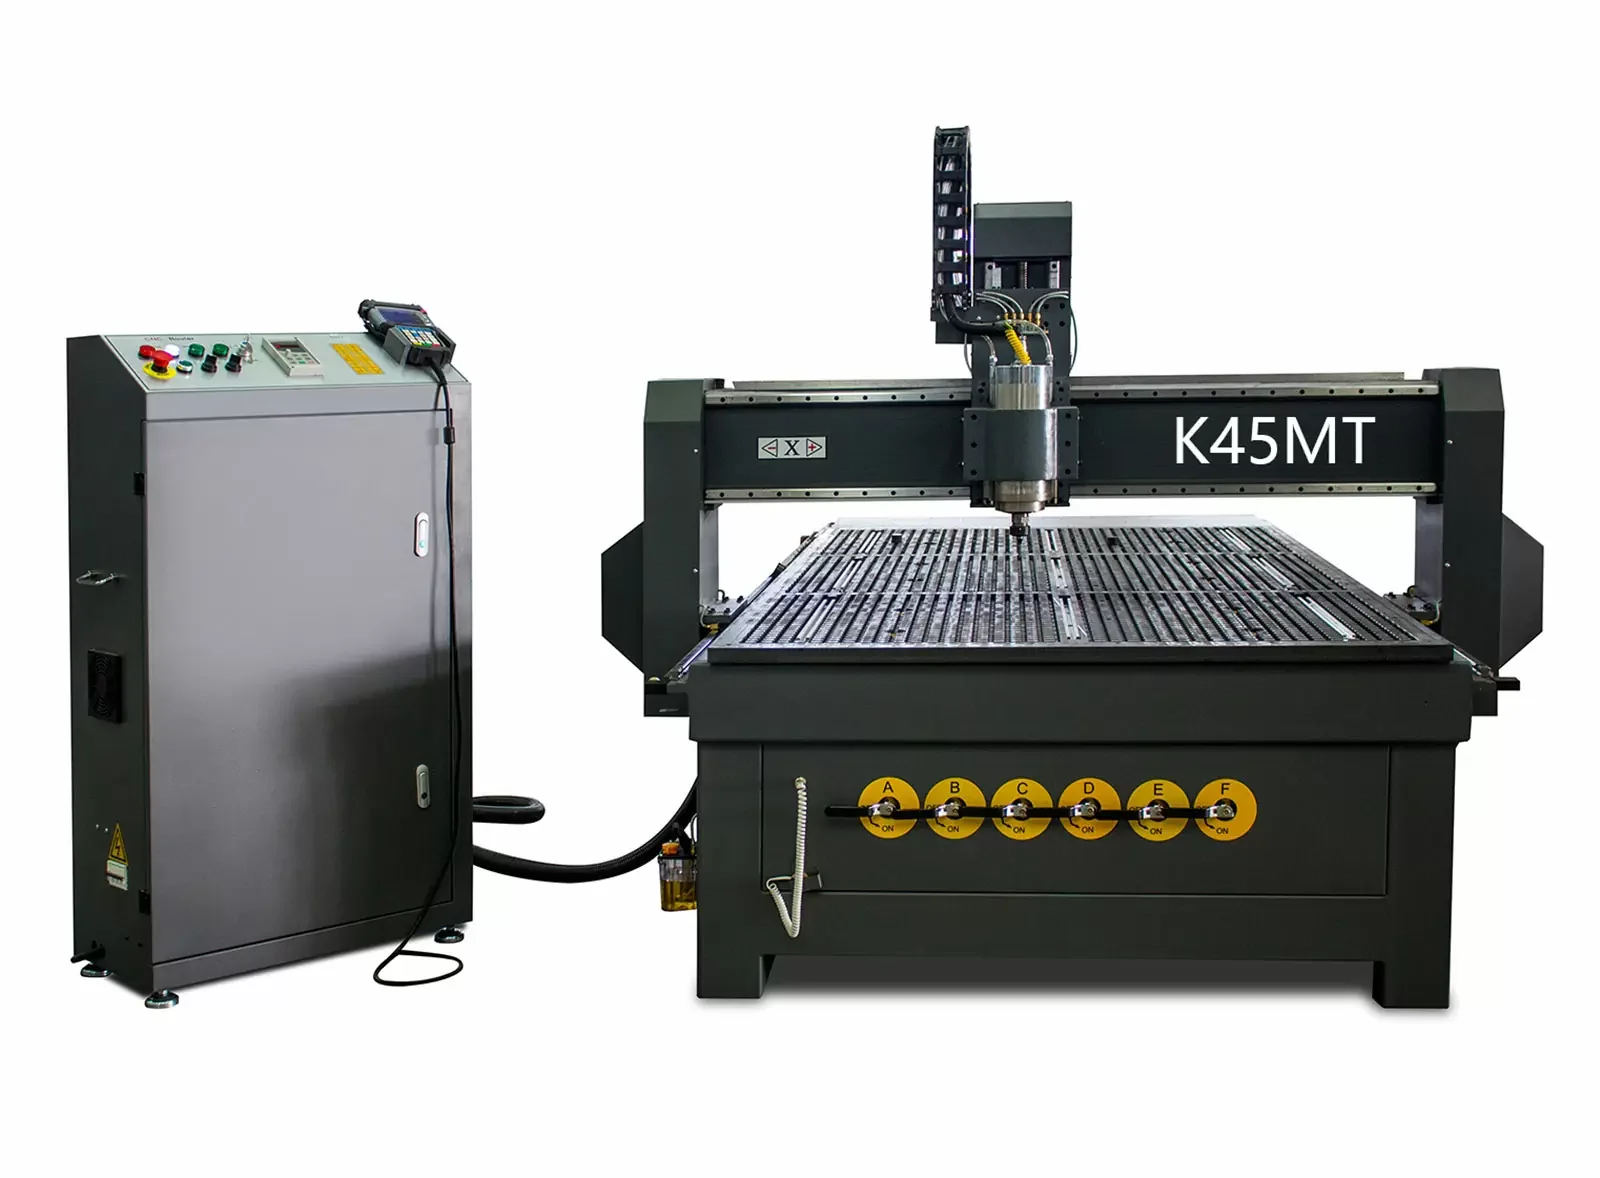
Quick CNC has both standard CNC routers and ATC CNC routers. For sign-oriented rigid materials, you can also look at the K45MT application page . The final choice should still come from your actual plastic and the way the part is made.
Still Deciding? Start With These Questions
Can a CNC router cut plastic?
Yes. A CNC router can cut many rigid plastics for profiles, pockets, grooves, drilling and engraving. The exact polymer, cutter, chip load, workholding and chip evacuation determine whether the process is suitable for repeatable production.
What is the best CNC router bit for plastic?
A sharp plastic-cutting single-flute or O-flute tool is a strong starting direction for many sheet-plastic jobs because it provides chip space and supports evacuation. The final diameter, flute count, direction and geometry should come from the exact polymer, thickness, feature and edge requirement.
How do I stop plastic from melting on a CNC router?
Stop treating RPM as the only setting. Check tool sharpness and geometry, feed, RPM, flute count, chip evacuation and whether chips are being recut. Use the cutter manufacturer’s chip-load guidance as a starting point and validate the exact setup with a controlled test.
What spindle speed and feed rate should I use for plastic?
There is no single safe feed and RPM for all plastics. Start with data for the actual cutter and material family, calculate chip load from feed, RPM and flute count, then test the real grade, thickness, workholding and finish requirement.
How do I hold thin plastic sheets and small parts?
Use a flat spoilboard and appropriate vacuum zoning for sheet work, but do not rely on full-sheet vacuum alone for released small parts. Depending on the geometry, add tabs, onion skin, tape, clamps or dedicated fixtures and plan the cut order around retention.
Can a CNC router cut HDPE, ABS, polycarbonate, PVC and PETG?
Many grades can be routed, but they do not share one process. Confirm the exact grade and test cutter geometry, holding, chip removal and finish. For PVC or uncertain formulations, include the SDS and ventilation/material-safety review before production planning.
Is a CNC router or laser better for cutting plastic?
A router is the stronger starting process when the part needs pockets, grooves, drilling, chamfers, thicker mechanical features or materials that should not be treated as a laser job. A laser can be attractive for some thin, edge-focused 2D work. Compare the exact polymer, thickness, edge target, operations and safety requirements.
Do I need an ATC CNC router for plastic?
Not simply because the material is plastic. Choose ATC when the production cycle repeatedly changes among several tools and manual tool changes would interrupt output or consistency. A single-tool plastic job may be better served by a standard router.
What should I send when asking about a CNC router for plastic?
Start with the exact plastic or grade, thickness and maximum size, drawing, main operations and finish or tolerance target, and your output target. That is enough for us to start narrowing down the machine. If you already know the cutter list, holding method or workshop limits, send those too.
Want to Go Deeper?
- Quick CNC — What Materials Can a CNC Router Cut?
- Quick CNC — How to Cut Acrylic With a CNC Router
- Quick CNC — CNC Router Bits: Types, Uses and Material Selection
- Quick CNC — CNC Feed Rate Guide
- Quick CNC — Applications
- Amana Tool — Plastic Cutting Router Bits
- OSHA — Hazard Communication and Safety Data Sheets
- OSHA — Combustible Dust: An Explosion Hazard
Use the tooling and safety links as a starting point. Final cutting settings and workplace controls still need to match the exact plastic, cutter and production environment.
Send Us One Real Plastic Job and We’ll Start From There
Send the plastic grade, thickness and maximum size, drawing, main operations and finish or tolerance target, and your output target. That is enough for us to start narrowing down the machine type and setup that make sense for the job.
Send Your Plastic Job
Frannie
Hello, I’m Frannie, a CNC machinery specialist with 15 years of experience in the woodworking CNC industry. I help furniture factories, cabinet makers, woodworking workshops, and production businesses choose CNC machines that match their production needs, factory size, budget, and efficiency goals.
My work focuses on solving real production problems, including replacing outdated equipment, improving machining efficiency, reducing labor costs, and upgrading to smarter CNC solutions. I also support customers with machine installation guidance, operation training, video support, and on-site training when needed, helping them use their machines more confidently and effectively.