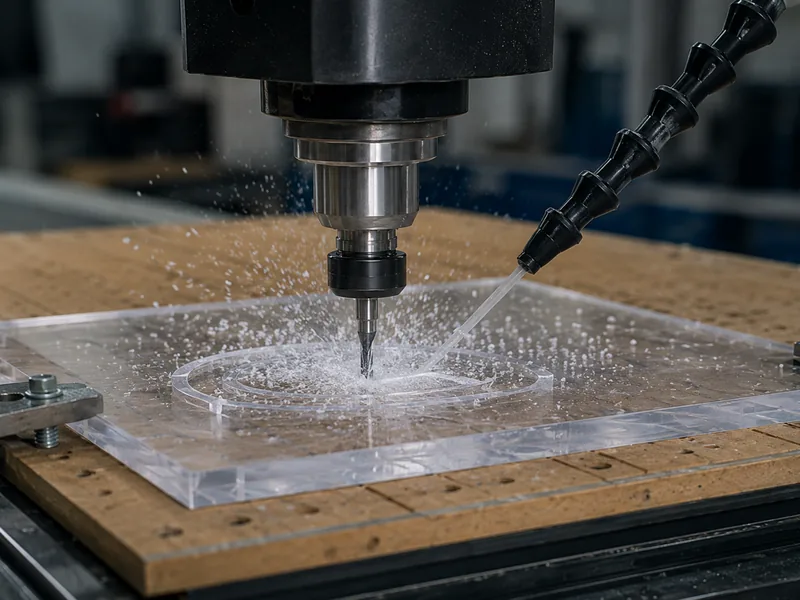
Yes, a CNC router can cut acrylic cleanly. The hard part is not making the machine move. It is keeping heat under control, getting the chips out of the cut, and stopping the sheet or small parts from moving.
If you are seeing melted edges, white or cloudy marks, chips welded back into the cut, or small parts shifting on the last pass, do not start by changing everything at once. Check the material, cutter, chip load, air blast and workholding first. Those five things solve most acrylic jobs faster than chasing random RPM numbers.
Start Here: The Setup That Works for Acrylic
If I were standing next to the machine with you, this is where I would start. Use a sharp plastic-cutting tool, make real chips instead of dust, blow those chips out of the kerf, and make sure the sheet cannot move when the profile finally breaks free.
| Start with this | What you want to see |
|---|---|
| Cast acrylic when finish matters | A wider, easier machining window than extruded sheet |
| Sharp polished single-flute O-flute | Clean chip formation with less packing around the tool |
| Enough feed for the RPM | Defined chips, not fine powder |
| Air aimed into the cut | Chips leave the kerf instead of getting cut again |
| Vacuum, clamps, tape, tabs or onion skin as needed | The part stays still through the final pass |
| Ramp or helix entry | A cleaner entry point with less local chipping and heat |
Acrylic, PMMA, Plexiglass and Perspex: Same Material Family, Different Names
You do not need to overthink the naming. In CNC work, PMMA is acrylic. Plexiglass/Plexiglas and Perspex are common trade names people use for acrylic sheet in different markets.
The name matters less than the sheet itself. What matters at the machine is whether it is cast or extruded, how thick it is, what edge finish you need, and how well you can hold the part.
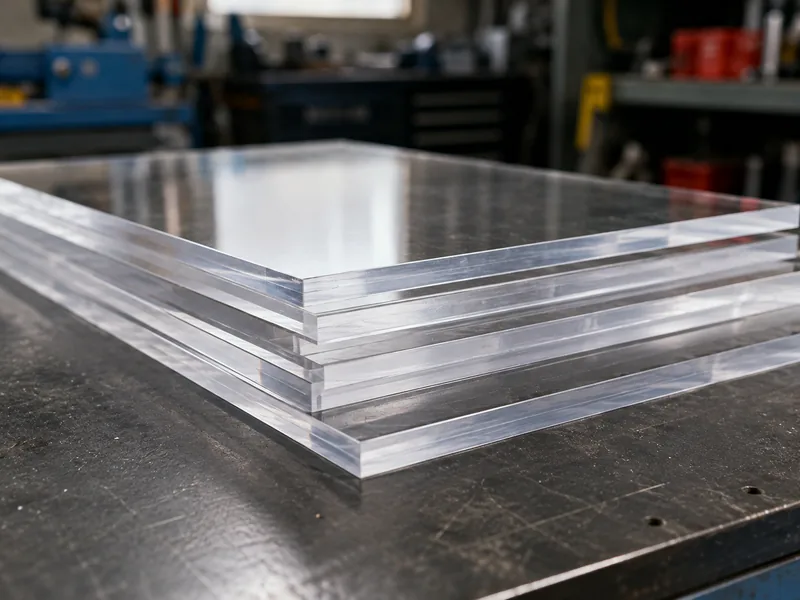
Cast or Extruded Acrylic? This Changes How Easy the Job Is
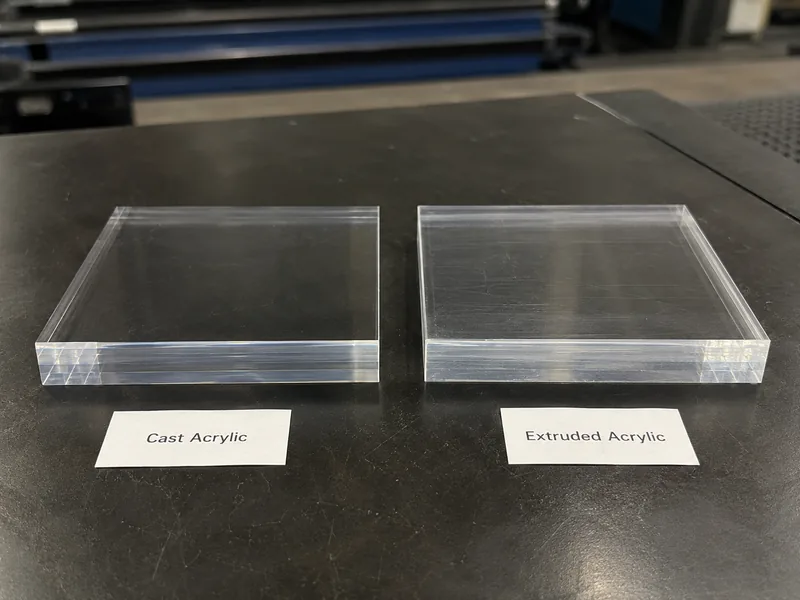
If edge quality and engraving quality matter, cast acrylic is the easier place to start. Extruded acrylic can still be routed, but it softens more easily and gives you less room for a poor tool, weak chip evacuation or too much heat.
So if the same machine suddenly gives you a much worse edge after changing sheet stock, do not immediately blame the spindle or motion system. Check what material actually arrived.
| Sheet type | What it is like to route | Where it fits well |
|---|---|---|
| Cast acrylic | More forgiving, cleaner chips, generally less gumming | Signs, displays, engraving and work where finish matters |
| Extruded acrylic | More sensitive to heat and chip evacuation | Simple profiles and jobs where you can test and tune the process |
If you want a deeper comparison of the two sheet types, see this cast vs extruded acrylic sheet overview.
Start With the Right Bit
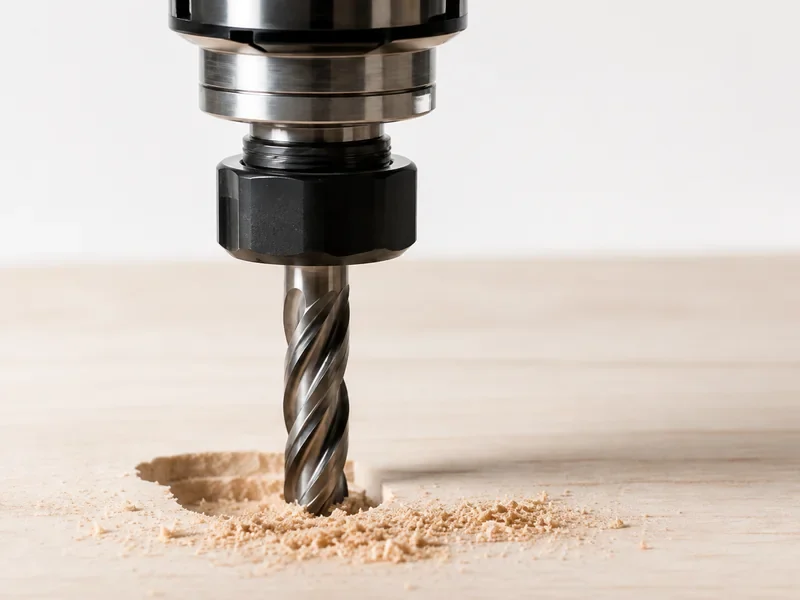
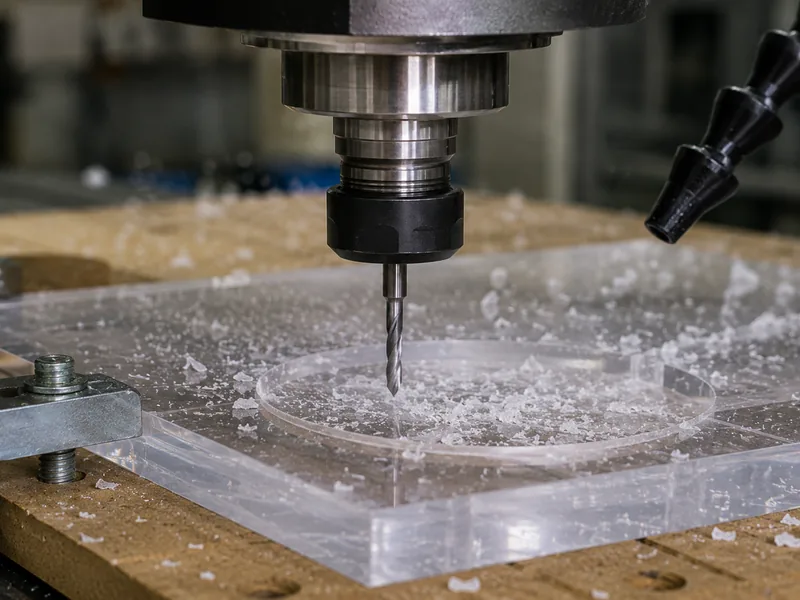
When acrylic is melting or turning white, the cutter is one of the first things I look at. For most profile and pocket work, a sharp, polished single-flute O-flute upcut is a sensible starting point.
Why? It gives the chip somewhere to go. That matters because a plastic chip that gets trapped and cut again becomes heat very quickly.
Which Bit Should You Use?
| Tool | Where it fits |
|---|---|
| Single-flute O-flute upcut | First choice for most acrylic profiling and pocketing |
| 2-flute end mill | Can work on a rigid machine when chip evacuation is already under control |
| 3+ flute tool | More likely to pack chips and build heat unless the process is very well dialed in |
| Downcut | Useful in specific thin-sheet situations, but watch chip packing |
| V-bit / engraving bit | For shallow engraving, lettering and chamfers |
| Wood compression bit | Not my first choice for acrylic; the chip flow is designed around wood |
If the Acrylic Is Melting, You Are Making Too Much Heat
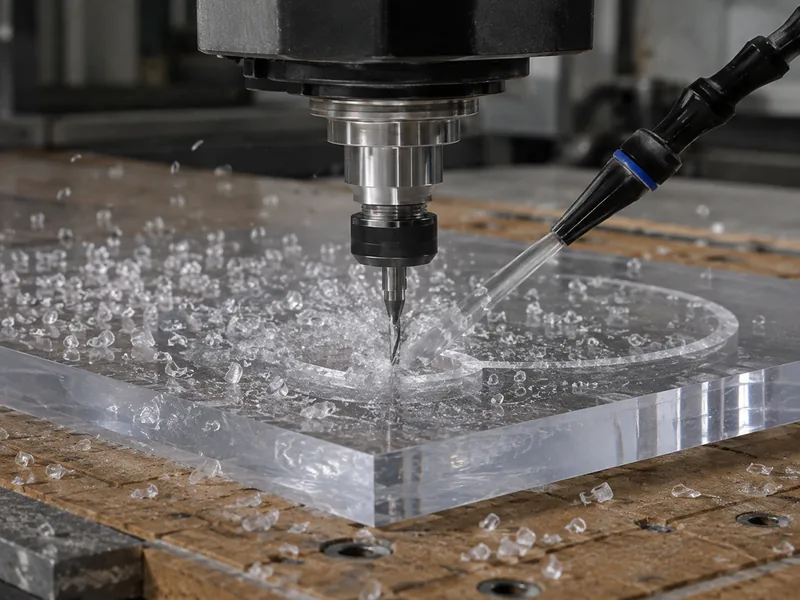
Acrylic wants to be cut, not rubbed. High RPM with very little feed can look safe on paper, but at the machine it often creates exactly what you do not want: dust, heat and sticky chips.
A simple shop-floor rule is this: look at the chips before you stare at the controller. Real chips mean the cutter is taking a bite. Fine powder is a warning that the tool may be rubbing.
ACRYLITE gives a routing reference of 0.004–0.015 in. chip load per tooth, with typical feeds around 100–300 IPM and RPM commonly in the 10,000–20,000 range. Treat those as a framework, not a magic recipe for every cutter and sheet.
Watch the Chips — They Will Tell You What Is Wrong
| What you see | What it often means | Try this first |
|---|---|---|
| Defined chips | Chip load is closer to the right range | Fine-tune for edge finish and stability |
| Fine powder | The cutter may be rubbing | Increase feed or reduce RPM, then check the edge again |
| Soft or gummy chips | Too much heat or poor chip evacuation | Improve air blast, check the cutter, then adjust feed/RPM |
| Chipping or cracks | Movement, aggressive entry or too much cutting force | Fix holding, use a ramp, and reduce pass depth if needed |
For the chip-load and routing ranges above, see ACRYLITE’s routing guidance.
A Simple Way to Dial In an Acrylic Job
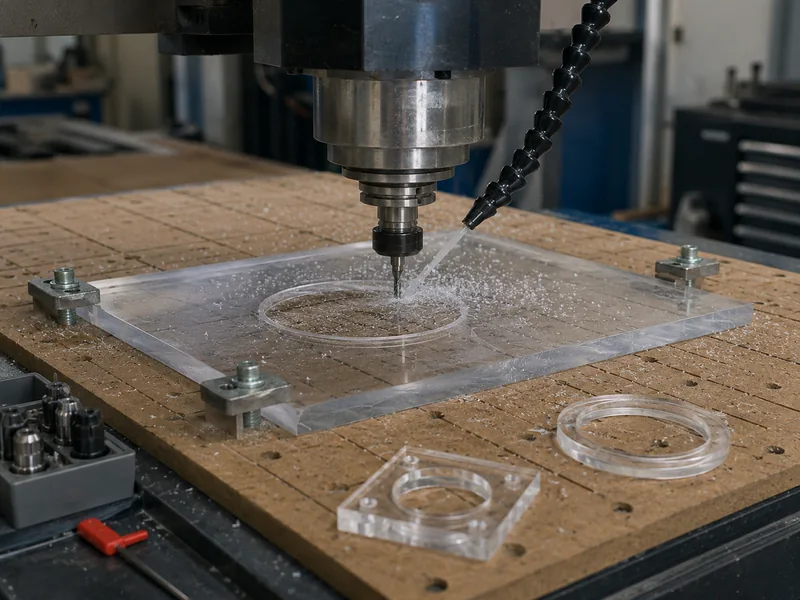
You do not need a complicated eight-page setup sheet. Work through the job in a sensible order and change one thing at a time.
1. Know What Sheet You Are Cutting
Start with cast or extruded, the thickness, and the finish you actually need. If you need a good routed edge or engraving quality, cast acrylic gives you an easier starting point.
2. Decide Whether the Protective Film Stays On
Keeping the film on can protect the surface from scratches. But if it hurts vacuum holding or gets in the way of the cut, test a small piece with and without it. The right answer is the one that keeps the sheet flat and the surface clean.
3. Get the Holding Right Before You Touch Feed and RPM
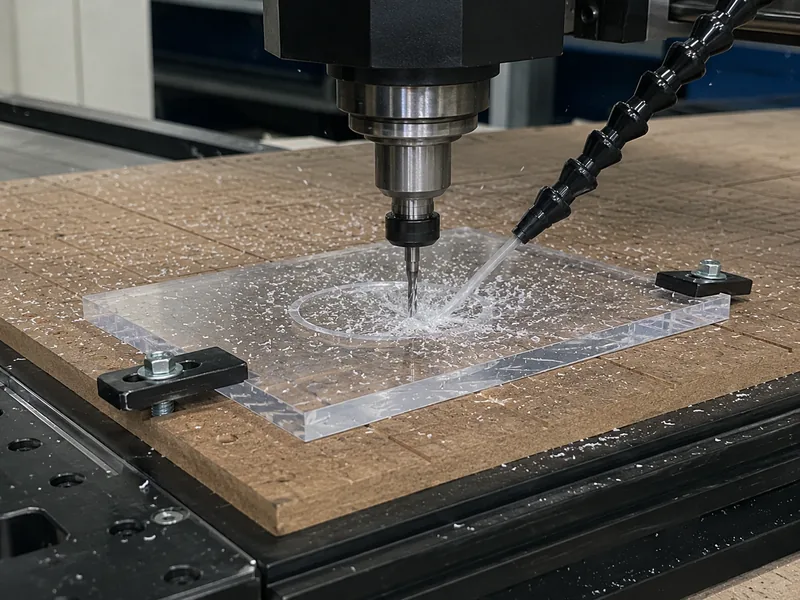
If the sheet or a small letter moves on the final pass, the controller settings are not the main problem. Full sheets often work well on vacuum. Small parts may still need tabs, onion skin, tape, clamps or tighter vacuum zoning.
| Holding method | Good for | What to watch |
|---|---|---|
| Vacuum table | Full sheets and flat panels | Holding drops as small parts are cut free |
| Clamps + sacrificial board | One-offs and thicker parts | Keep clamps well outside the toolpath |
| Double-sided tape | Thin sheets and small parts | Adhesion and cleanup time |
| Tabs | Letters and nested parts | Extra manual cleanup |
| Onion skin | Small or delicate shapes | You need a controlled final pass |
4. Keep the Tool and Collet in Good Condition
Use a sharp cutter, keep tool stickout as short as practical, and do not ignore a worn or dirty collet. Runout shows up quickly in acrylic as chatter, haze and inconsistent edges.
5. Ramp In Instead of Dropping Straight Down
For critical edges, a ramp, helix or lead-in is easier on the material than a hard straight plunge. It reduces the local shock and heat at the entry point.
6. Make a Test Cut Before You Fill the Sheet
Do not copy a feed rate from the internet and send a full sheet. Start with a short test cut and watch the chips, sound and edge.
A common starting window is around 12,000–18,000 RPM and 100–200 IPM, but cutter diameter, flute count, sheet type, thickness, runout, rigidity and air blast all change the result.
If you are getting powder, you are probably too light on chip load. If chips are soft and sticking, look at heat and evacuation.
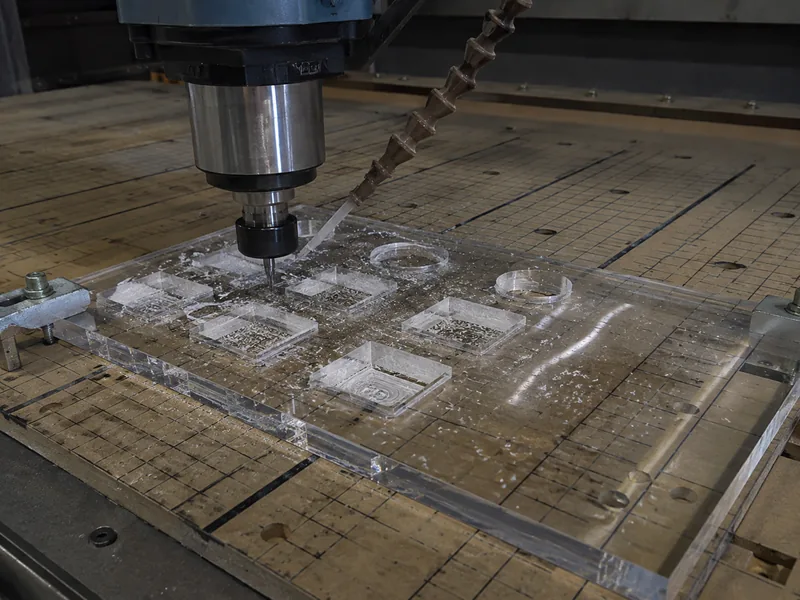
7. Put Air Where the Chips Are
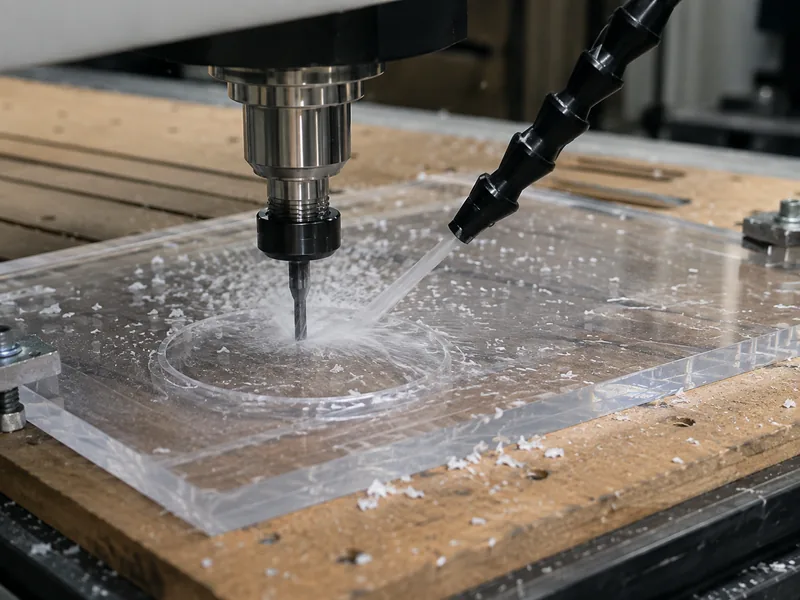
Dust extraction and air blast do different jobs. Extraction helps remove loose debris from the work area. The air nozzle needs to push chips out of the actual kerf before the cutter sees them again.
If the groove is filling with hot chips, aim and air volume matter just as much as having an air line connected.
8. Use a Light Finish Pass When the Edge Matters
Do not force a deep roughing pass to do the finish job as well. If the edge needs to look better, leave a small allowance and take a light finishing pass after the roughing work is done.
You are looking for one consistent edge around the whole part, not one side that looks good and another side that chatters.
How Clear Can a Routed Acrylic Edge Get?
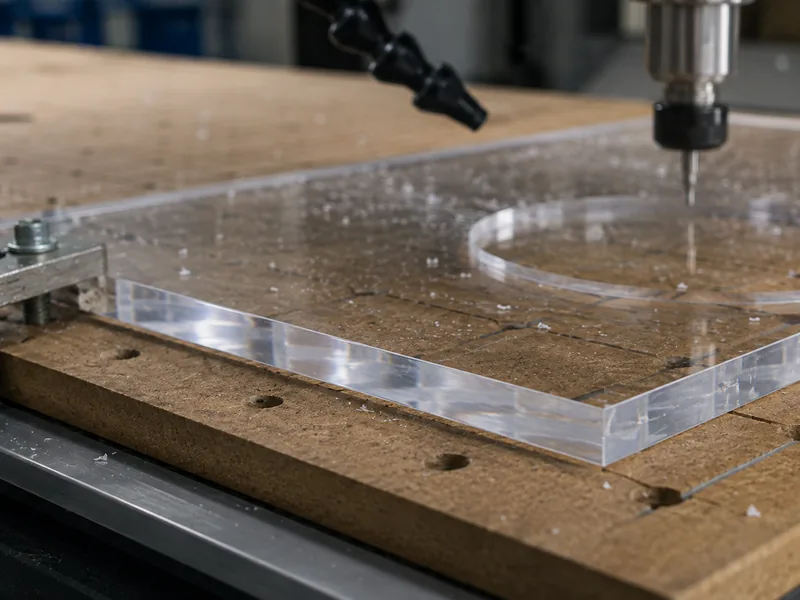
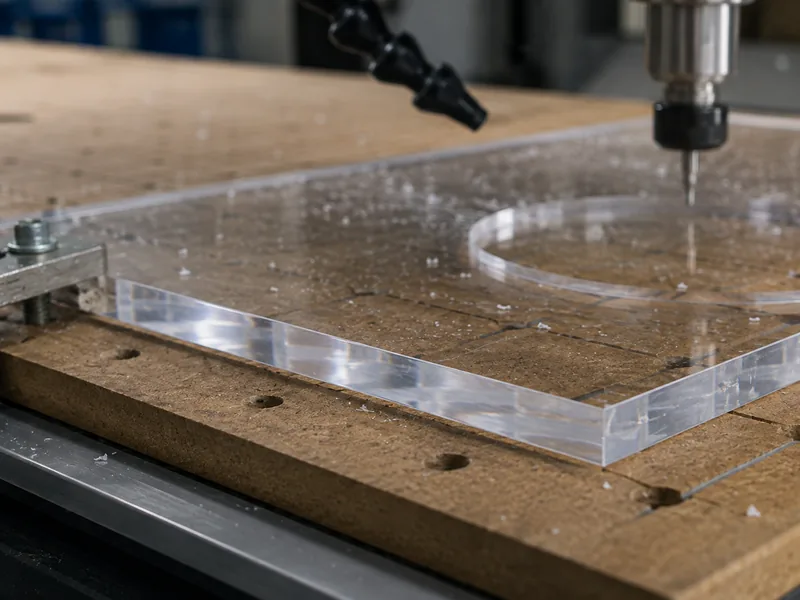
A good CNC setup can leave a clean, accurate edge, but do not expect every routed part to come off the table looking flame-polished.
If the job needs a display-grade optical edge, you may still need scraping, sanding and buffing, flame polishing or another suitable finishing step. The CNC process should reduce how much finishing you need, not promise to remove it in every case.
Something Going Wrong? Start Here
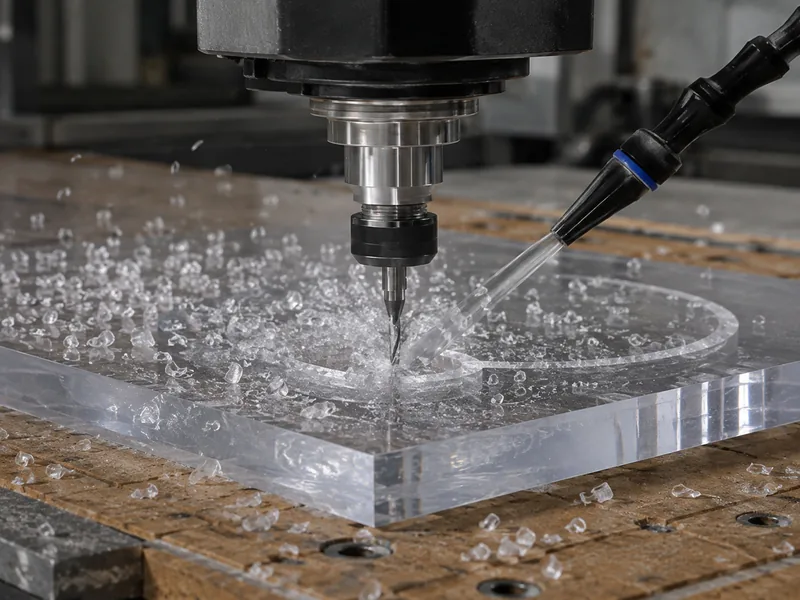
Keep this table near the machine. Start with the symptom you can actually see, then make the smallest useful change.
| Problem | Likely cause | Try this first |
|---|---|---|
| Melted edge | Too much heat, slow feed, weak chip evacuation or a dull tool | Improve air, check the cutter, increase feed or reduce RPM as needed |
| White / cloudy edge | Rubbing, heat or recutting chips | Increase effective chip load and clear chips better |
| Chips welded into the cut | Chip packing or too many flutes | Use a sharp O-flute and get stronger air into the kerf |
| Chipping at entry | Hard plunge, vibration or poor support | Ramp in and improve support |
| Cracking | Part movement, aggressive passes or sheet stress | Improve holding and reduce cutting load |
| Bit clogging | Wrong geometry, rough flute surface or weak evacuation | Change to a polished plastic cutter and clear chips properly |
| Chatter marks | Weak holding, long tool stickout, runout or machine vibration | Fix the holding, shorten the tool and check collet/runout |
| Small parts move on the last pass | Vacuum grip disappears after the contour opens | Add tabs, onion skin, tape or a different cutting order |
| Scratched surface | Chips trapped on top or rough handling | Keep the film on where practical and clear the surface before finishing |
If You Cut Acrylic Every Day, Here Is What Matters in the Machine
Once acrylic becomes regular production instead of the occasional job, the question changes. You are no longer asking, “Can this machine cut acrylic?” You are asking, “Can it hold the sheet, move smoothly and repeat the same edge all day?”
| Your work | What matters most | Do not overbuy |
|---|---|---|
| Mostly one-tool profiling | Rigid 3-axis motion, stable spindle, good holding and air management | A large ATC does not improve a one-tool job just because it has more tool stations |
| Full-sheet signs and panels | Flat table, useful vacuum zoning and enough support as parts are cut free | Vacuum pump size alone does not guarantee small-part holding |
| Engraving + profiling + chamfering in one program | ATC becomes useful because it removes repeated manual tool changes | Count the tool changes you really use before paying for more magazine capacity |
| Small fixtures, prototypes and compact parts | Right working area, accurate motion and practical clamping | Do not buy a large table if most of your work never uses it |
Which Quick CNC Router Should You Look At?
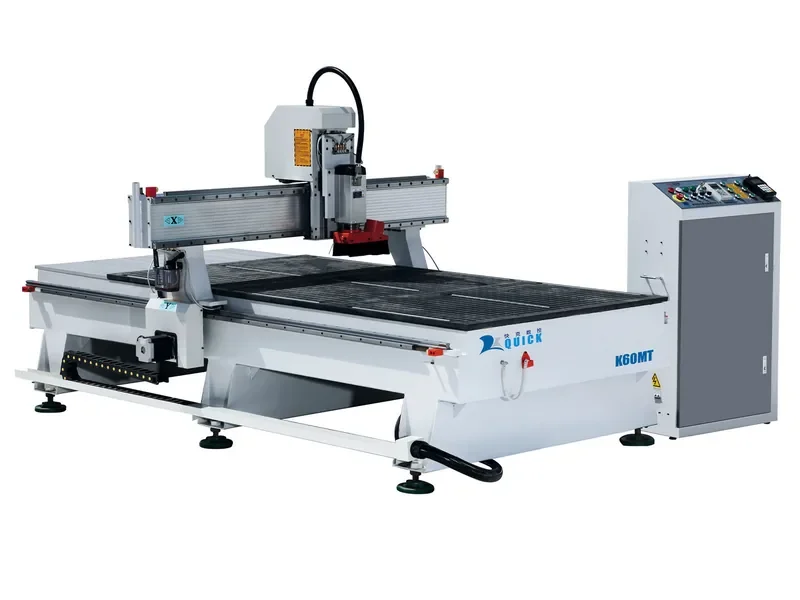
If you mainly cut compact acrylic parts and prototypes, the CNC Router 6090 is one place to start comparing. If your programs regularly use several tools for engraving, profiling and chamfering, the 12 Tool Linear ATC CNC Router UE-481 is the more relevant machine style to look at.
If you are still deciding on working area or machine type, start from the Quick CNC router range.
Not Sure Whether You Need a Standard Router or ATC?
Send the acrylic thickness, maximum part size, a drawing or photo, and tell us whether you are cutting, engraving, drilling or chamfering. That is enough to narrow the machine type down without guessing.
When a Router Makes More Sense Than a Laser
A laser can give a very attractive edge on flat acrylic profiles. A CNC router makes more sense when the part needs machining features rather than only a 2D outline.
| If the job needs… | Router | CO₂ laser |
|---|---|---|
| Flat decorative profiles with a glossy edge | Can do it, but may need finishing | Often a strong fit |
| Thicker material | Strong fit | Depends more heavily on laser power and heat effects |
| Pockets, grooves, countersinks or chamfers | Strong fit | Not a direct substitute for machining |
| Dimensional machined parts | Strong fit | Better suited to profile cutting than multi-depth machining |
For a broader process comparison, see CNC Router vs Laser Cutter.
Four Acrylic Mistakes We See Again and Again
Not always. If the cutter starts rubbing, slowing down can add heat and make melting worse.
Acrylic is much happier with sharp plastic-cutting geometry and enough flute space to move chips out.
Not after the contour opens. Small letters and nested pieces often need another holding strategy.
A clean routed edge is realistic. An optical-clear display edge may still need finishing.
FAQ
Can a CNC router cut acrylic without melting it?
Yes. Use a sharp plastic-cutting bit, give the cutter enough chip load, clear chips with air, and keep the sheet stable. Melting is normally a heat and chip-evacuation problem, not proof that a router cannot cut acrylic.
What bit should I use for acrylic CNC cutting?
A sharp, polished single-flute O-flute upcut is a good all-around starting point for most acrylic profiling and pocketing.
Should I use cast or extruded acrylic?
If routing quality matters, cast acrylic is normally easier to work with. Extruded sheet can still be machined, but it gives you less room for heat, chip packing or a dull tool.
Why do small acrylic parts move at the end of the cut?
Because vacuum holding drops quickly when the part is finally cut free. Tabs, onion skin, tape, clamps, tighter zoning or a different cutting order can keep those parts under control.
Do I need an ATC CNC router for acrylic?
Not for every job. If most programs use one profiling tool, a good standard router can be enough. ATC starts to make sense when you regularly combine engraving, profiling, chamfering or other tool changes in the same program.
Have an Acrylic Part You Need to Run?
Send the drawing, acrylic thickness and the operations you need. We can use that to narrow down the working area, holding method and tool-change setup.

Frannie
Hello, I’m Frannie, a CNC machinery specialist with 15 years of experience in the woodworking CNC industry. I help furniture factories, cabinet makers, woodworking workshops, and production businesses choose CNC machines that match their production needs, factory size, budget, and efficiency goals.
My work focuses on solving real production problems, including replacing outdated equipment, improving machining efficiency, reducing labor costs, and upgrading to smarter CNC solutions. I also support customers with machine installation guidance, operation training, video support, and on-site training when needed, helping them use their machines more confidently and effectively.