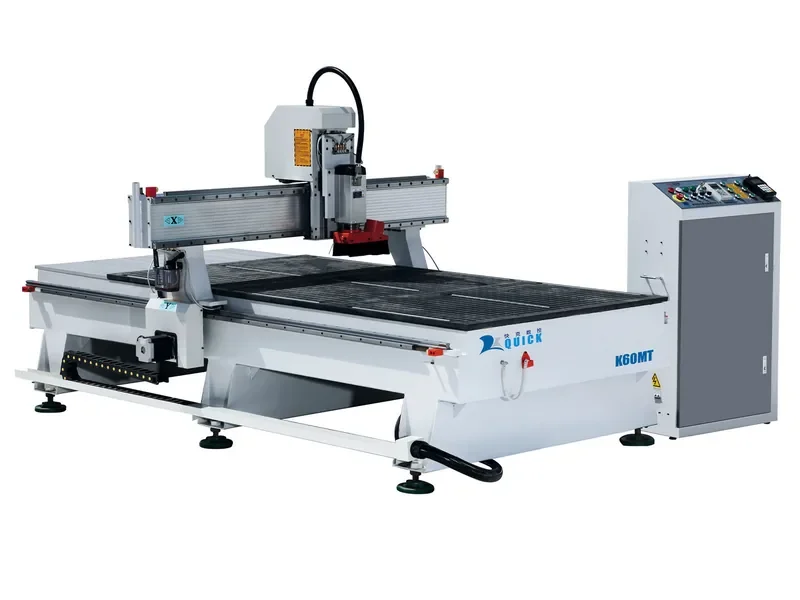
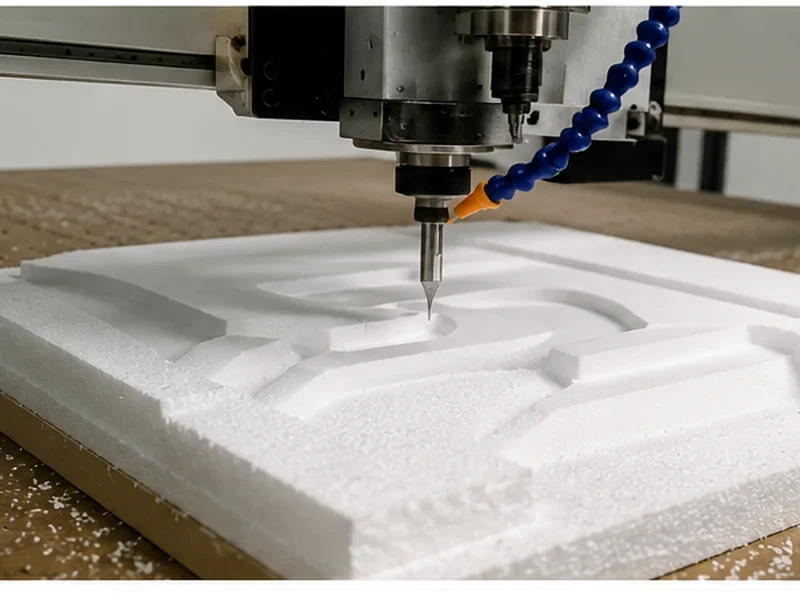
How do you keep acrylic from melting on a CNC router?
Start with four things: a sharp polished single-flute O-flute bit, enough feed to make real chips, focused air that clears the kerf, and workholding that still keeps the part stable after the profile opens. Get those right first and most acrylic cutting problems become much easier to solve.
If edge quality and engraving matter, cast acrylic is the easier place to start. Extruded acrylic can also be routed, but it gives you less room for error. And if the edge starts melting, do not automatically slow the feed—too little chip load can make the cutter rub, heat the material and weld chips back into the cut.
What are you actually trying to fix?
If acrylic is melting, chipping, turning white or moving during the cut, the answer is not always “buy a bigger CNC.” The problem can come from the sheet, cutter, chip load, air, workholding, machine condition or simply the wrong setup for the parts you run every day.
The goal here is simple: work out what is going wrong first, then decide whether you need a process change, a different workholding method or a different router configuration.
The short version
- Cast acrylic gives a wider routing window than extruded acrylic.
- A polished single-flute O-flute is the default starting tool.
- Powder means rubbing; formed chips mean the cutter is shearing material.
- Air blast is part of the cutting process, not an optional cleanup step.
- Vacuum alone is unreliable for many small parts and final through-cuts.
- ATC is justified by repeated multi-tool jobs, not by acrylic alone.
Is a CNC Router the Right Process for Your Acrylic Parts?
A CNC router is a good fit when…
- Profile cutting in clear, colored, or opaque acrylic sheet
- Pockets, grooves, rebates, slots, and recesses
- Drilled holes, countersinks, and chamfers
- Sign letters, display parts, fixtures, guards, panels, and prototypes
- Thicker parts or jobs requiring several machining depths
- Multi-tool jobs that combine engraving, profiling, and edge finishing
A CNC router may not be the best fit when…
- Flat decorative profiles where a glossy laser-cut edge is the main requirement
- Very small flexible features that cannot be held safely during routing
- Optical-clear edges expected directly from routing with no finishing allowance
- High-volume work where chip evacuation, loading, or downstream finishing is not planned
- Any job that cannot be guarded, held, and cleared of chips safely
Should You Use Cast or Extruded Acrylic?
Use cast acrylic for the first production setup when edge quality, engraving quality, and process stability matter. Extruded acrylic can be routed, but it softens and gums more easily, so the acceptable combination of tool, chip load, pass depth, and chip evacuation is narrower.
| Selection Point | Cast Acrylic | Extruded Acrylic |
|---|---|---|
| Routing behavior | More forgiving and more likely to form clean chips | More sensitive to heat, rubbing, and chip welding |
| Best fit | Signs, display parts, engraved panels, premium routed work | Cost-sensitive profiles after a stable test process is confirmed |
| Setup direction | Start here when building a repeatable process | Use stronger chip control and a narrower test matrix |
| What to check | Confirm grade, thickness, protective film, and finish target | Do not assume settings from cast sheet will transfer directly |
The protective film can remain on the sheet when it prevents scratches and does not weaken vacuum holding, lift into the cutter, or interfere with inspection. Test the exact film and sheet combination used in production.
What Is the Best Router Bit for Acrylic?
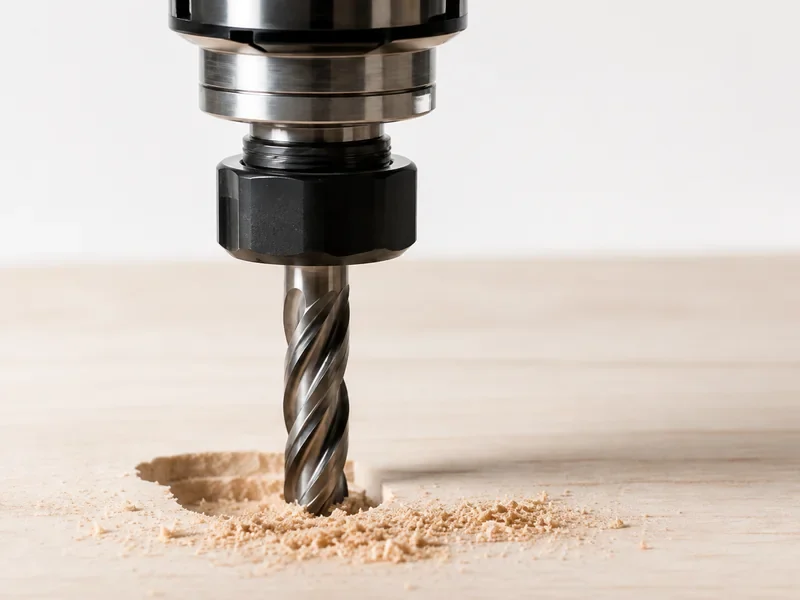
Start with a sharp, polished, solid-carbide, single-flute O-flute upcut bit. The large polished flute gives chips room to curl and leave the kerf. This reduces recutting, friction, and material sticking to the tool.
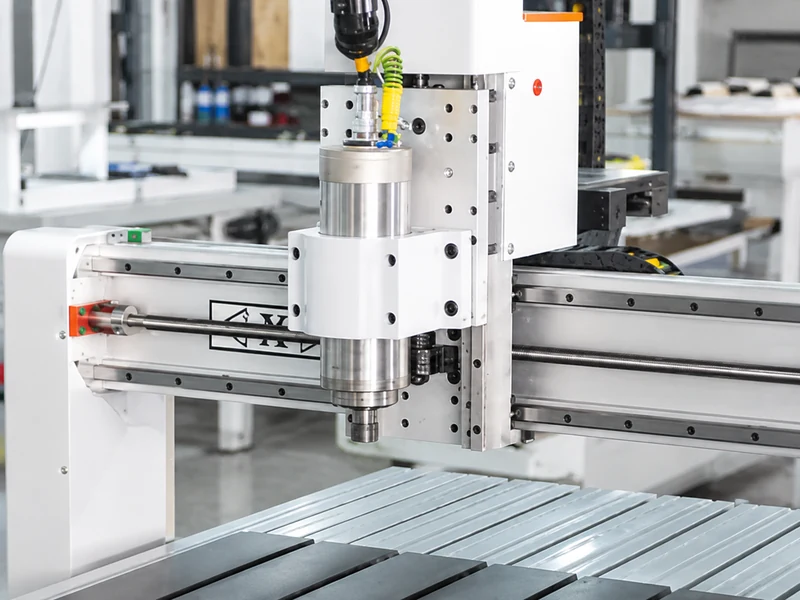
| Tool Type | Good starting point | Main Risk or Use |
|---|---|---|
| Single-flute O-flute upcut | Default choice | Profiles, pockets, letters, and most acrylic sheet work |
| Two-flute plastic cutter | Use after testing | Needs enough feed and chip space; heat rises quickly if chip load is too low |
| Downcut plastic cutter | Special setup | Can protect the top surface but pushes chips downward; kerf clearing must be proven |
| V-bit or engraving cutter | Use for shallow features | Lettering, chamfers, and engraving rather than full-depth profile cutting |
| Wood compression bit | Do not use as the default | Wood-focused chip geometry can trap plastic chips and increase heat |
| Dull or damaged cutter | Replace | Raises friction, edge haze, chipping, and chip adhesion |
What Feed Rate and Spindle Speed Should You Use?
Use chip load to create a test window instead of copying one universal RPM and feed rate. The basic relationship is:
Feed rate = chip load × spindle speed × number of flutes
Example: a one-flute cutter at 16,000 rpm and a target chip load of 0.15 mm per tooth produces a calculated feed of 2,400 mm/min. This is a calculation example, not a final production setting. The correct value must be proven with the exact acrylic grade, thickness, cutter diameter, machine, workholding, and pass strategy.
| Cut Observation | What It Indicates | Next Adjustment |
|---|---|---|
| Defined chips leave the cut | The cutter is shearing material and carrying heat away | Fine-tune for edge finish and dimensional result |
| Fine powder or dust | Chip load is too low and the cutter is rubbing | Increase feed or reduce spindle speed |
| Soft edge or welded chips | Heat is accumulating or chips are being recut | Improve air blast, increase feed, reduce rpm, or reduce engagement |
| Chipping or cracking | Tool pressure, entry, vibration, stress, or part movement is too high | Improve support, ramp in, reduce engagement, and inspect the cutter |
| Chatter marks | Workholding, stickout, runout, or machine condition is unstable | Correct the mechanical cause before chasing settings |
A practical acrylic cutting routine
You do not need a complicated procedure. Keep the setup controlled and change one main variable at a time.
- Start with the real part. Note the acrylic type, thickness, part size, edge target and whether the job includes holes, pockets, grooves or engraving.
- Hold the sheet properly. Use vacuum, clamps, tape, tabs, onion skin or a fixture based on the part size. Pay special attention to what happens after the profile cuts through.
- Use a clean acrylic cutter. A sharp polished O-flute, clean collet and short tool stickout are a good starting point.
- Build a small feed/RPM test window. Aim for formed chips, not dust. If chips turn into powder, the cutter is rubbing.
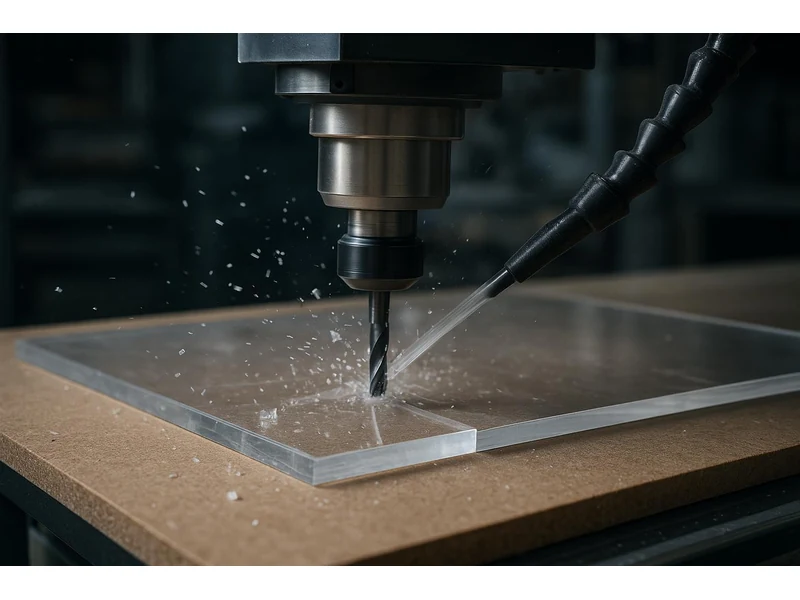
- Blow chips out of the kerf. Focus the air where the cutter is working. General extraction alone may not clear the cut fast enough.
- Keep the final pass stable. Small letters and parts often move only after they are almost free, so use the cut order, tabs, onion skin or fixtures to keep them in place.
- Add a finishing pass when the edge matters. Leave a small allowance during roughing and take a controlled finish cut instead of trying to get everything from one heavy pass.
- Record what worked. Save the tool, material, feed, RPM, pass depth and holding method so the next batch starts from a proven setup.
How Should You Hold Acrylic Sheets and Small Parts?
Workholding is part of cut quality. A stable full sheet can become an unstable group of small components as soon as the profile breaks through.
| Method | Best Use | What to check |
|---|---|---|
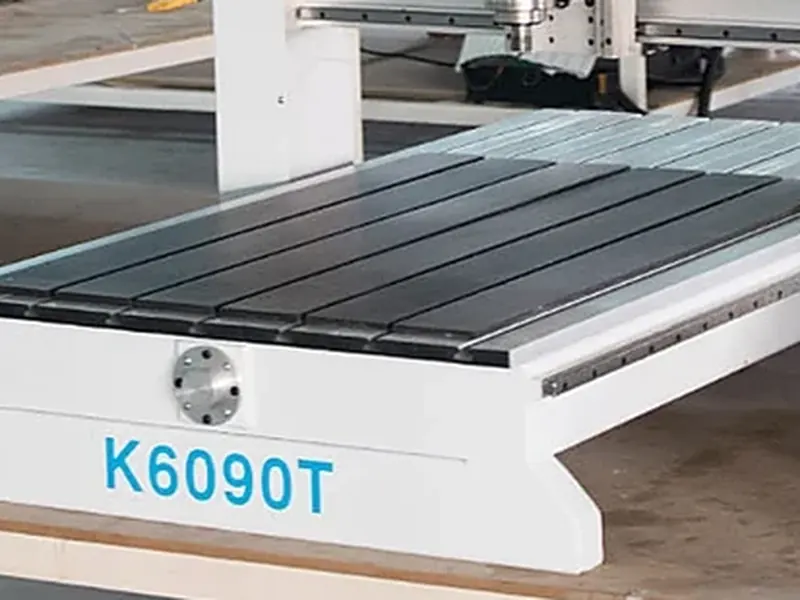
| Vacuum table | Full sheets and larger flat parts | Check zoning, spoilboard leakage, sheet flatness, and remaining holding area after through-cuts |
| T-slot and clamps | Thick parts, one-offs, and low-volume work | Include clamp clearance in the CAM simulation |
| Double-sided tape | Thin sheets and small parts | Test adhesion, cleanup, protective film, and surface compatibility |
| Tabs or bridges | Letters and nested parts | Plan manual removal and edge cleanup |
| Onion skin | Small parts on a sheet | Leave a controlled base layer and remove it with a final pass |
| Dedicated fixture | Repeat components and parts with limited sealing area | Validate loading repeatability, tool access, and collision clearance |
Why Is the Acrylic Melting, Chipping, or Turning White?
| Problem | Likely Root Cause | What to change |
|---|---|---|
| Melted or gummy edge | Low chip load, high heat, dull tool, or trapped chips | Increase feed, reduce rpm, add focused air, change the cutter, or reduce engagement |
| White or cloudy edge | Rubbing, recutting, chatter, or damaged flute | Restore chip formation, improve evacuation, check runout, and add a finishing pass |
| Chips welded into the kerf | Too many flutes, poor air direction, or deep packed cut | Use a polished single-flute tool, clear the kerf, and reduce pass engagement |
| Chipping at entry | Direct plunge, unsupported sheet, or aggressive engagement | Use ramp entry, support the sheet, and reduce entry load |
| Cracks near holes or corners | Material stress, part movement, blunt tool, or toolpath shock | Use cast acrylic, improve holding, inspect the tool, and smooth the toolpath |
| Small parts move | Vacuum area disappears after the profile opens | Use tabs, onion skin, tape, fixtures, or a different cut order |
| Edge dimensions vary | Tool deflection, runout, weak holding, or inconsistent finishing allowance | Shorten the tool, correct runout, stabilize the part, and use a controlled finish pass |
| Cutter builds up plastic | Rough or dull flute, rubbing, or poor chip removal | Stop, clean or replace the tool, and correct chip load before restarting |
Can a CNC Router Produce a Clear Acrylic Edge?
A CNC router can produce a clean, consistent machined edge. Do not promise an optical-clear polished edge directly from every routing process. Tool diameter, cutter geometry, runout, machine rigidity, workholding, chip evacuation, roughing allowance, and finishing strategy all affect the result.
For premium display work, plan the complete finish route before quotation. The process can include a controlled finishing pass followed by scraping, sanding, buffing, or another approved finishing method carried out by trained personnel under the applicable safety requirements.
Which router setup actually fits your acrylic work?
Choose the machine from the recurring part size, tool sequence, holding method, and output target. Acrylic does not automatically require an ATC or a large table. Your normal jobs should decide the configuration.
| If your work looks like this | Start here | What to check |
|---|---|---|
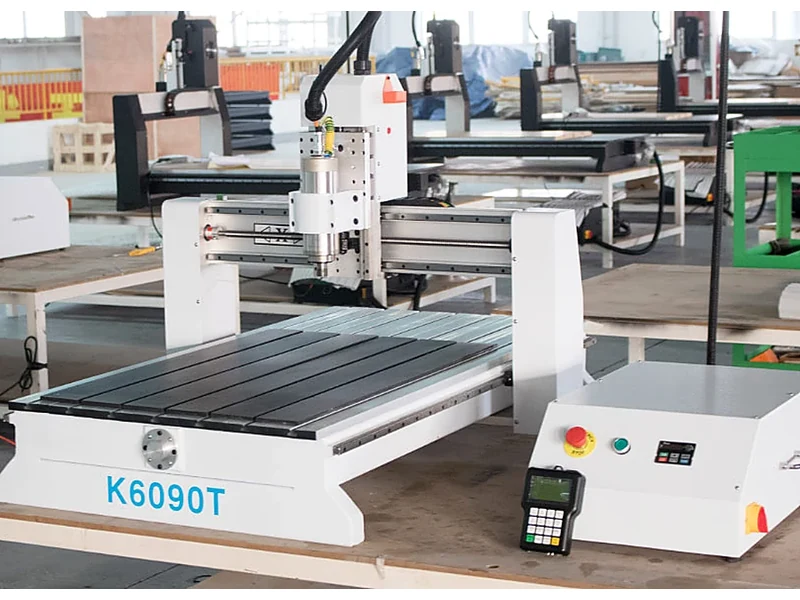
| Small signs, prototypes, nameplates, and short batches | Compact three-axis router | Part envelope, T-slot or fixture holding, air blast, and manual tool-change workload |
| Full 1220 × 2440 mm sheets and nested sign parts | Full-sheet CNC router with suitable vacuum zoning | Practical working area, vacuum system, spoilboard, small-part strategy, loading space, and chip handling |
| Engraving, profile cutting, chamfering, and drilling in one normal program | ATC CNC router | Actual tool list, toolholder system, magazine capacity, tool measurement, and compressed air |
| Repeated small parts with weak vacuum area | Router with dedicated fixtures or combined table direction | Fixture repeatability, clamp clearance, loading time, and final-cut stability |
| Parts where edge quality and dimensions matter | Rigid router with a stable spindle and a controlled finishing pass | Runout, collet condition, motion stability, cutter diameter, finish allowance, and inspection plan |
For smaller acrylic parts
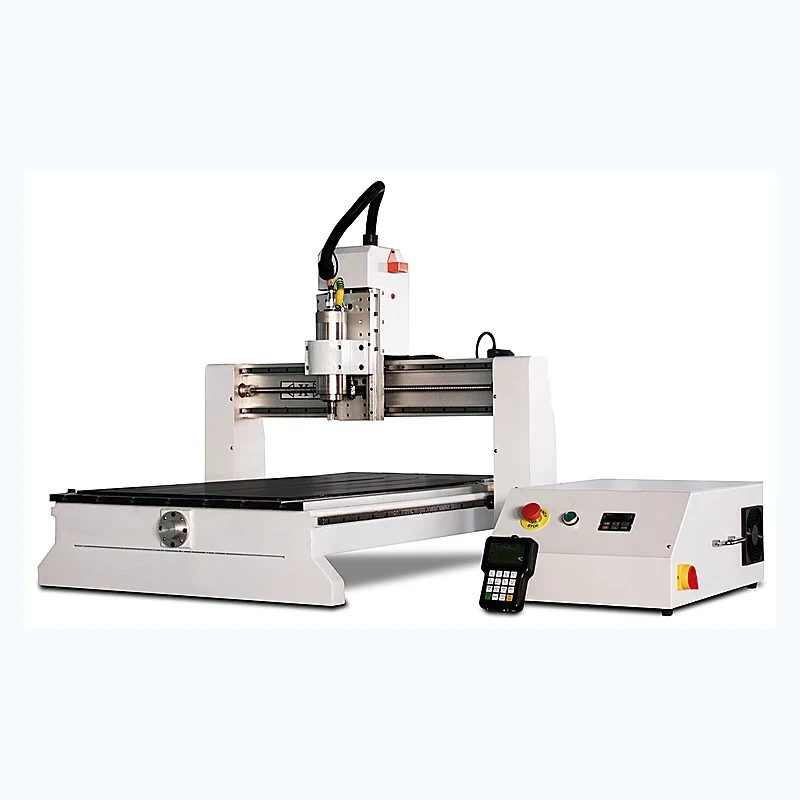
The Quick CNC K6090T is a verified small-format option with a 600 × 900 × 150 mm working area and T-slot clamping. It suits signs, acrylic components, fixtures, and prototypes when the recurring part fits the envelope and the normal job does not require repeated automatic tool changes.
When one job uses several tools
Choose an ATC CNC router when engraving, profiling, chamfering, drilling, and finishing tools change repeatedly in the normal program. ATC reduces interruption; it does not correct poor chip load, weak holding, or an unsuitable cutter.
What else has to work around the router?
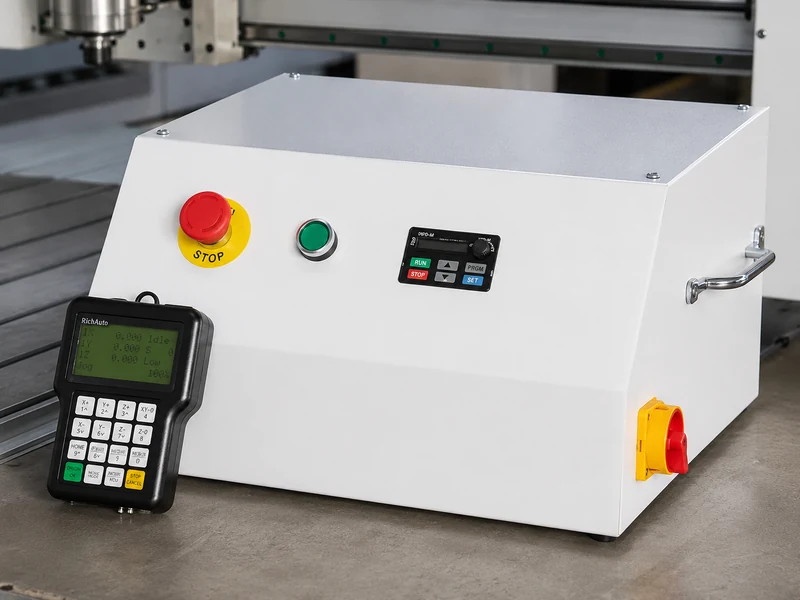
A repeatable acrylic process includes the machine, cutter, air, holding, CAM strategy, inspection, and downstream finishing. Treating the router as an isolated purchase creates avoidable scrap.
Before Cutting
- Confirm acrylic type and thickness
- Inspect film and surface condition
- Check cutter and collet
- Prepare the fixture or vacuum zone
- Simulate clamps and tool clearance
During Cutting
- Observe chips rather than relying on sound alone
- Keep the kerf clear with focused air
- Watch the smallest parts on the final pass
- Stop if material builds up on the cutter
- Record the tested program revision
After Cutting
- Inspect edge haze and chatter
- Measure the agreed features
- Check tool buildup or damage
- Separate machining defects from finishing requirements
- Save the approved settings by material and tool
What Common Acrylic CNC Mistakes Cause Scrap?
A common problem: small acrylic letters move on the last pass
- What happens
- A sign shop starts with a full sheet that holds well on the vacuum table. After each letter is cut through, the smallest pieces begin to rotate or lift.
- Why it happens
- The holding area gets smaller as the profile opens. At the same time, poor chip clearing can leave hot chips in the kerf, so the edge turns white or gummy while the loose part starts moving.
- What to change
- Use a polished single-flute acrylic cutter, aim focused air into the kerf, improve vacuum zoning and spoilboard condition, and use onion skin, tabs or a better cutting order for the smallest parts.
- What to check
- The smallest repeated part should stay still through the finish pass, the cutter should make defined chips without plastic buildup, and the edge and dimensions should repeat across the sheet.
A simple way to narrow the machine down
You can usually get to the right router setup with five basic questions.
- What acrylic are you cutting? Cast or extruded, common thickness and the largest sheet or part.
- What does one normal job include? Profile cutting, engraving, holes, pockets, grooves, chamfers or several tools in one program.
- What is the smallest part? This tells us whether vacuum alone is enough or whether tabs, clamps, tape or fixtures need to be part of the plan.
- What output do you actually need? Short batches and prototypes can suit a compact router; repeated multi-tool production can make ATC worthwhile.
- Send one drawing or part photo. From there, Quick CNC can help narrow the table, workholding, tooling and machine size without making the setup more complicated than it needs to be.
Browse the Quick CNC router range, review our application pages, or use the CNC router selection guide if you are still comparing machine types.
References
- ACRYLITE: Proper Method for Routing Acrylic Sheet
- ACRYLITE Routing Fabrication Guidance
- LMT Onsrud: Premium Finishes When Routing Acrylic
Use these references to build a sensible test window. The final settings still depend on your material, cutter, workholding and machine.
Frequently Asked Questions
Can a CNC router cut acrylic without melting it?
Yes. Use a sharp plastic-cutting bit, enough chip load to form real chips, focused air to clear the kerf, and stable workholding. Melting normally starts when the cutter rubs or recuts trapped chips.
What is the best router bit for acrylic?
A sharp, polished, solid-carbide, single-flute O-flute upcut bit is the best general starting choice for acrylic profiles, pockets, and letters.
Is cast or extruded acrylic better for CNC routing?
Cast acrylic is the stronger starting choice because it gives a wider process window and normally machines with cleaner chips. Extruded acrylic can be routed after the exact sheet and setup are tested.
What RPM and feed rate should I use for acrylic?
Calculate feed from chip load, rpm, and flute count, then confirm it with a test cut. Do not use a feed number without the cutter diameter, flutes, material grade, pass engagement, workholding, and machine condition.
Why does acrylic turn white after CNC cutting?
White or cloudy edges normally indicate heat, rubbing, recut chips, chatter, a dull cutter, or unstable holding. Restore chip formation, improve evacuation, inspect runout, and use a controlled finishing pass.
Do I need air blast when routing acrylic?
Focused air is strongly recommended because it clears chips from the kerf and reduces recutting. General extraction collects chips around the machine, but it does not always clear the cutting edge by itself.
Is a CNC router or laser better for acrylic signs?
Use a suitable laser process for flat decorative profiles when a glossy thermal edge is the main requirement. Use a CNC router for thicker work, pockets, grooves, holes, countersinks, chamfers, and dimensional components.
When is an ATC CNC router useful for acrylic?
ATC is useful when normal programs repeatedly change between engraving, profiling, drilling, chamfering, roughing, and finishing tools. It reduces manual interruption but does not solve poor tooling, holding, or chip evacuation.
Not sure which router setup fits your acrylic work?
Send one acrylic drawing or part photo, the material, thickness, part size and expected output. We can narrow down the table size, workholding and whether ATC is actually worth it.

Frannie
Hello, I’m Frannie, a CNC machinery specialist with 15 years of experience in the woodworking CNC industry. I help furniture factories, cabinet makers, woodworking workshops, and production businesses choose CNC machines that match their production needs, factory size, budget, and efficiency goals.
My work focuses on solving real production problems, including replacing outdated equipment, improving machining efficiency, reducing labor costs, and upgrading to smarter CNC solutions. I also support customers with machine installation guidance, operation training, video support, and on-site training when needed, helping them use their machines more confidently and effectively.