Compression router bit guide
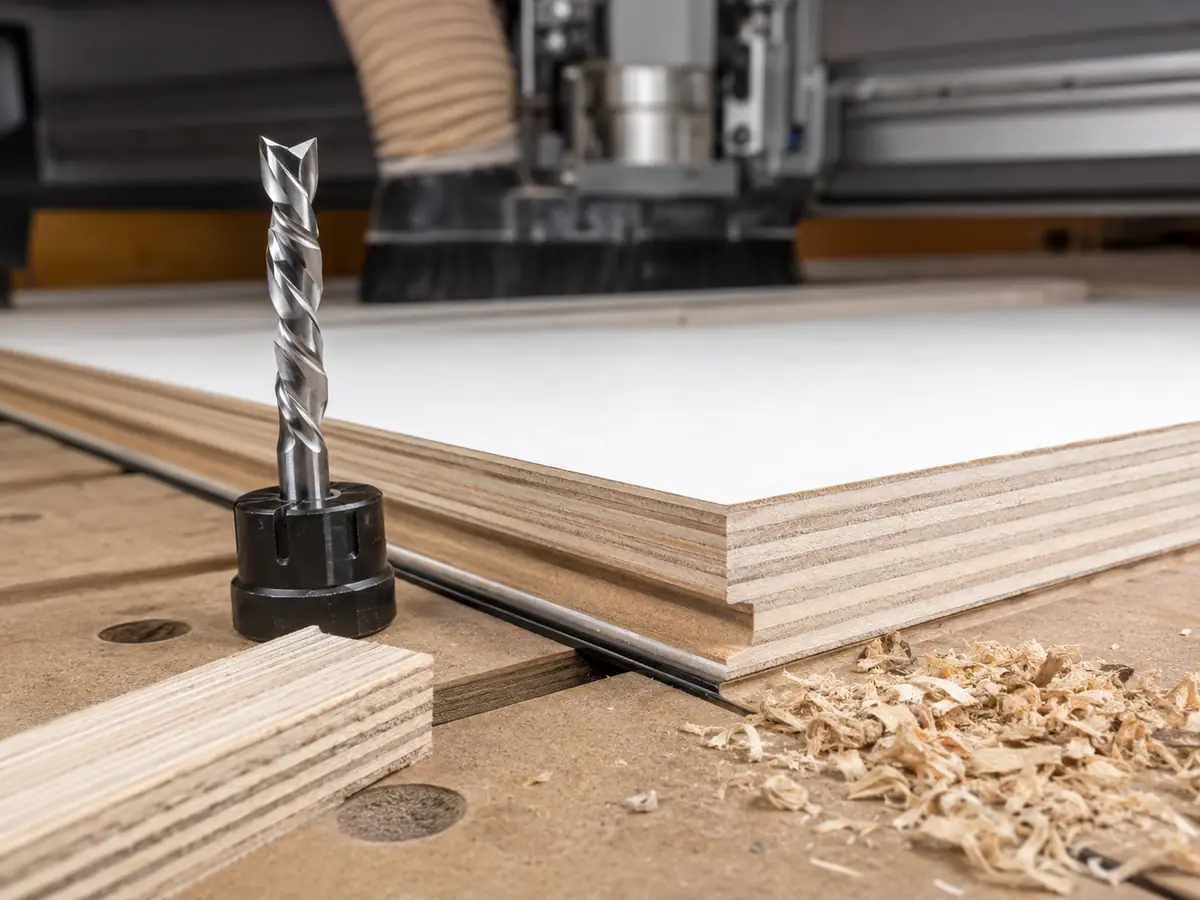
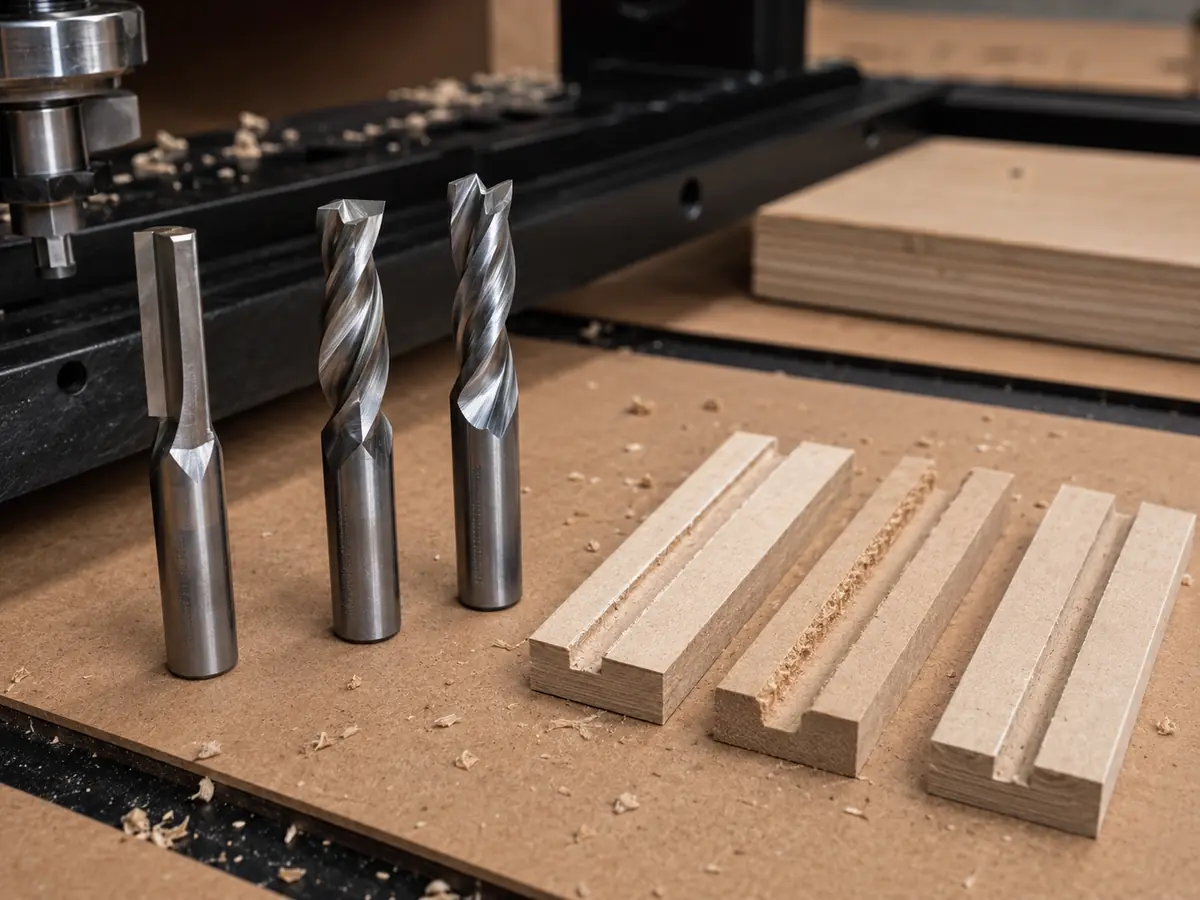
A compression router bit combines an upcut section near the tip with a downcut section above it. Think of it this way: the lower part helps protect the bottom face, while the upper part pushes down on the top face. When both sections are actually cutting, you can get a much cleaner edge on both sides of plywood, melamine and other laminated panels.
The part most people miss: don’t choose a compression bit just because the package says “compression.” Check the panel thickness, the bit’s upcut length or crossover height, how deep the first pass goes, which faces need to stay clean, the shank and collet size, chip removal and how the part is held down.
Key Takeaways
Is a Compression Router Bit the Right Choice?
How Does a Compression Router Bit Work?
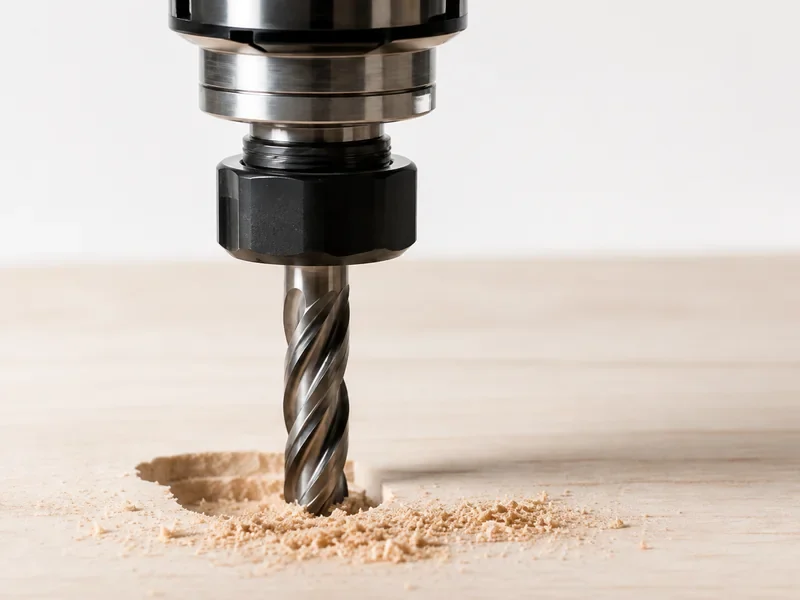
A standard compression bit has an upcut section near the tip and a downcut section above it. When the cut reaches both sections, the bottom and top faces are sheared in opposite directions, which helps keep both edges cleaner.
But if the cut only reaches the lower upcut section, the top face is still being cut like an upcut bit. That is why the crossover point matters.
Why the Crossover Point Matters More Than the Label
The crossover is simply the point where the flute changes from upcut to downcut. If you want the top face to stay clean, the downcut section has to reach that top surface. So your programmed depth needs to get past the bit’s upcut section without pushing the cutter, spindle or workholding beyond a safe load.
This is where a lot of shops get caught out. They run a shallow first pass, the whole cut stays inside the upcut section, and the top laminate still chips. The answer is not to blindly cut deeper. Check whether the job is better handled with a different pass strategy, a mortise compression bit with a shorter upcut section, or a downcut bit for that operation.
Upcut vs Downcut vs Compression Router Bits
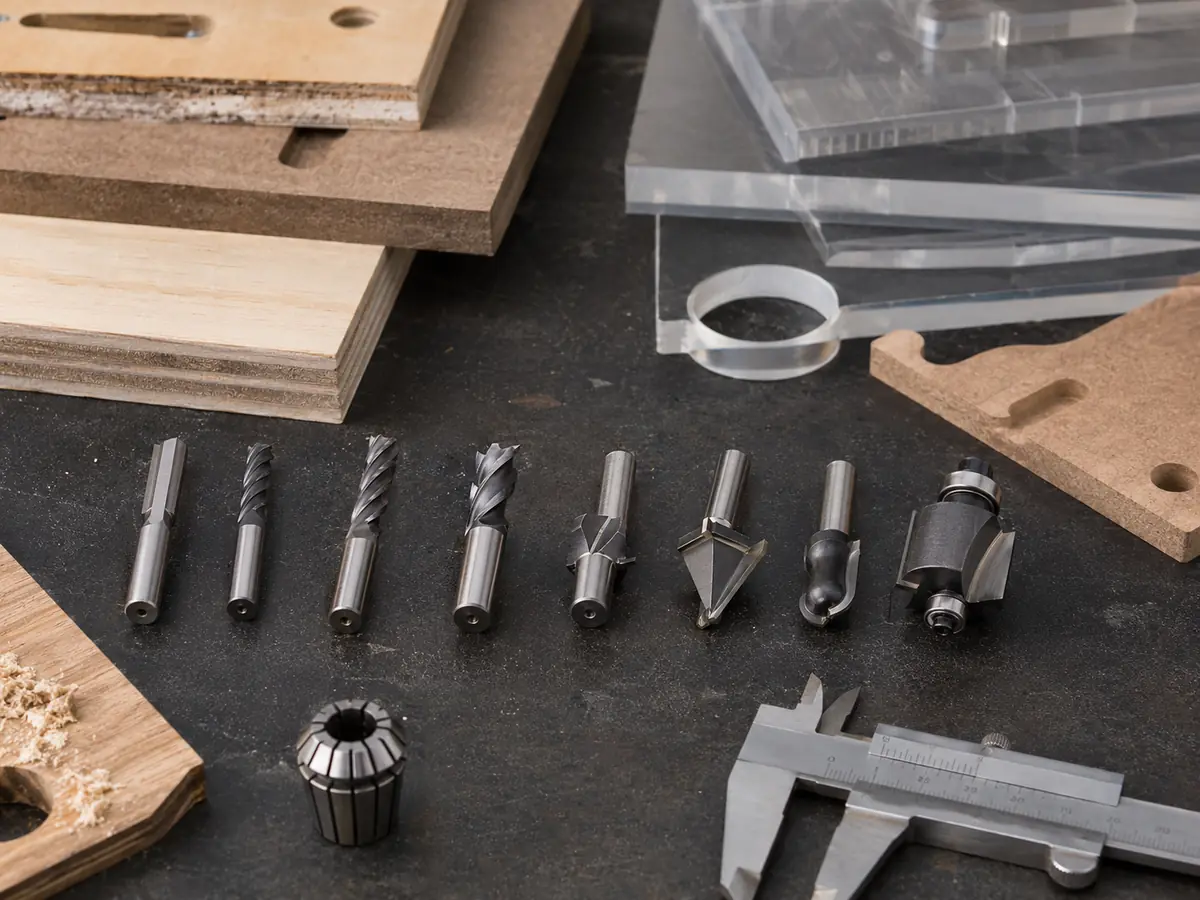
The correct choice starts with which surface must remain clean and whether the cut is shallow or passes through the sheet. If you need a broader view of straight, spiral, V-groove, ball-nose and plastic-cutting tools, use Quick CNC’s CNC router bit selection guide.
| Bit type | Best production use | Main advantage | Main limitation | When to use it |
|---|---|---|---|---|
| Upcut spiral | Deep slots, pockets and cuts where chip evacuation dominates | Moves chips upward efficiently; typically protects the bottom edge | Can lift fibers or chip the top face; upward cutting force can challenge small-part holding | Use it when chip removal matters more than a perfect top edge. |
| Downcut spiral | Shallow grooves, top-face work and veneer-sensitive operations | Presses the top fibers down for a cleaner top edge | Pushes chips into the cut and does not protect the bottom edge of a through-cut | Use it when the top face matters most and the cut is shallow. |
| Standard compression | Through profiles in double-sided plywood, melamine and laminates | Can protect both top and bottom faces when both flute zones engage | Shallow engagement may behave like the lower upcut section | Use it when both faces matter and the crossover works with your panel thickness and cut depth. |
| Mortise compression | Thinner panels or shallower grooves needing compression behavior | Shorter upcut section lets the downcut section engage sooner | Still needs tool-specific geometry and process validation | Use it when a standard compression bit cannot reach the downcut section soon enough. |
Where Compression Bits Work Well—and Where They Don’t
| Material / operation | How well it fits | Why | What to check before production |
|---|---|---|---|
| Plywood / veneered plywood through-cut | Very good | Alternating grain and thin face veneers can chip at either surface | Face quality, internal voids, tool sharpness, crossover engagement, support and hold-down |
| Melamine / double-sided laminate | Very good | Both decorative faces often need a clean finished edge | Panel thickness, laminate behavior, transition height and exit quality |
| MDF profiling | Useful for some profiling jobs | Compression can work, but MDF does not have a veneer face that always requires dual-direction shearing | Dust extraction, tool wear, edge target, small-part retention and heat |
| Solid wood profile | Useful when tear-out is the problem | Compression can reduce tear-out in selected cases, but grain direction and operation dominate the decision | Species, grain, moisture, fixture stability, edge orientation and finishing allowance |
| Shallow dado / groove | Often a poor fit | The top face may be cut only by the upcut section | Groove depth versus crossover; consider downcut or mortise compression |
| Acrylic / plastic sheet | Usually choose another tool | Plastic routing prioritizes heat control and chip evacuation | Start from plastic-specific tooling; see Quick CNC’s acrylic guidance rather than assuming wood compression geometry fits |
If your factory processes several material families, also review what materials a CNC router can cut before choosing one tooling strategy for everything.
How to Select a Compression Router Bit for CNC Production
Don’t start with diameter alone. Put the part drawing, visible faces, panel thickness and cutter dimensions on the same sheet. You’ll quickly see whether one compression bit really covers the job or whether you need a second tool.
| Selection item | Why it matters | What to check |
|---|---|---|
| Tool diameter | Controls inside radius, rigidity, chip space and cutting load | Use the largest diameter that still fits the smallest required internal feature. |
| Shank diameter | Must match the collet or holder correctly | Confirm the exact shank/collet interface; do not compensate for a mismatch with improvised clamping. |
| Upcut length / crossover height | Decides when the downcut section reaches the top face | Compare this dimension with the intended engagement depth and panel thickness. |
| Cutting-edge length | Must cover the required material depth without unnecessary tool reach | Use enough cutting length for the operation, but avoid excess stick-out that reduces rigidity. |
| Flute count | Changes chip space, chip load per tooth, finish and allowable feed strategy | Use the cutter manufacturer’s data; more flutes do not automatically mean a cleaner or faster cut. |
| Tool material / coating | Affects wear behavior in abrasive panels | Treat tool-life claims as tool- and material-specific; compare cost per usable production result, not coating names alone. |
When the Problem Is Bigger Than the Router Bit
If the bit geometry matches the cut but the part still chips, moves or needs constant manual tool changes, then it makes sense to look beyond the cutter. That does not automatically mean buying a larger or more expensive CNC. It means checking whether the machine setup matches the whole job.
If most parts are cut with one compression bit and the rest of the work is simple, manual tool changes may be completely fine.
If the same job keeps switching between compression cutting, drilling, grooving, V-carving and finishing, manual changes start slowing production. That is where ATC begins to make practical sense.
Then vacuum holding, spoilboard condition, small-part stability and dust extraction can matter just as much as the cutter itself.
For cabinet and panel work, look at the full process together: material, sheet size, smallest part, number of tools, drilling needs, hold-down and daily output. The compression bit is one part of that decision, not the whole machine specification.
The Bit Is Only Half the Story: Feed, RPM and Machine Setup
Compression geometry helps with edge direction, but it cannot make up for a bad cutting setup. Feed rate, spindle RPM, flute count, cut depth, tool stick-out, chip removal and workholding still decide whether the cut runs cool and stable. Quick CNC’s CNC feed rate and spindle speed guide explains how those settings work together.
Start with the cutter manufacturer’s chip-load range, then test it on the actual machine and material. If the cut sounds wrong, runs hot, leaves dust instead of chips, or the edge starts getting rough, fix the setup instead of assuming the bit is the problem.
If the Part Moves, the Bit Won’t Save the Cut
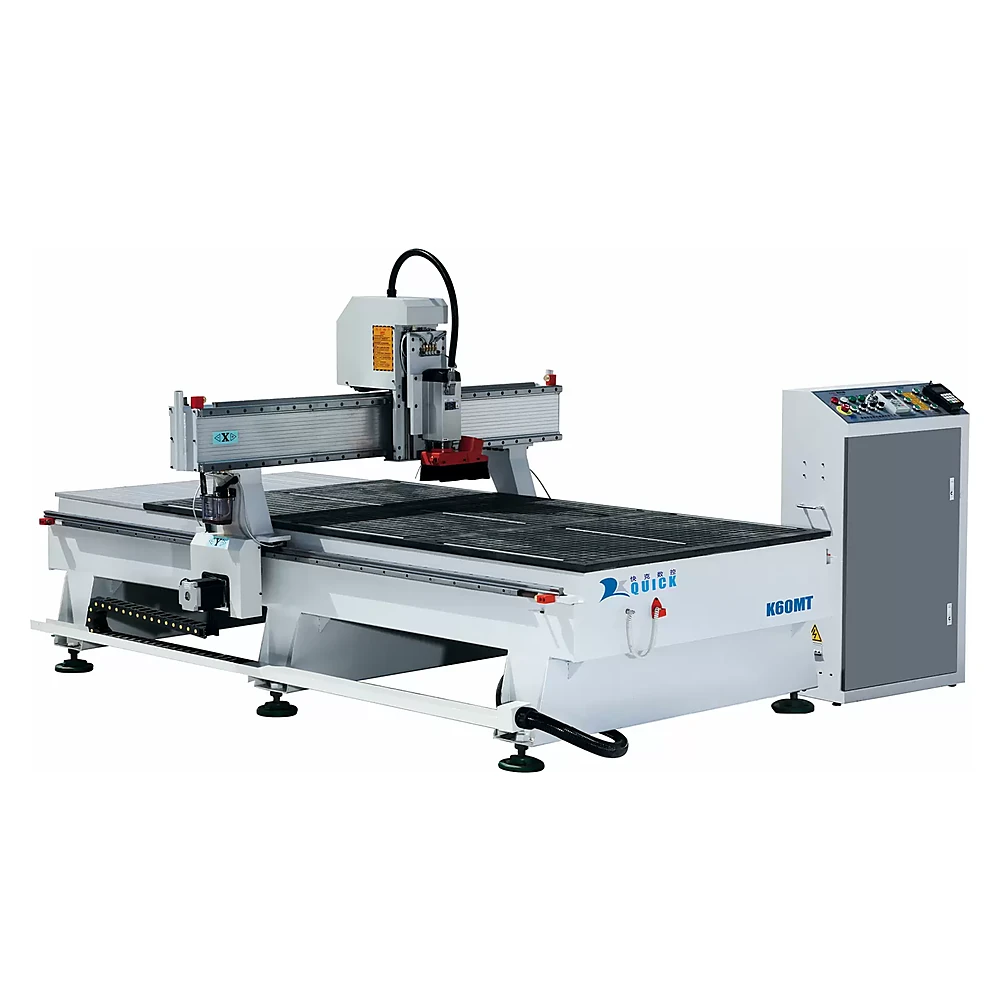
A compression bit still needs solid workholding. On sheet jobs, vacuum performance changes with part area, spoilboard condition, leakage, vacuum zones, material porosity and cut order. Small parts are especially easy to lose once the surrounding waste has been cut away.
Too Many Manual Tool Changes? That’s When ATC Starts to Matter
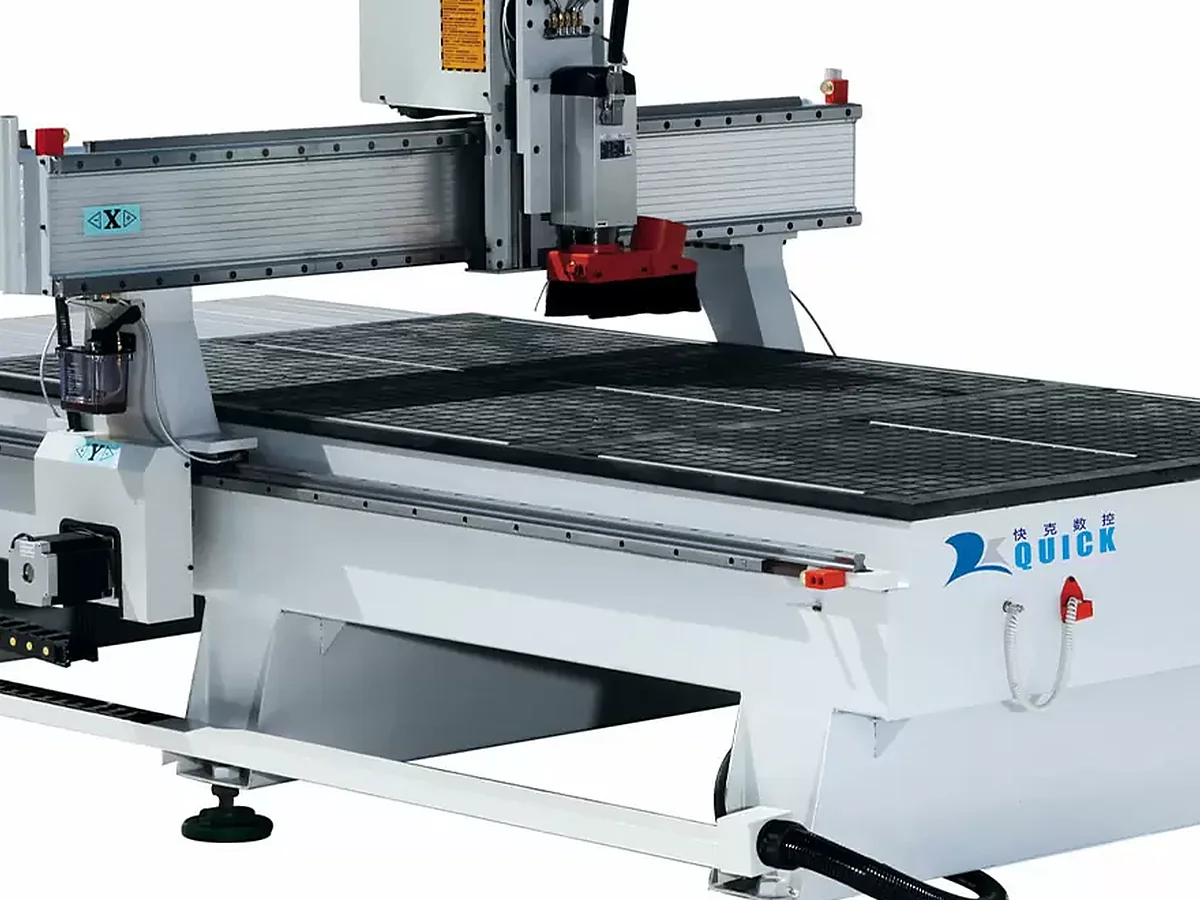
The collet has to match the cutter shank, stay clean and hold the tool with low runout. If a normal program keeps switching between compression cutting, drilling, grooving, V-carving and finishing, manual changes can slow the whole job down. That is a real reason to consider ATC. Buying ATC just because it looks better on a specification sheet is not.
Send the material, thickness, part drawing, smallest part and the tools used in one normal program. If the problem is really tied to hold-down, tool changes or the overall CNC setup, we can help narrow down what actually needs changing.
Common Mistakes That Cause Bad Edges
Better approach: verify the upcut length, cutting length, diameter, shank, flute count and tool manufacturer’s application data.
Better approach: change the geometry or pass strategy so the correct flute section reaches the top face without exceeding a safe cutting load.
Better approach: compare downcut, mortise compression and standard compression by the actual operation.
Better approach: check vacuum zones, spoilboard leakage, part area, fixtures, tabs or onion-skin strategy and cut order.
Better approach: start from the cutter’s chip-load guidance and verify on the real machine, material and depth.
Better approach: use plastic-specific chip evacuation and heat-control logic for acrylic.
Why a Compression Bit Can Still Chip the Top Face
- What happened
- A cabinet-panel program uses a standard compression bit, but the first pass is so shallow that it stays inside the bit’s upcut section.
- What you see
- The bottom edge looks fine, but the top melamine face still chips. It is easy to blame the cutter at this point.
- Why it happens
- The downcut section never reaches the top surface, so the top face is still being cut like an upcut bit.
- How to fix it
- Check the actual crossover / upcut-length dimension. If a deeper safe pass is not a good fit, use a mortise compression or downcut tool for that operation instead of forcing the standard bit deeper.
- Takeaway
- Choose the bit from the real cut depth and panel thickness. Put the crossover dimension on the tooling sheet instead of recording only diameter and shank size.
If You’re Choosing the CNC Router Too, Send Us These Details
No long specification sheet is needed for the first conversation. These six items are enough to narrow down the cutting process, hold-down and tool-change direction.
Plywood, melamine, MDF, solid wood or another sheet; include the surface if edge quality is important.
Main panel thicknesses plus the largest sheet you plan to process.
DXF/CAD or a clear drawing showing inside radii, grooves and through-cuts.
This helps judge vacuum holding, cut order and whether small parts need extra attention.
Compression cutting, drilling, grooving, engraving, V-carving or finishing tools.
Tell us the shift or daily production you actually need, not just a target rapid-travel speed.
If You’re Choosing the CNC Router Too
Mostly general woodworking and mixed parts? Use the woodworking CNC router guide to compare the machine around your material, part size, number of tools and daily workload.
Running cabinet or panel-furniture production? Look at furniture CNC machine configurations when cutting is only one step and you also need drilling, edge banding, labeling or loading/unloading.
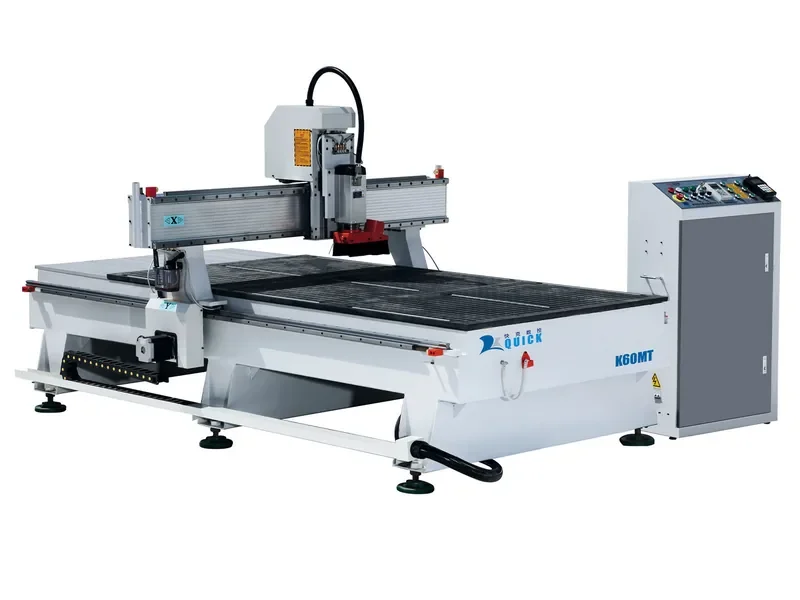
Already know a router is the right machine? Compare the Quick CNC router range after you have defined the material, sheet size, workholding and tools used in a normal program.
Compression Router Bit FAQ
What does “compression” mean in a router bit?
It means one cutter combines an upcut section near the tip with a downcut section above it. When both sections are engaged, the bit can help keep both the top and bottom panel edges clean.
What is the difference between an upcut, downcut, and compression router bit?
Upcut favors chip evacuation and the bottom edge. Downcut favors the top edge. Compression combines both directions for through-cuts where both panel faces need to stay clean.
How deep should the first pass be with a compression router bit?
Deep enough for the downcut section to reach the top surface, which means going past the bit’s upcut length or crossover. Use the actual tool drawing—there is no safe universal depth for every compression bit.
What is a mortise compression router bit?
It has a shorter upcut section, so the downcut section starts working sooner. That can make it a better fit for thinner panels or shallower cuts where a standard compression bit never reaches its crossover.
Is a compression bit a good choice for plywood and melamine?
Yes, especially for through-cutting plywood, melamine and double-sided laminates where both faces need a clean edge. Tool sharpness, crossover engagement, hold-down and chip removal still matter.
Can a compression bit cut MDF or solid wood?
Yes, but it is not automatically the best choice. For MDF, think about dust and tool wear; for solid wood, grain direction and tear-out matter just as much as the flute geometry.
Should I use a wood compression bit for acrylic?
Not as a default. Acrylic usually needs tooling chosen around chip evacuation and heat control, so start with plastic-specific cutter geometry instead.
What feed rate and spindle speed should I use with a compression bit?
Start with the cutter manufacturer’s chip-load guidance, then test on your actual material and machine. Watch the chips, edge quality, sound, heat and tool condition instead of copying one RPM/feed number from another shop.
References
- Amana Tool — Solid Carbide Compression Spiral CNC Router Bit application data
- Amana Tool — Mortise Compression Spiral description
- Bits & Bits — Compression CNC bit geometry and depth guidance
- CNC-Tool.com — Up/down compression and mortise compression overview
- Smarter Production — Compression-bit crossover explanation
Need Help Matching the Tooling to the Machine?
Send us your material, part drawing, tool list and output target. We’ll help narrow down the CNC setup that fits the job.
Send My Cutting Requirements
Frannie
Hello, I’m Frannie, a CNC machinery specialist with 15 years of experience in the woodworking CNC industry. I help furniture factories, cabinet makers, woodworking workshops, and production businesses choose CNC machines that match their production needs, factory size, budget, and efficiency goals.
My work focuses on solving real production problems, including replacing outdated equipment, improving machining efficiency, reducing labor costs, and upgrading to smarter CNC solutions. I also support customers with machine installation guidance, operation training, video support, and on-site training when needed, helping them use their machines more confidently and effectively.