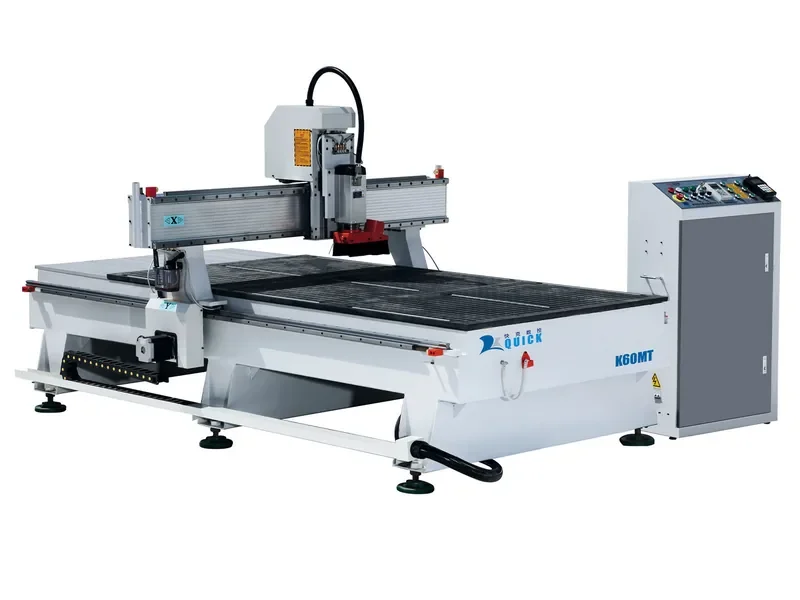
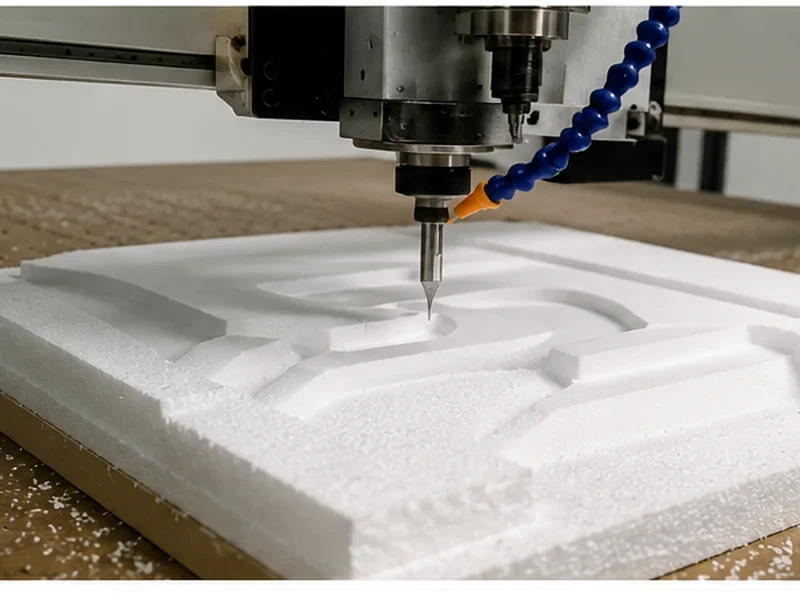
CNC Drilling Accuracy
If your CNC-drilled holes are not lining up, do not start by changing random machine parameters. Check the drawing datum first, then panel positioning, workholding, drill and collet condition, Z reference, chip removal and the first finished panel.
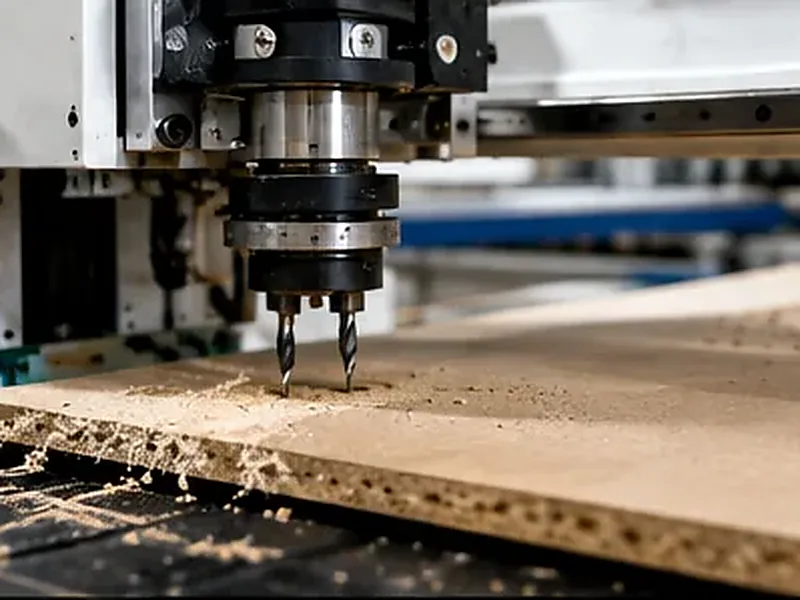
What to Check Before You Blame the Machine
Hole Accuracy Is More Than XY Position
A hole can be close to the right coordinate and still cause trouble during assembly. For cabinet and panel work, look at position, diameter, depth, drilling direction, edge quality and whether the same result repeats across the batch.
| What to check | What it means | Why it matters |
|---|---|---|
| Hole position | The hole center is in the correct position from the correct datum. | Dowel, cam, connector, shelf-pin and hinge holes need to line up with the mating panel. |
| Hole diameter | The finished diameter gives the hardware the fit it needs. | Oversized or undersized holes can create loose hardware or difficult assembly. |
| Hole depth | Blind holes stop at the required depth. | Too shallow and the connector may not seat; too deep and the drill can break through the visible face. |
| Hole direction | The hole enters the correct face in the required direction. | A wrongly referenced or angled hole can push the hardware out of line. |
| Edge quality | The entry and exit remain acceptably clean. | Melamine, veneer and other decorative panels quickly show chip-out. |
| Repeatability | The result stays stable from panel to panel. | One good sample means little if the rest of the batch does not assemble the same way. |
If the Holes Are Wrong, Start With the Symptom
Do not change several settings at the same time. Look at what the bad hole is actually doing, then work backward from there.
| What you see | Likely area to check | Start here |
|---|---|---|
| The whole hole pattern shifts the same way | Datum, zero or panel positioning | Drawing datum, machine zero, panel stops and finished-panel reference |
| Some panels fit and others do not | Panel movement or inconsistent loading | Table cleanliness, spoilboard, vacuum zones, stops and panel flatness |
| Holes are oval or too large | Drill, collet, runout or vibration | Inspect the drill, holder and collet before changing controller settings |
| Visible surface chips around the hole | Tool condition, drill geometry or panel support | Check the drill against the actual board material and how the panel is supported |
| Hole depth changes across the sheet | Table height, panel thickness or Z reference | Check spoilboard flatness, actual panel thickness and the Z datum |
| The result gets worse as the program runs faster | Vibration, chip packing, panel movement or excessive load | Slow the problem operation first and find a stable machining condition |
How to Get the Holes Back on Target
1. Go back to the drawing datum
Find out what the hole positions are measured from. It could be the raw panel edge, finished edge, edge-banded size, groove center or another feature. A wrong reference can give you perfectly repeatable holes in the wrong place.
2. Make sure the panel cannot move
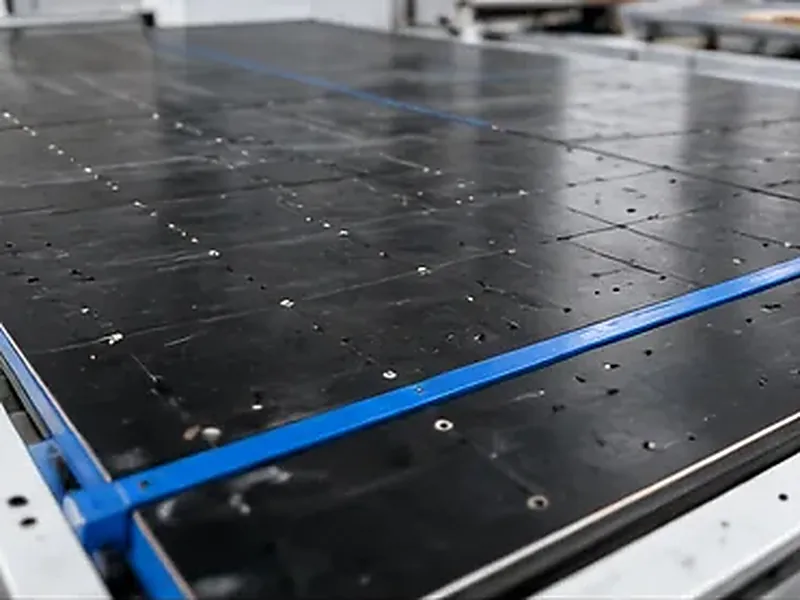
Clean the table, check the spoilboard, use the correct vacuum zones and make panel positioning repeatable. Narrow parts and drilling close to an edge need enough support around the drilling area.
3. Check the drill and holder
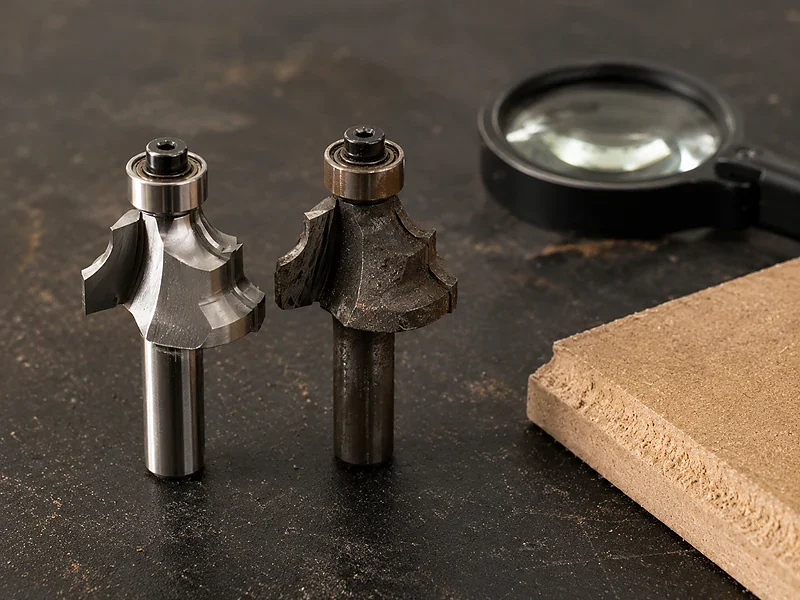
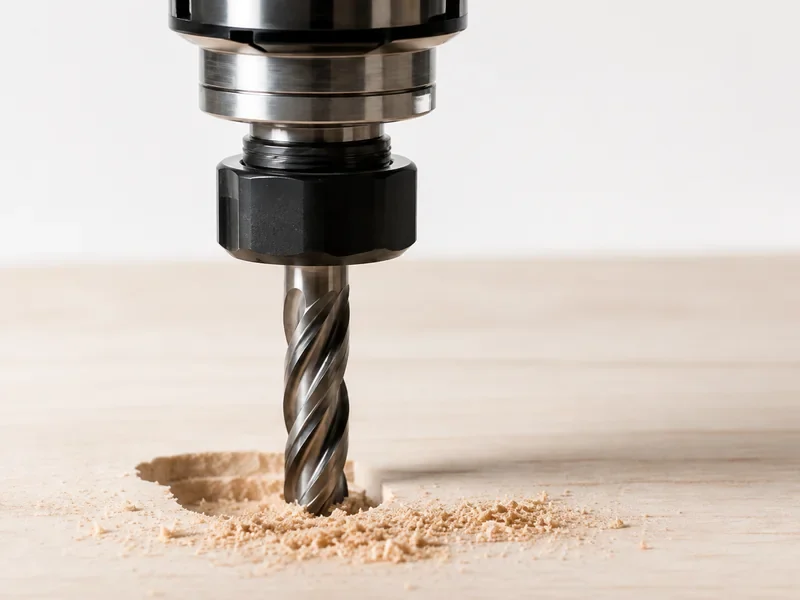
Look at the cutting edge, shank, collet cleanliness, clamping and runout. If a drill is worn or the collet is dirty, fix that before touching servo or controller parameters.
4. Match the drilling method to the hole
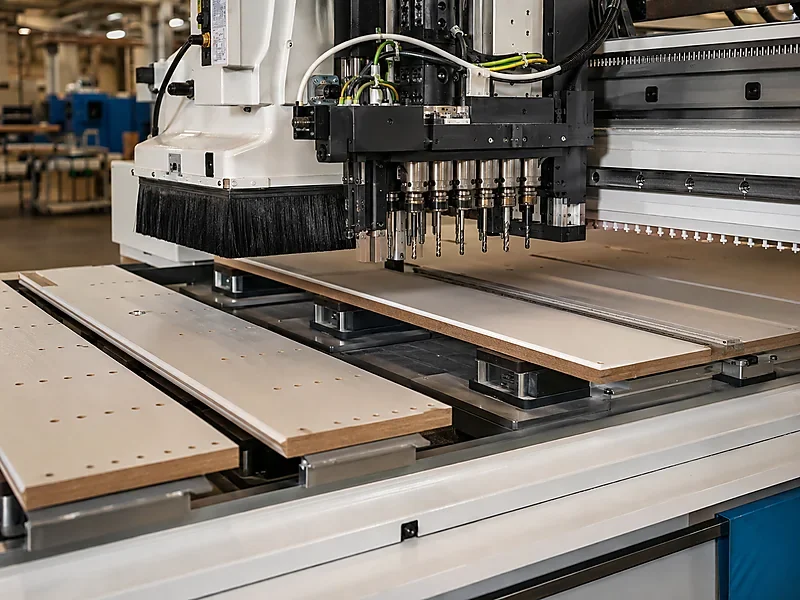
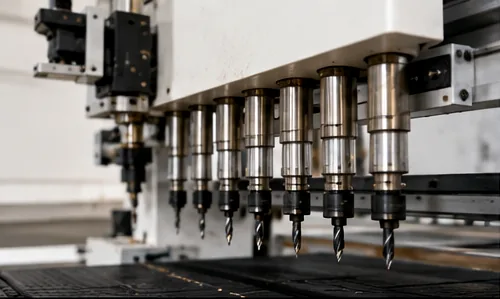
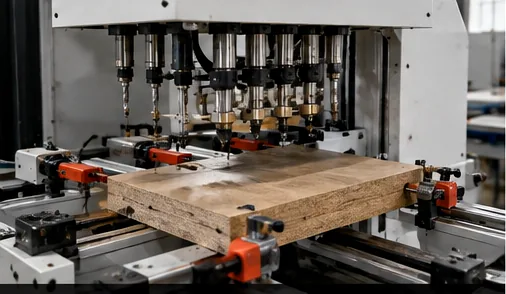
Spindle drilling works well when the hole and tool suit the job. Interpolation gives more diameter flexibility but takes more cycle time. If one furniture panel contains many repeated holes, a drill bank or dedicated drilling unit can be more efficient than changing router tools one by one.
5. Set the cutting condition around the real material
MDF, plywood, melamine, particle board, acrylic and composites do not behave the same way. Start from the drill manufacturer’s data, then look at chips, heat, noise, hole edge, diameter and repeatability on the material you actually use.
6. Check the real panel thickness and Z reference
Do not assume every nominal 18 mm board is identical. Check the actual panel, spoilboard and Z reference. Blind hinge and connector holes should be checked for depth before production continues.
7. Approve the first panel as a finished part
Measure the important holes from the correct datum, then install the hardware or assemble the mating panels. If a correction is needed, record the program, drill, material and change so the result can be repeated on the next shift.
When Is a CNC Router Enough—and When Does the Machine Type Need to Change?
Start with two things: which faces need holes and how much of the normal cycle is drilling. These two questions usually tell you more than spindle power or a long option list.
| Your normal production | Start with | Reason |
|---|---|---|
| Occasional vertical holes together with general routing | Standard CNC router | No need to complicate the process when drilling is only a small part of the job. |
| Routing, grooving and drilling use several tools in one program | ATC CNC router | Automatic tool changing reduces interruptions, but it does not fix poor drilling setup by itself. |
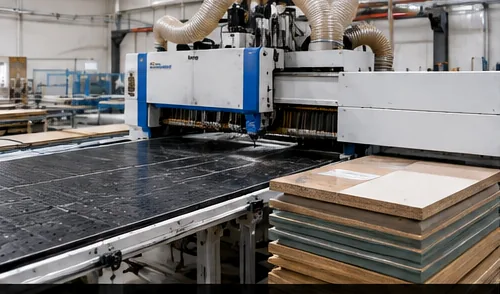
| Full-sheet cabinet cutting with repeated top drilling | Nesting CNC with suitable drilling capability | Cutting, grooving and vertical drilling can stay in the same panel flow. |
| Doors or furniture parts need flexible holding and boring | PTP CNC machine | Component-based holding can give better access than a flat nesting table for this type of work. |
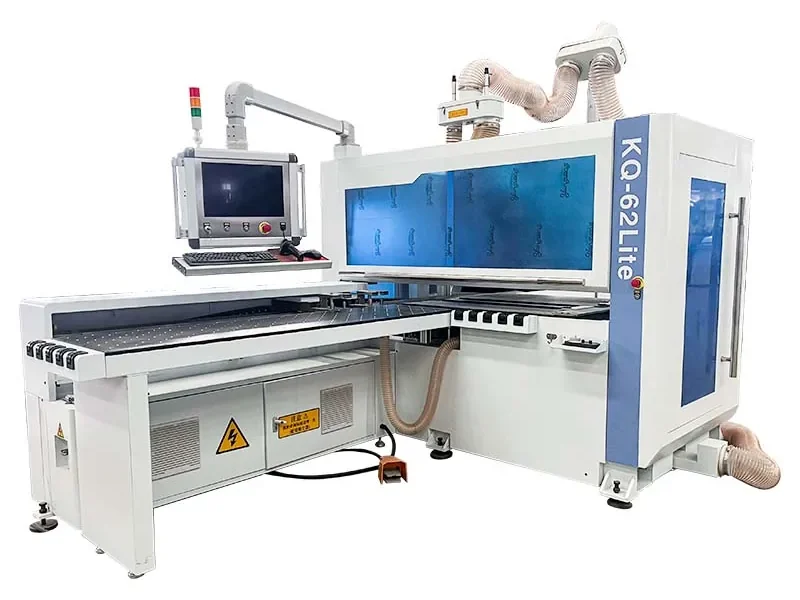
| Cabinet panels regularly need top, bottom, side and horizontal holes | Six-sided drilling machine | It reduces repeated flipping and manual re-positioning between drilling operations. |
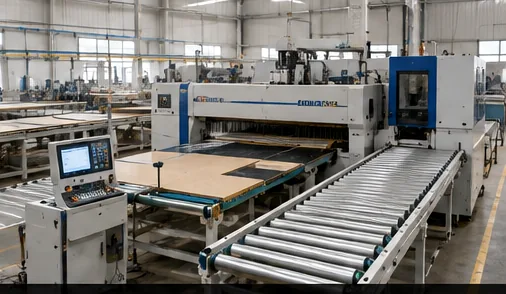
| Loading, labeling, drilling, cutting and unloading are all slowing production | Drilling and cutting production line | The bottleneck is no longer one drilling operation; it is the whole panel flow. |
Not Sure Whether It Is a Setup Problem or a Machine Problem?
Send us the panel material, size, hole pattern, drilling faces and what is going wrong. We can first separate the setup problem from the process problem before talking about a different machine.
Show Us Your Hole PatternMachine Details Worth Checking for Drilling
Once you know which holes need to be made and from which faces, the machine configuration becomes much easier to judge. Not every job needs every option.
Check the Finished Panel, Not Just the Machine Screen
The machine screen tells you where the machine was told to move. The finished panel tells you whether the complete process worked.
| Check | Look at | What it tells you |
|---|---|---|
| Drawing | Hole position, diameter, depth, face, datum and tolerance | Everyone is checking the same requirement. |
| Machine setup | Zero, stops, holding, panel flatness and drill condition | The process is stable before offsets are changed. |
| First panel | Holes near corners, edges, center areas and dense groups | The check represents more than one easy hole. |
| Hardware fit | Dowel, cam connector, hinge, shelf pin or other hardware | The drilled hole actually works in assembly. |
| Repeat check | Several panels and any change of tool, program or operator | Wear and handling problems are found before they spread through the batch. |
Common mistakes that make the problem harder to find
A Common Production Mistake: Expecting One Router to Finish Every Hole
A cabinet panel may need cutting, grooves, vertical holes, side holes and connector holes. Treating all of them as one router operation can create extra handling that was never obvious when the machine was selected.
- What goes wrong: cutting and top drilling finish on the router, but panels still need to be moved and re-positioned for side or horizontal holes.
- Why: the hole map was treated as one job even though the holes need access from different faces.
- What to change: separate the hole map by face, then compare nesting plus side drilling, nesting plus six-sided drilling or a more integrated panel flow.
- What to check before choosing: hole directions, amount of side drilling, panel handling and normal daily panel volume.
Quick CNC Solution Path
If the problem is no longer just drilling accuracy and you are comparing a different production setup, start from the work you actually need to complete.
FAQ
How can I improve CNC drilling accuracy quickly?
Confirm the drawing datum first, clean and secure the workholding surface, check panel flatness, inspect the drill and collet, check runout and approve the first finished panel before changing major machine settings.
Why are my CNC-drilled holes misaligned?
Start with the datum, panel positioning and workholding. Also check machine zero, tool runout and whether the program is referencing the raw panel size or the finished size after operations such as edge banding.
Can a CNC router drill cabinet holes accurately?
Yes. A CNC router can handle cabinet drilling when the hole directions, drill, panel holding, datum and program suit the job. If dense side and horizontal drilling becomes a major part of daily production, the workflow may be better suited to a drill bank, PTP machine or six-sided drilling machine.
Does ATC improve drilling accuracy?
Not by itself. ATC mainly reduces manual tool changes and interruptions between operations. Finished-hole accuracy still depends on the machine condition, drill, holder, panel holding, program and setup.
How do I reduce chipping when drilling melamine or laminated panels?
Start with a suitable sharp drill and good panel support. Check chip removal and test the actual board rather than relying only on a generic cutting setting. Approve both the visible hole edge and the hardware fit.
When should I choose a six-sided drilling machine?
Consider six-sided drilling when cabinet panels regularly need drilling from several faces and repeated panel flipping or manual re-positioning is slowing production. The decision should come from the hole map and panel flow, not simply from wanting a more complex machine.
References
Need to Change the Drilling Setup?
If you already know that side drilling, panel flipping or drilling volume is slowing production, send us a typical panel and the holes it needs. We can compare the machine setup around the actual work instead of starting from a long option list.
Discuss Your Drilling Setup
Frannie
Hello, I’m Frannie, a CNC machinery specialist with 15 years of experience in the woodworking CNC industry. I help furniture factories, cabinet makers, woodworking workshops, and production businesses choose CNC machines that match their production needs, factory size, budget, and efficiency goals.
My work focuses on solving real production problems, including replacing outdated equipment, improving machining efficiency, reducing labor costs, and upgrading to smarter CNC solutions. I also support customers with machine installation guidance, operation training, video support, and on-site training when needed, helping them use their machines more confidently and effectively.