Upcut vs Downcut Router Bits
Here is the easy way to choose: use an upcut bit when getting chips out of the cut is the priority. Use a downcut bit when you care more about keeping the top face clean. If you are cutting all the way through plywood, melamine, or another laminated panel and you want both sides clean, a compression bit is normally the better place to start.
Before you change the cutter, look at five things: your material, cutting depth, which face needs to stay clean, chip removal, and how well the part is being held. A good cutter can still give you a bad edge if the part moves or chips stay trapped in the cut.
Which One Should You Start With?
Start with the problem you are trying to solve, then check the material and hold-down.
Start with upcut for deeper grooves, pockets and mortises.
Start with downcut for shallow cuts in veneered or laminated panels.
Start with compression for through-cut plywood, melamine and similar panels.
Check vacuum, sharpness, feed, RPM and chip removal before changing cutters again.
Where This Choice Matters Most
plywood, MDF, melamine, veneered board, solid wood, grooves, pockets, profiles and nested sheet cutting.
flute polish, heat control and chip evacuation matter as much as upcut or downcut direction.
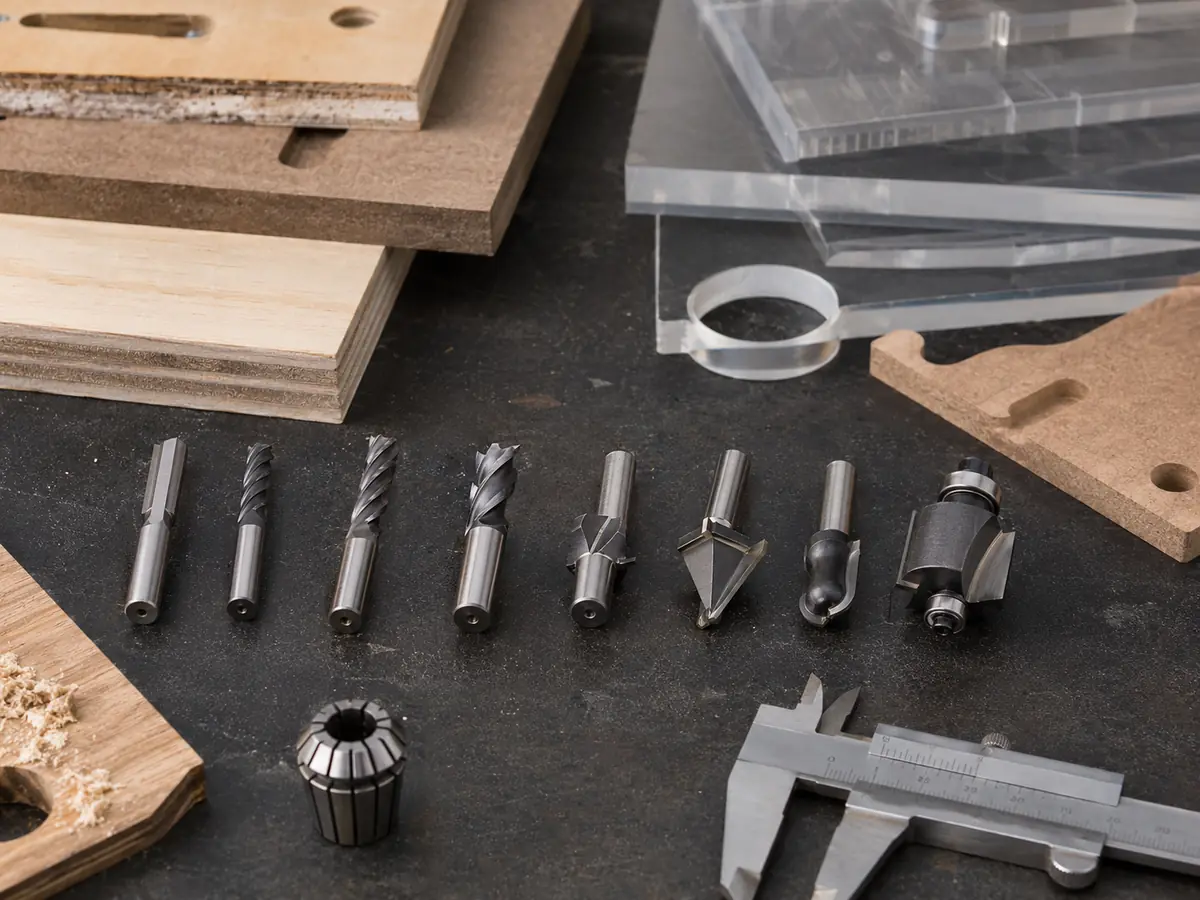
What Really Changes Between Upcut and Downcut?
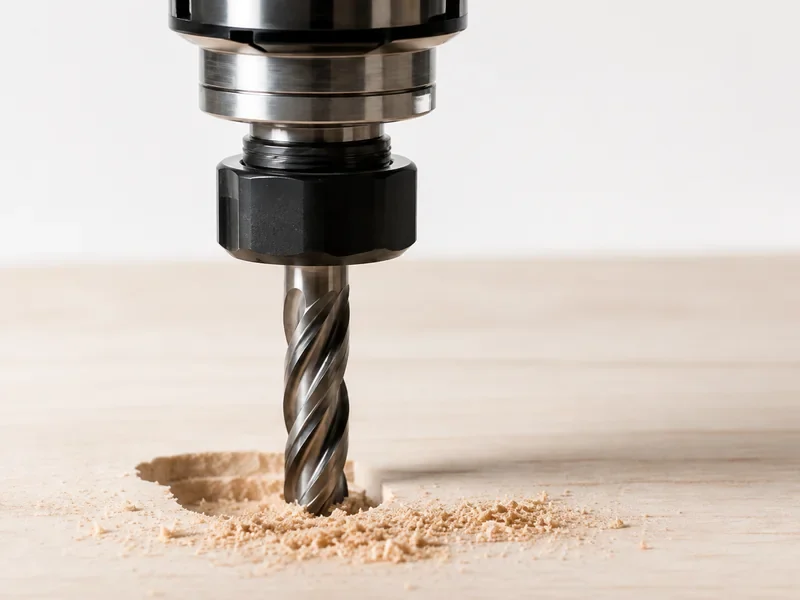
An upcut spiral pulls chips upward, which helps in deeper grooves, pockets and mortises where the chips need a clear path out. That makes it a useful starting point when chip evacuation matters more than protecting the top face.
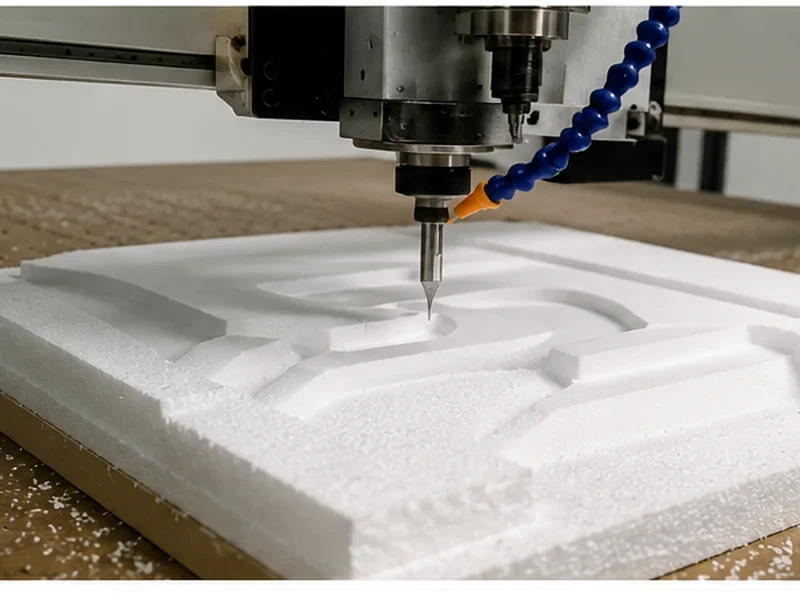
A downcut spiral pushes the cutting action toward the workpiece, which helps keep top fibers, veneer or laminate from lifting. The trade-off is chip flow: in a deep closed groove, chips can stay trapped, heat can build and tool life can fall.
Cutting force matters too. An upcut can expose weak hold-down on small or thin parts, while a downcut can help keep the part seated. Neither direction fixes a poor spoilboard, leaking vacuum zone or unstable fixture.
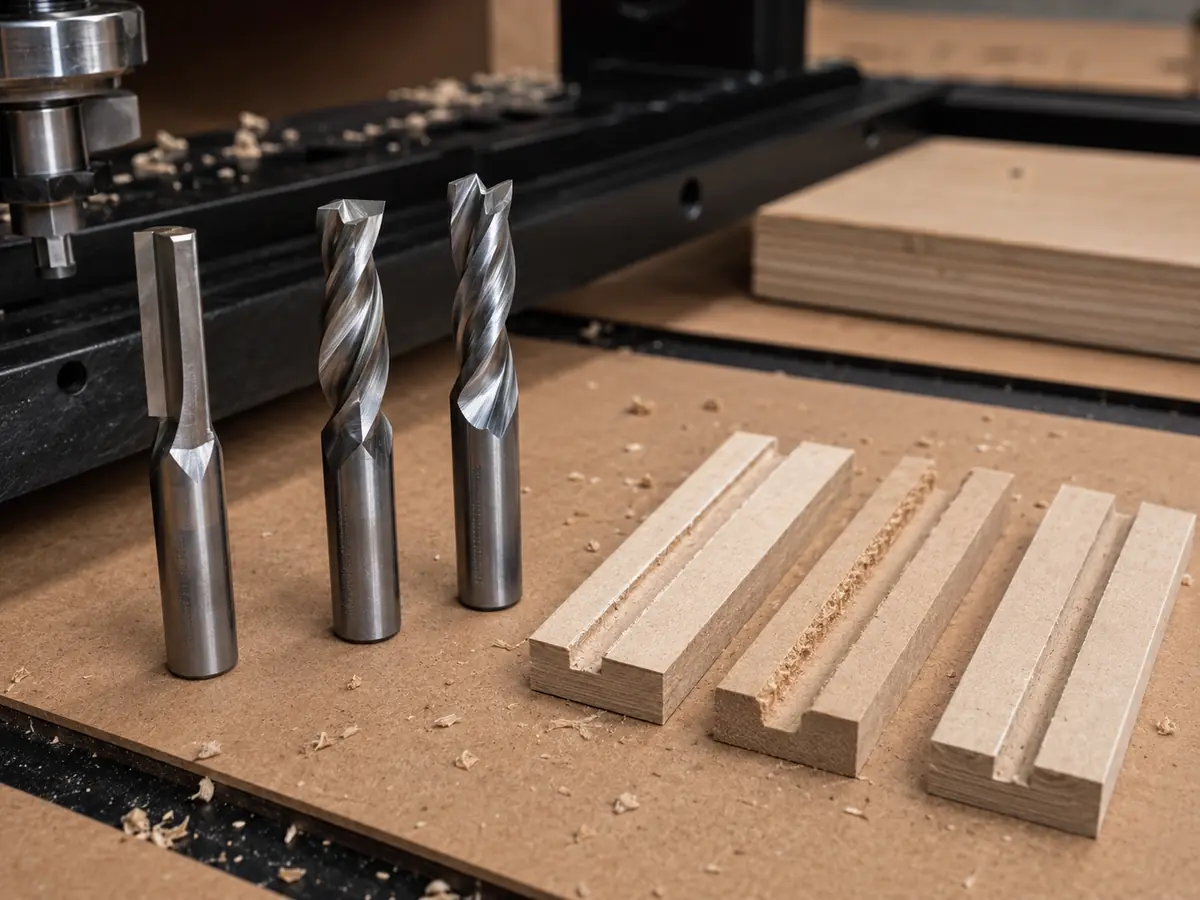
Upcut, Downcut, or Compression? Here Is the Quick Comparison
| What you are trying to do | Upcut | Downcut | Compression |
|---|---|---|---|
| Get chips out of the cut | Very good at pulling chips up and out | Not the first choice for a deep closed cut | Depends on the cutter geometry and how deep you are cutting |
| Keep the top edge clean | The top face can lift or chip | Good place to start | Works well when the downcut section is properly engaged |
| Keep the bottom edge clean | Good place to start | The lower edge can be rougher on a through-cut | The upcut section helps protect the bottom face |
| Cut a deep groove or pocket | Good starting choice | Watch for packed chips and heat | Only makes sense when the depth suits the cutter geometry |
| Cut small or thin parts | Upward force makes weak hold-down easier to notice | Downward force can help keep the part seated | You still need enough vacuum when the cut breaks through |
| Through-cut a panel and keep both faces clean | Mostly helps one face | Mostly helps one face | Normally the first choice |
Match the Bit to the Cut You Are Making
Deep groove, pocket or mortise? Start with upcut.
Deeper cuts need a clear path for chips. Upcut helps move them away from the bottom of the cut and reduces recutting and heat. On small nested parts, check vacuum before assuming the same setup that worked on a full sheet will still hold.
Shallow cut and the top face matters? Downcut makes more sense.
Downcut is useful for shallow dadoes, decorative grooves, veneered plywood and prefinished panels where the visible top surface matters most. Keep an eye on chip buildup as the groove gets deeper.
Through-cutting plywood or melamine? Look at compression.
A compression cutter combines upcut geometry near the tip with downcut geometry higher on the flute, so both faces can be protected. The cutting depth still has to engage the correct sections of the cutter; otherwise one face can still chip even though the cutter itself is the right type.
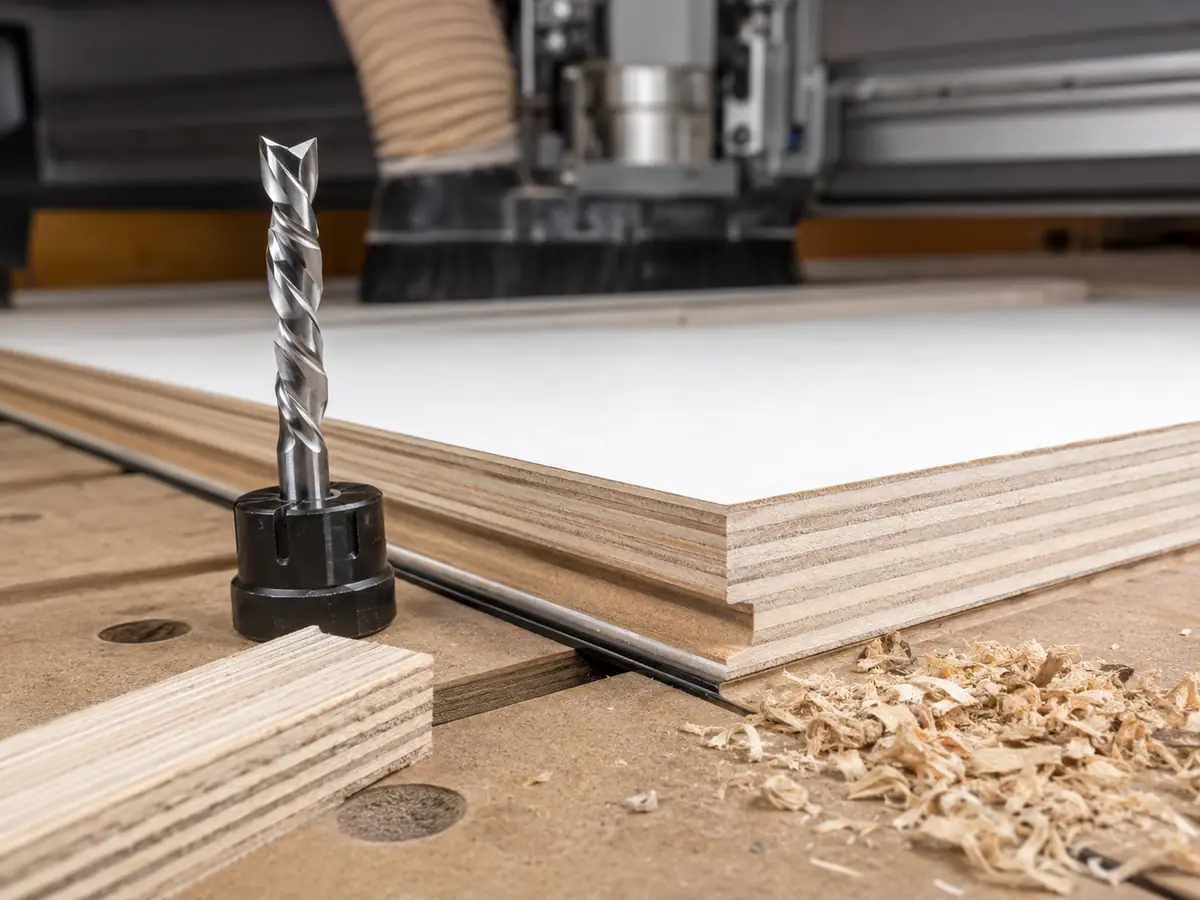
Now Match That Choice to Your Material
The same cutter does not behave the same way in every material. Plywood can splinter, melamine can chip at the surface, MDF creates fine dust, solid wood changes with grain direction, and plastics quickly show a poor heat-control setup. Use the table below as a starting point, then judge the actual finish, chip flow, heat and hold-down on your machine.
| Material / job | Where to start | Why | What to watch |
|---|---|---|---|
| Plywood through-cut | Compression if both faces need to stay clean | Plywood can chip on either face | Cutting depth, support, and vacuum hold-down |
| Melamine / laminated board | Compression for a clean top and bottom | The surface layers chip easily | Flute transition, sharpness, and spoilboard condition |
| Deep MDF pocket or groove | Upcut | Fine MDF dust needs somewhere to go | Dust extraction, heat, sharpness, and cut depth |
| Shallow MDF decorative groove | Downcut | Helps keep the visible top edge cleaner | Do not let the groove get deep enough to trap too much dust |
| Solid wood | Choose from the cut, grain, and face you need to protect | Grain direction changes the way the edge tears | Fixture strength, grain behavior, and tool sharpness |
| Acrylic / plastics | Use plastic-specific tooling; a polished single-flute or O-flute upcut is a common starting point | Heat and chip removal are the bigger problems here | Plastic type, cutter polish, chip clearing, and hold-down |
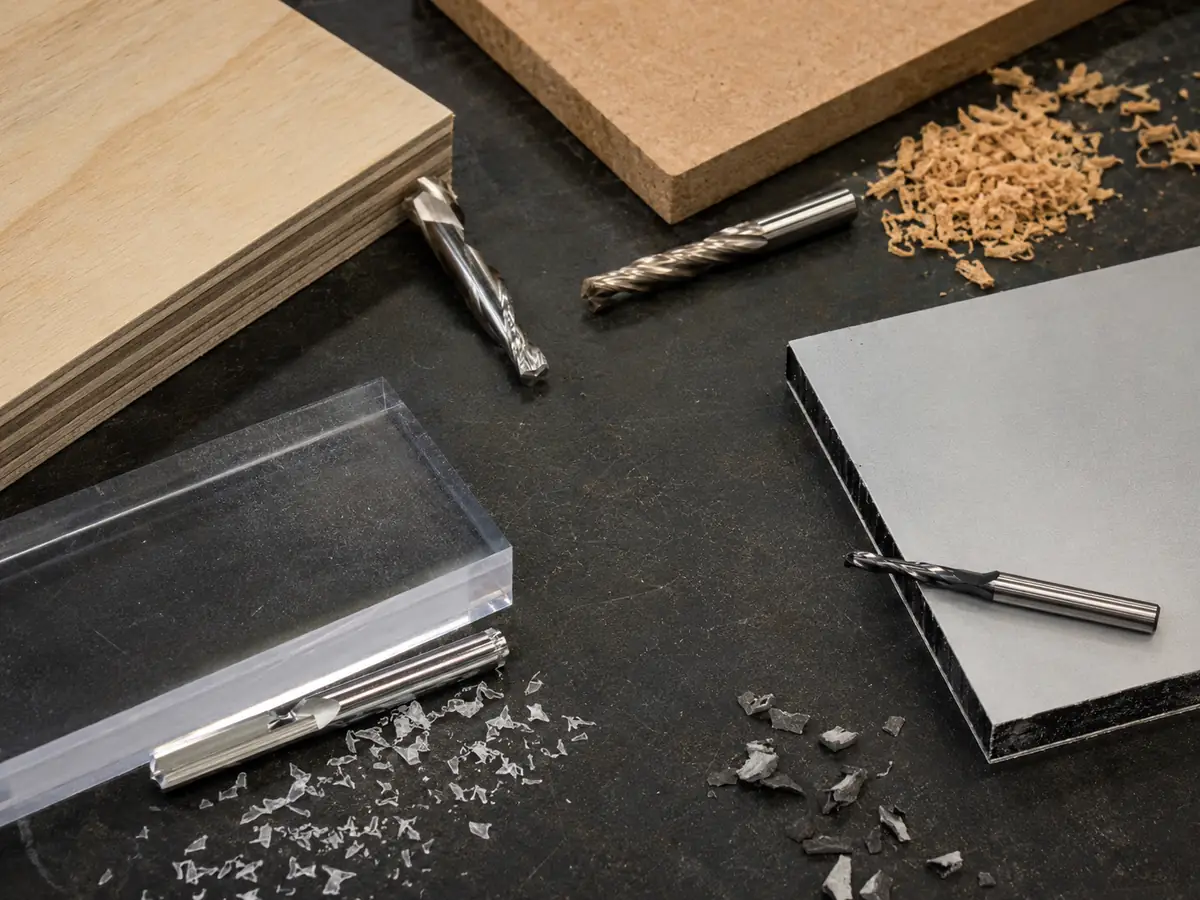
Working with acrylic? Our acrylic CNC routing guide goes deeper into heat and chip removal. If plywood is the problem, see how to cut plywood with a CNC router for edge quality, pass strategy, and vacuum hold-down.
If Small Parts Start Moving, Check the Vacuum Before You Change Bits
Upcut creates upward cutting force. A full sheet may hold perfectly, then smaller nested parts start moving as the available vacuum area drops. The problem often appears near breakthrough, when the part has less surrounding material and less effective holding area. Once the part moves, even the right cutter can leave a bad edge.
Downcut can help keep small or thin parts seated, but it is not a cure for weak hold-down. A deep downcut groove can still trap chips and run hot, so fix the vacuum problem rather than choosing every cutter around downward force.
Still Getting a Bad Cut? Look at Feed and RPM Next
Flute direction controls where the chips want to go, but feed, RPM, flute count, cutter diameter, cut depth and sharpness decide whether the tool is making a healthy chip. The correct flute direction can still burn, chatter or leave a poor edge when the cutting conditions are wrong.
Start from the cutter manufacturer’s data, then watch the chips, heat, sound, edge and tool wear in your actual material. If the chips become dust, the edge starts melting or the tool gets unusually hot, do not keep changing flute direction without checking the cutting conditions. Our CNC feed rate and spindle speed guide explains how feed, RPM, flute count and chip load work together.
Four Mistakes That Cause a Lot of Bad Cuts
Trapped chips raise heat and reduce tool life.
Try this: give chip removal more priority.
Parts can move near breakthrough.
Try this: improve hold-down, cut order, tabs or onion skin.
The wrong flute section may be doing the cutting.
Try this: check the upcut-to-downcut transition.
Burning and fuzzy edges keep returning.
Try this: check the cutter, collet and runout first.
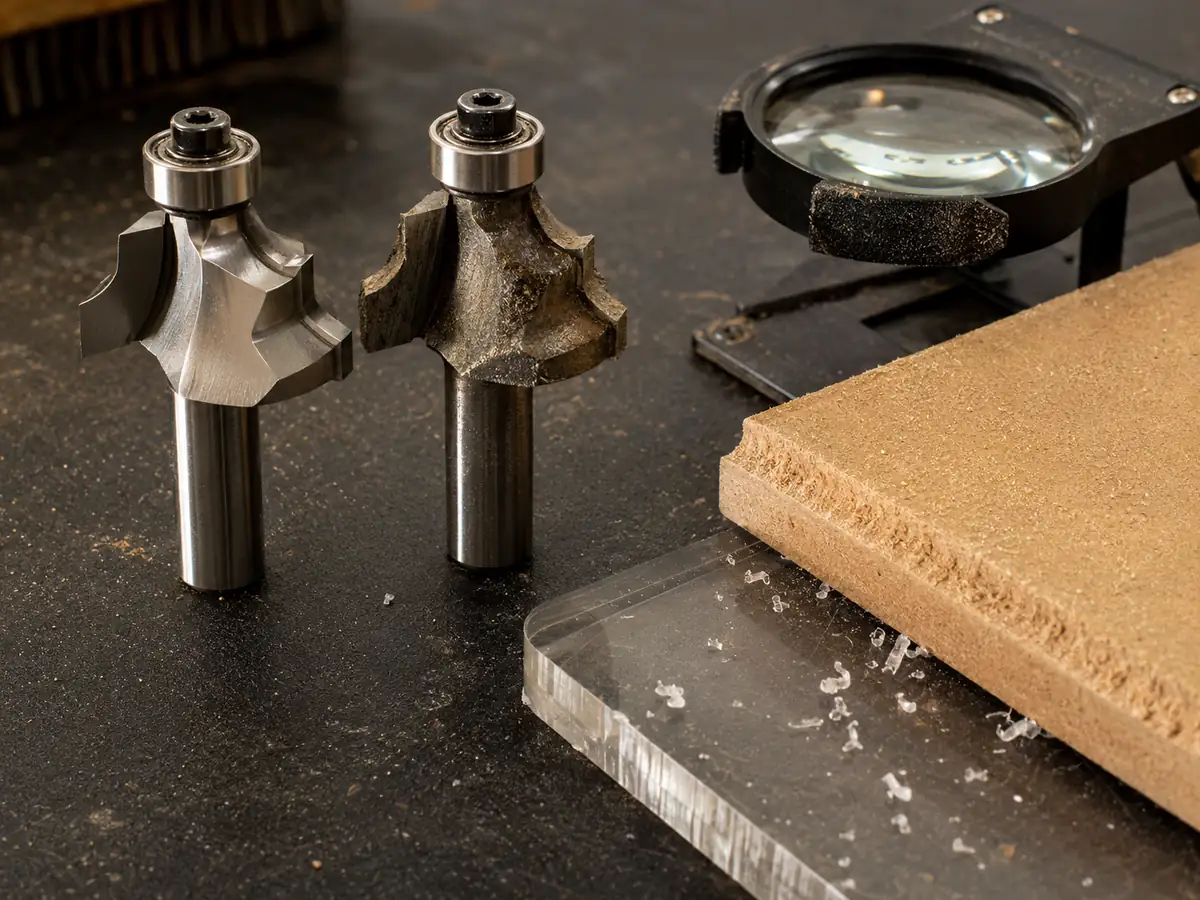
A Common CNC Routing Problem
The Top Edge Looks Fine, but the MDF Groove Keeps Getting Hotter
A clean-looking top edge can hide a poor chip-removal setup.
- What went wrong
- A downcut bit was kept in a deep MDF groove because the top edge looked clean.
- What happened
- Fine MDF dust stayed in the groove, heat built up and the cut became less stable.
- Why
- The cutter was chosen for top-edge quality without giving enough weight to groove depth and chip removal.
- What to change
- Move toward better chip evacuation, then check extraction, cut depth, chip load and vacuum.
What this tells you: judge the cutter by a stable, repeatable full cut—not only the first clean section of the edge.
If the Cut Still Looks Wrong, Check the Machine Setup Too
The cutter still has to work with the spindle and toolholder. Check the shank size, collet condition, cutting length, tool stickout, holder clearance, material thickness, and the smallest internal detail in the drawing.
Too much tool sticking out of the holder makes the setup less rigid. That can create chatter even when the cutter direction itself is right.
If the finish changes every time you replace or reload a tool, check the collet and toolholding before you keep changing feed and RPM.
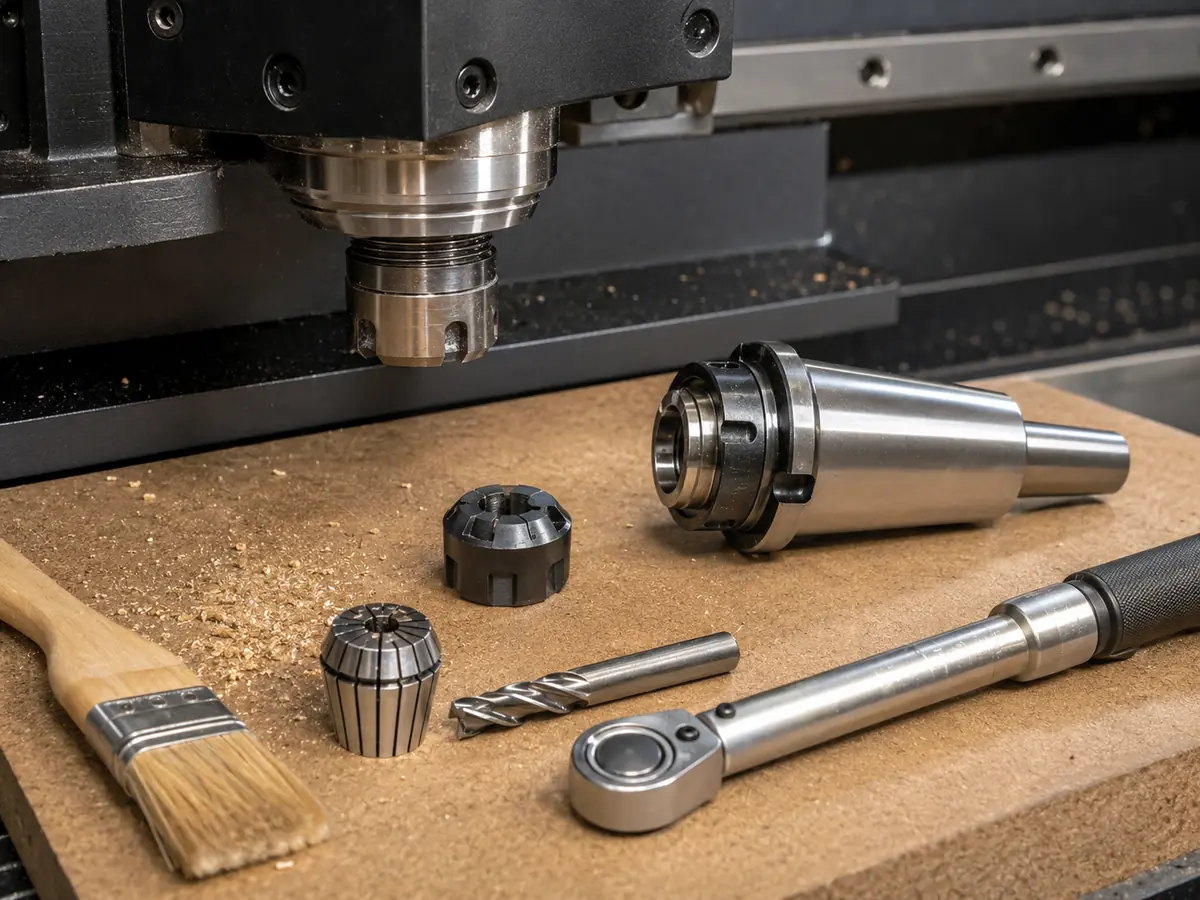
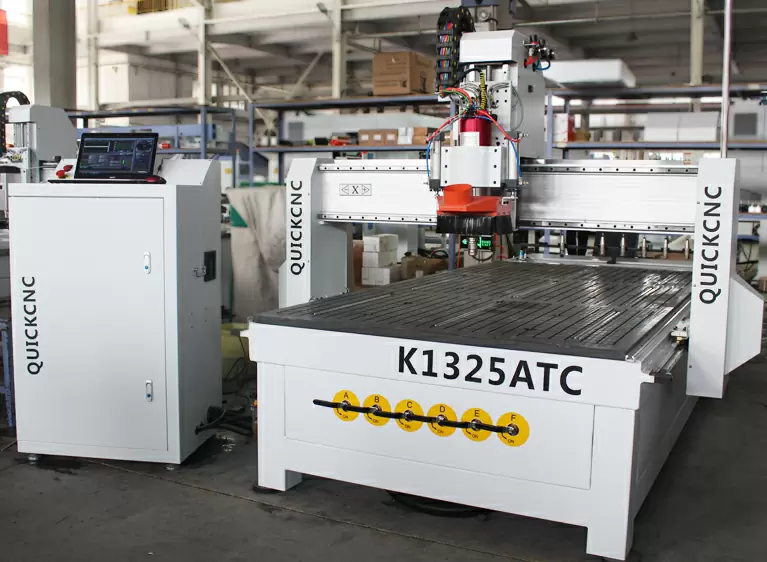
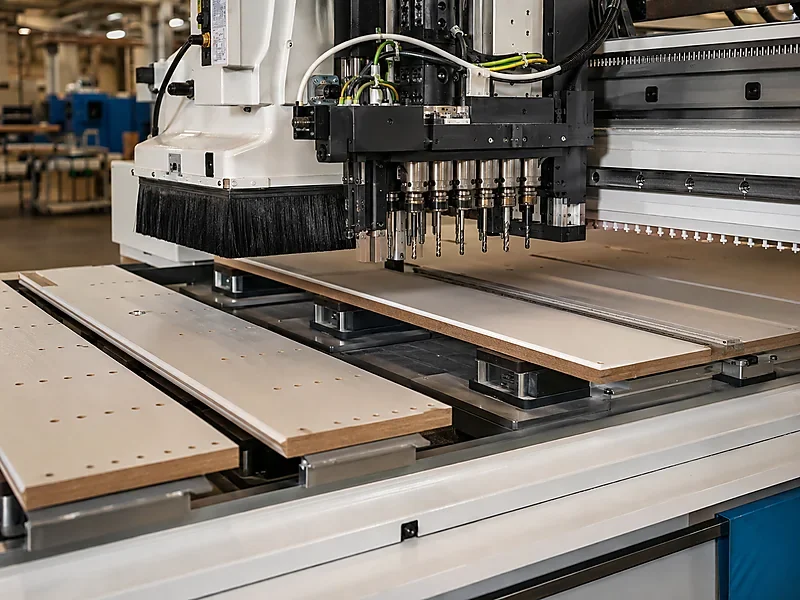
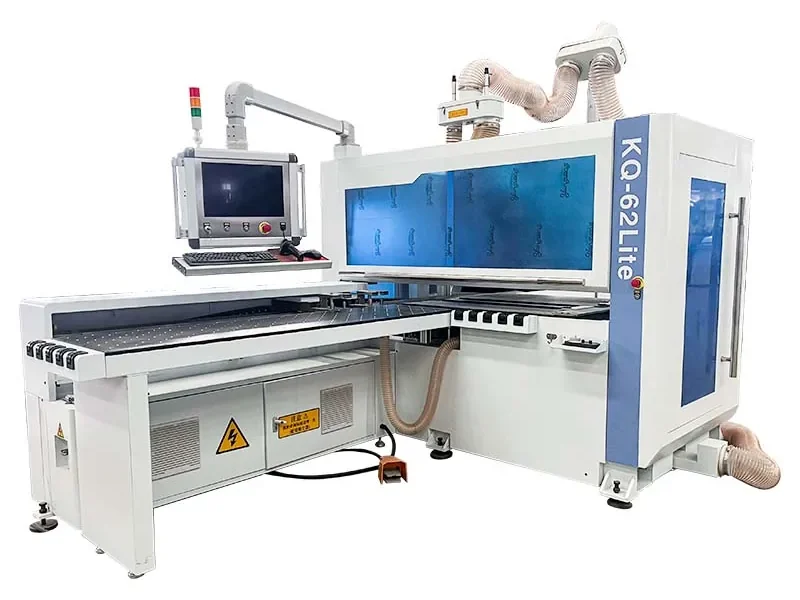
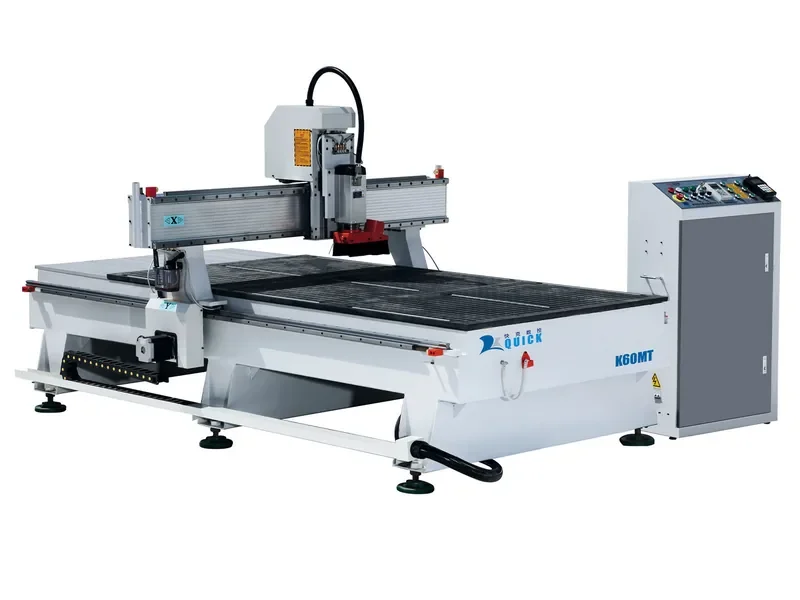
If one part needs several cutters for profiling, drilling, grooving, engraving, and finishing, an ATC CNC router can save you from stopping the machine for manual tool changes over and over again.
But if most of your work is one cutter and one operation, ATC may not add much value. There is no reason to add a more complicated machine just because you are comparing router bits.
Look at the whole job first. How many tools are needed? How often do they change? Are small parts moving? Is cycle time becoming a problem? Those questions tell you much more about the machine you need.
You can also compare our CNC router range or read the woodworking CNC router guide.
Not sure whether the problem is the cutter, vacuum, or the machine? Send us your material and part drawing. We can help you narrow down where the problem is before you change more things. Send your cutting details.
Send Us These 5 Things First
For a first discussion, these five things are enough for us to understand the cutting job.
Plywood, MDF, melamine, hardwood, acrylic, composite, or something else.
Tell us the thickness you run most often, or your normal thickness range.
Through-cut, pocket, groove, dado, profile, engraving, or a mix.
Top, bottom, or both.
A DXF, CAD drawing, PDF, or even a clear photo is enough to start.
If you have more detail, send it too: part size, vacuum setup, current cutter, the problem you see now and production volume.
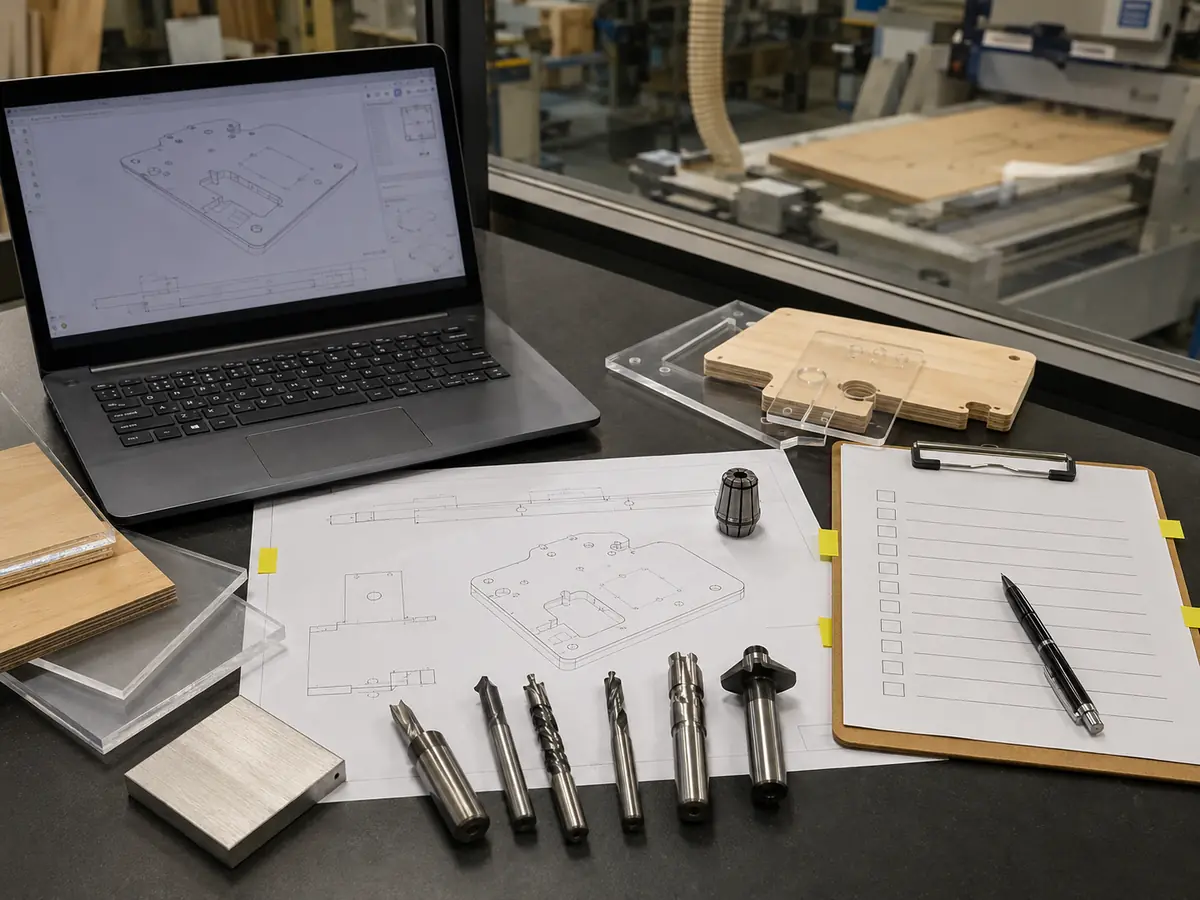
Still Not Sure? Send Us the Part.
Send the material, thickness, drawing, cut type and the face that needs to stay clean. We can help separate a cutter problem from a hold-down or machine-setup problem.
Send Your Cutting DetailsQuestions We Often Get About Upcut and Downcut Bits
Is an upcut or downcut bit better for plywood?
It depends on which face you need to protect. Upcut is better at getting chips out and normally gives the bottom edge more protection. Downcut helps keep the top edge clean. If you are cutting all the way through and both sides matter, start with a compression bit.
Which router bit gives a cleaner top edge?
Downcut is normally the first choice when the top edge matters. Just be careful with deeper grooves because the chips have a harder time getting out.
Should I use an upcut or downcut bit for deep grooves?
Start with upcut when chip removal is the main problem. A downcut can give you a cleaner top edge, but a deep groove can trap chips and run hot.
Can an upcut bit pull parts off a vacuum table?
It can contribute to movement when the part is small, thin, poorly supported, or does not have much vacuum area left. Check the spoilboard, vacuum zones, leakage, cut order, tabs, and onion-skin strategy before changing cutters.
When should I use a compression bit?
Use compression when you are through-cutting plywood, melamine, veneered board, or similar panels and want both faces to stay clean. Make sure your cutting depth actually engages the upcut and downcut sections of the cutter.
Should I use an upcut or downcut bit for acrylic?
Do not choose an acrylic cutter from flute direction alone. A sharp, polished cutter made for plastics — often a single-flute or O-flute upcut — is a better starting point because heat and chip removal are the bigger issues.
Technical References
- Freud Tools router-bit catalog — spiral cutter direction and edge-finish information.
- Vortex Tool catalog — spiral tooling, chip removal, and cutting-condition information.
- Toolstoday / Amana compression spiral guidance — compression geometry for clean cutting on both faces of sheet material.
- Quick CNC CNC Router Bits Guide — a broader look at cutter types, materials, cutter size, and machine setup.
Feed, RPM, and cut-depth limits should come from the technical data for the actual cutter you are using. Then check the result on your own material, machine, workholding, and extraction setup.

Frannie
Hello, I’m Frannie, a CNC machinery specialist with 15 years of experience in the woodworking CNC industry. I help furniture factories, cabinet makers, woodworking workshops, and production businesses choose CNC machines that match their production needs, factory size, budget, and efficiency goals.
My work focuses on solving real production problems, including replacing outdated equipment, improving machining efficiency, reducing labor costs, and upgrading to smarter CNC solutions. I also support customers with machine installation guidance, operation training, video support, and on-site training when needed, helping them use their machines more confidently and effectively.