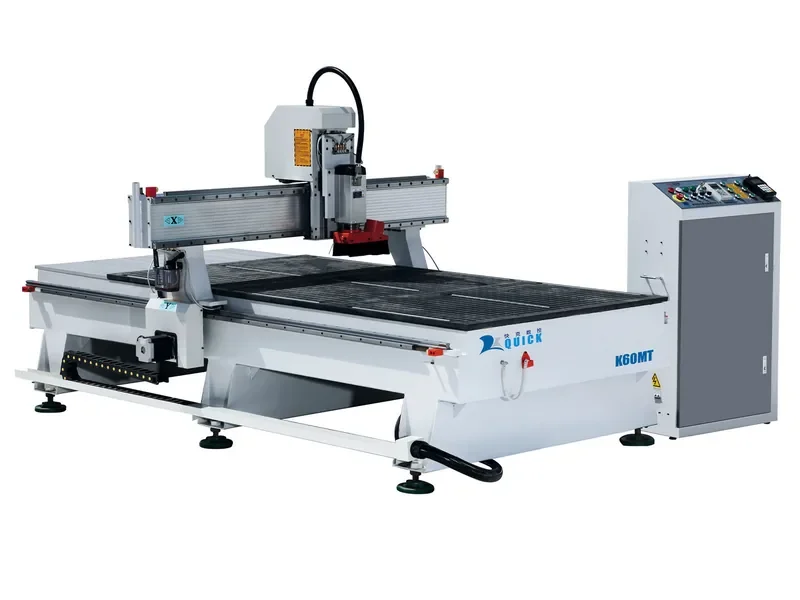
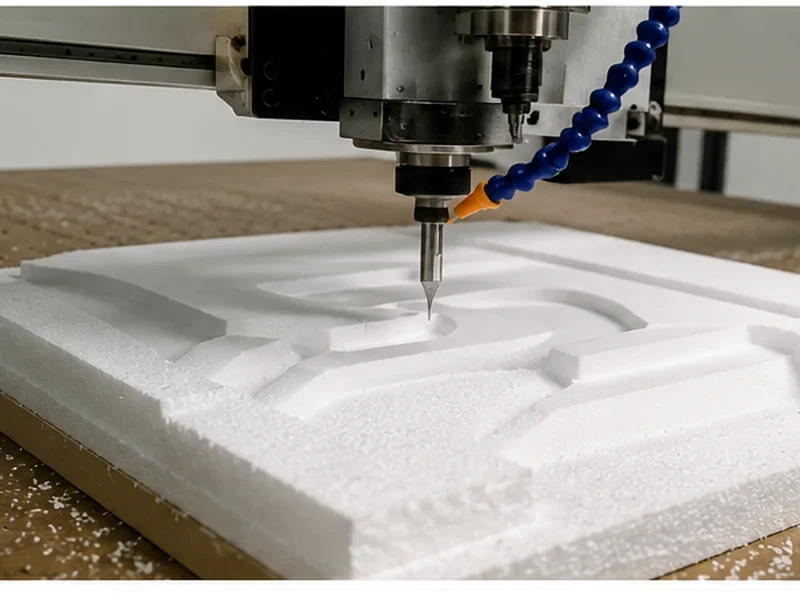
Cutting MDF With a CNC Router
Yes, a CNC router can cut MDF very well. The trick is getting the cutter, feed, vacuum, cut order and dust collection working together. If one of those is wrong, even a good machine can leave rough edges or parts that move halfway through the job.
Start here: look at the MDF type, thickness, edge you need to keep clean, smallest finished part and the operations in the program. Those five things tell you far more than spindle power alone.
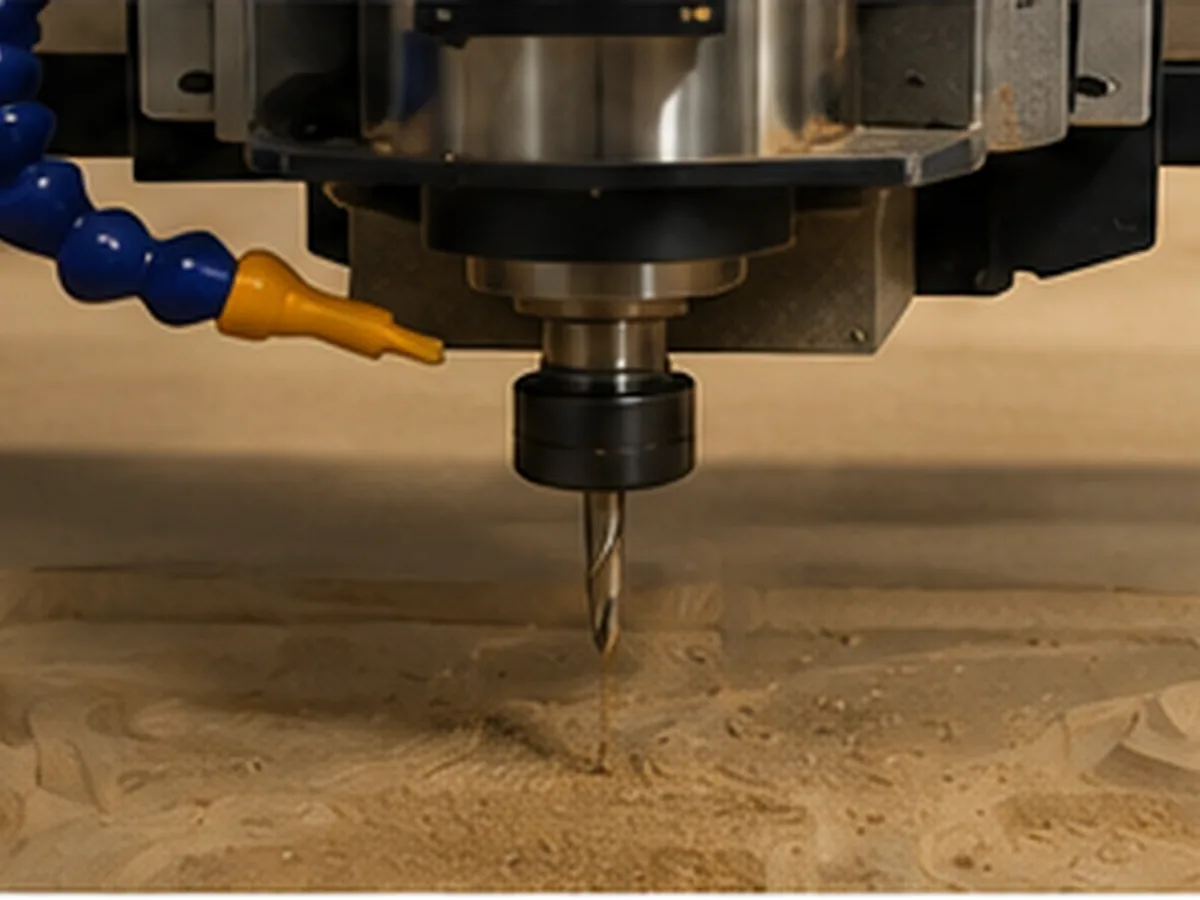
Start With the MDF Job, Not the Machine
If you’re cutting cabinet parts, furniture components, doors, signs or other MDF parts every day, the first question isn’t whether a CNC router can do it. It can.
What really matters is whether you can keep the edge clean, hold the smallest parts in place, stop the cutter from rubbing and get through the job without unnecessary tool changes or manual work.
Once those points are clear, choosing between a standard 3-axis router, an ATC router and a nesting machine becomes much easier.
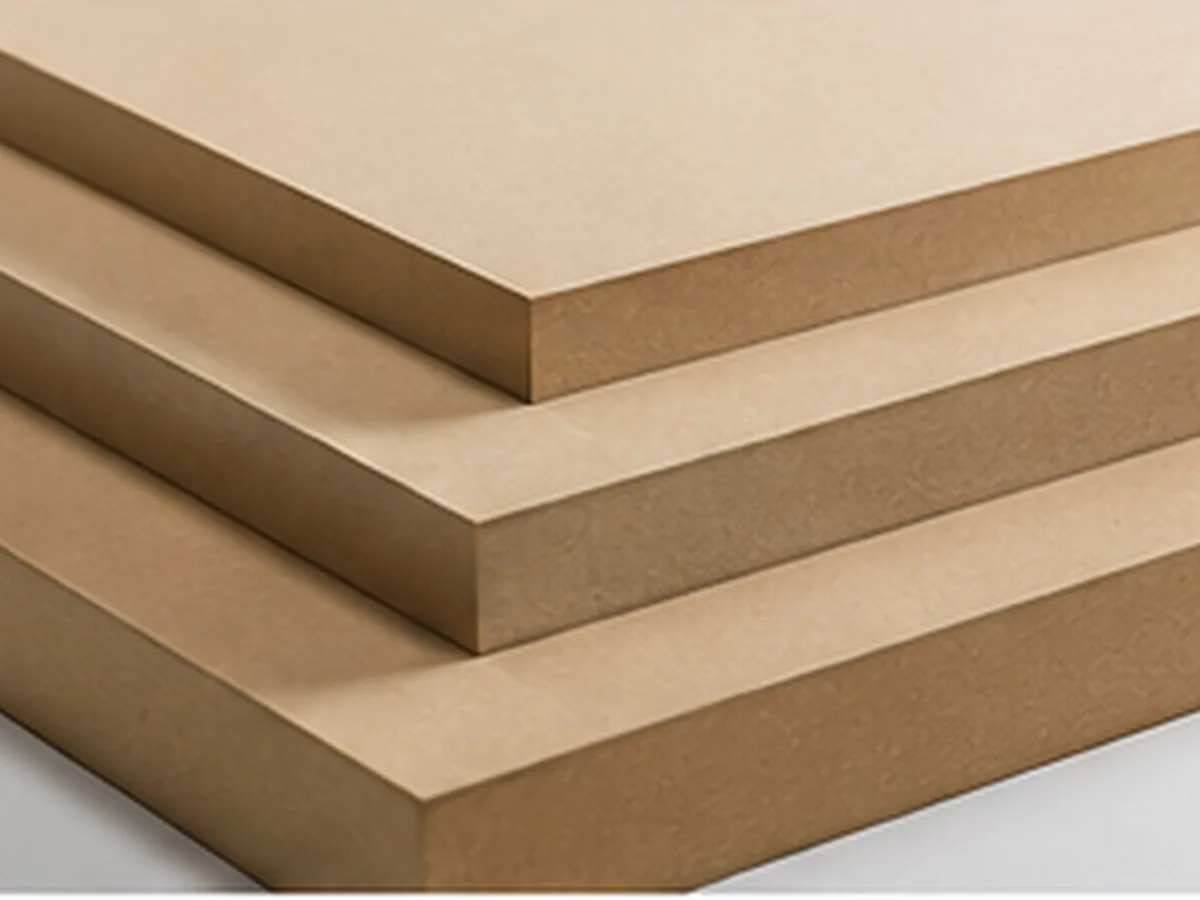
Get These Five Things Right First
Start from the cutter maker’s chip-load data, then check the result on the MDF you actually use.
Upcut, downcut and compression cutters solve different problems. Pick the one that matches the job instead of using the same bit for everything.
A full sheet can stay down perfectly while a small nested part moves. Plan the vacuum and cut order around the smallest part.
The vacuum table holds the MDF down. It doesn’t replace the dust collector.
If one cutter handles most of your work, a standard router may be enough. If you’re changing tools all day, ATC starts to make sense.
Is a CNC Router a Good Fit for This MDF Work?
Profiles, pockets, grooves, furniture parts, cabinet parts, doors, signage and decorative work all fit CNC routing well.
If the same parts come back again and again, CNC programming makes repeat production much easier.
If nearly all the work is straight cutting, don’t force everything through a CNC router just because the machine can do it.
If the job also needs edge banding or a lot of side and multi-face drilling, the router may only be one part of the production line.
If the MDF Isn’t Cutting Right, Check These 8 Things
Don’t change the cutter, RPM, feed, vacuum and toolpath all at once. If you do, you won’t know which change actually fixed the problem.
Work through the setup in order:
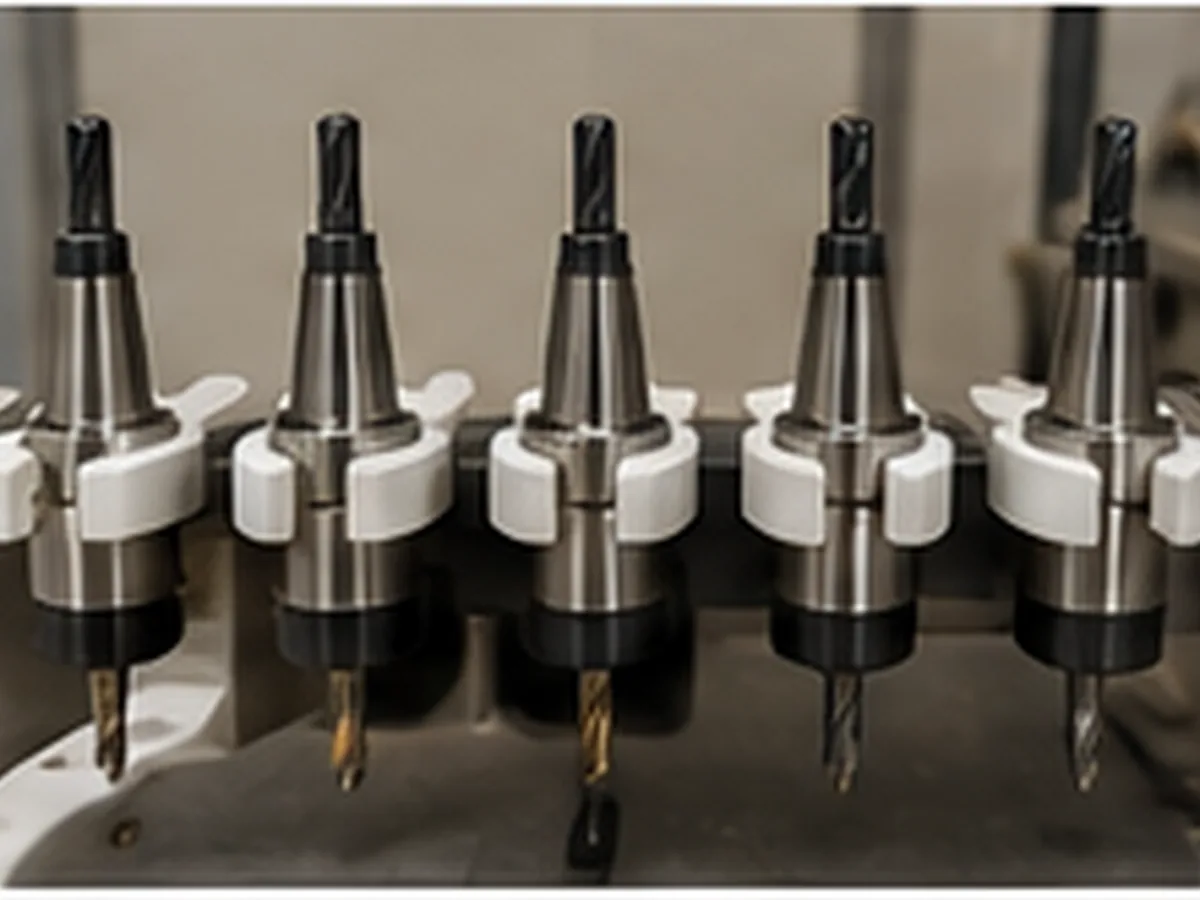
1. Start With the Edge You Need
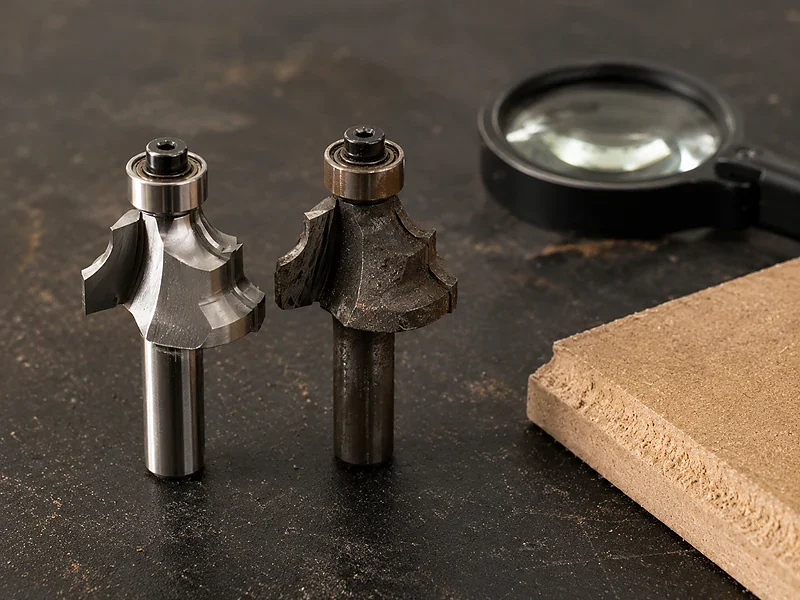
There isn’t one MDF cutter that’s best for everything. First decide which face needs to stay clean and how deep you’re cutting.
| Bit | Start Here When | Why It Helps | What to Watch |
|---|---|---|---|
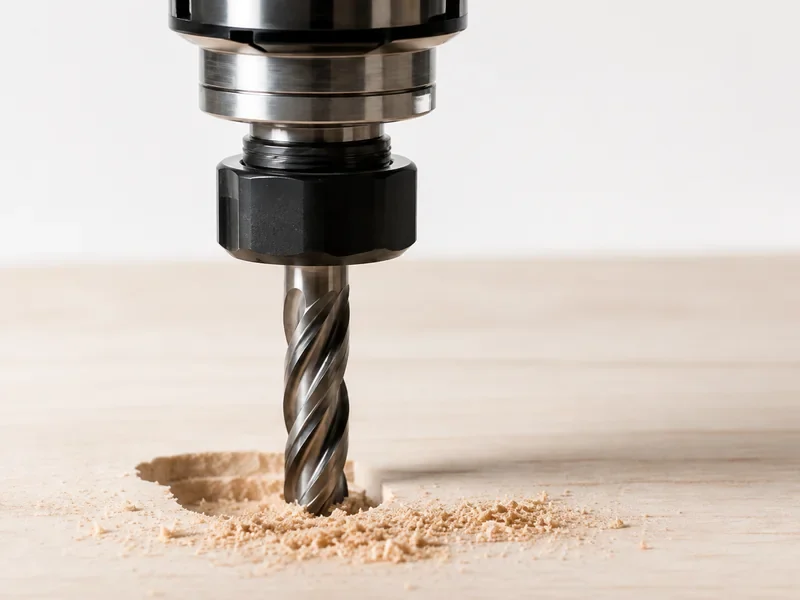
| Upcut spiral | You’re cutting deeper slots, pockets or profiles and need good chip removal | Pulls dust and chips upward | Small parts need good hold-down, and the top edge may need more attention |
| Downcut spiral | The top face is the one you want to keep clean | Pushes the cutting action down toward the top surface | Deep grooves can start packing dust and building heat |
| Compression spiral | Both faces of laminated MDF need to stay clean | Uses opposite cutting directions on the top and bottom of the board | The cutting depth has to reach the right part of the cutter |
| V-bit | You’re cutting lettering, chamfers or V-grooves | Lets you control the groove through tool angle and depth | Check the angle and tip size against the drawing |
| Ball nose | You’re machining 3D shapes or relief work | Works well on curved surfaces | A finer finish can add a lot of machining time |
For more cutter types, see our CNC router bits guide.
2. Set Feed and RPM Together
Don’t pick an RPM first and then guess the feed. The two numbers need to work together.
A good place to start is the cutter maker’s chip-load data:
Feed Rate = RPM × Number of Flutes × Chip Load
That gives you a starting point. Then run your actual MDF and look at the edge, cutter temperature, cutting sound, dust and part stability.
| What You See | What It Often Means | Check This First |
|---|---|---|
| Fine dust, glazed edge or a hot cutter | The cutter may be rubbing instead of cutting cleanly | Cutter sharpness, chip load, feed, RPM and dust removal |
| Chatter or unstable sound | The cutter or setup may be flexing | Pass depth, tool stick-out, holder, vacuum and feed |
| The edge is good but the part moves | The cutting force is greater than the holding force | Vacuum zones, leaks, spoilboard, tabs and cut order |
| The cut is good but production feels slow | You may have too many passes, tool changes or unnecessary movements | Toolpath, pass strategy and workflow |
For more on chip load and feed calculation, see the CNC feed-rate guide.
3. Don’t Force the Cut Just to Finish in One Pass
One-pass cutting can save time when the setup is stable. But one pass isn’t automatically better.
- Check the usable cutting length. Don’t let the collet or plain shank run into the MDF.
- Keep the cutter from sticking out farther than it needs to. A long tool is easier to flex.
- Use a smoother entry when it helps. A ramp or lead-in can reduce the shock of going straight into the board.
- Use a finish pass if the edge really matters. It’s often better than trying to sand out a rough profile later.
- Watch slow corners. A cutter that spends too long rubbing in one spot can heat up quickly.
A thicker board doesn’t automatically mean more passes, and a bigger cutter doesn’t automatically mean one pass. Look at the whole setup.
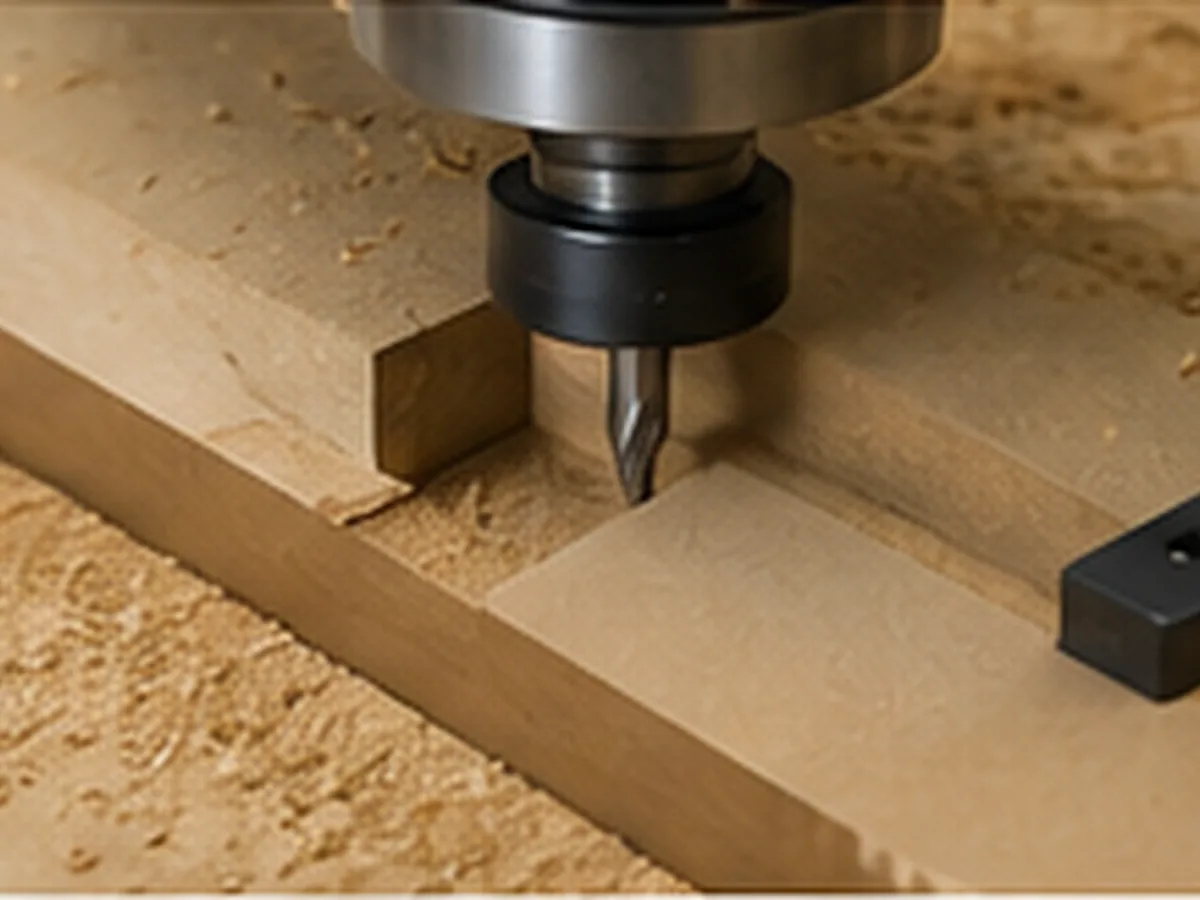
4. Full Sheets and Small Parts Don’t Hold the Same Way
This is where a lot of MDF jobs start going wrong. A full sheet gives the vacuum table plenty of area to work with. Once the sheet is cut into small parts, that holding area drops fast.
For a Full Sheet
- Keep the spoilboard flat.
- Close vacuum zones you aren’t using.
- Check for leaks and exposed table area.
- Make sure warped corners are pulled down before cutting.
For Small Parts
- Cut holes, pockets and grooves before the outside profile.
- Use onion skin, tabs or a fixture when the remaining area gets too small.
- Think about which parts are released first.
- Fix leaks and cut order before simply slowing everything down.
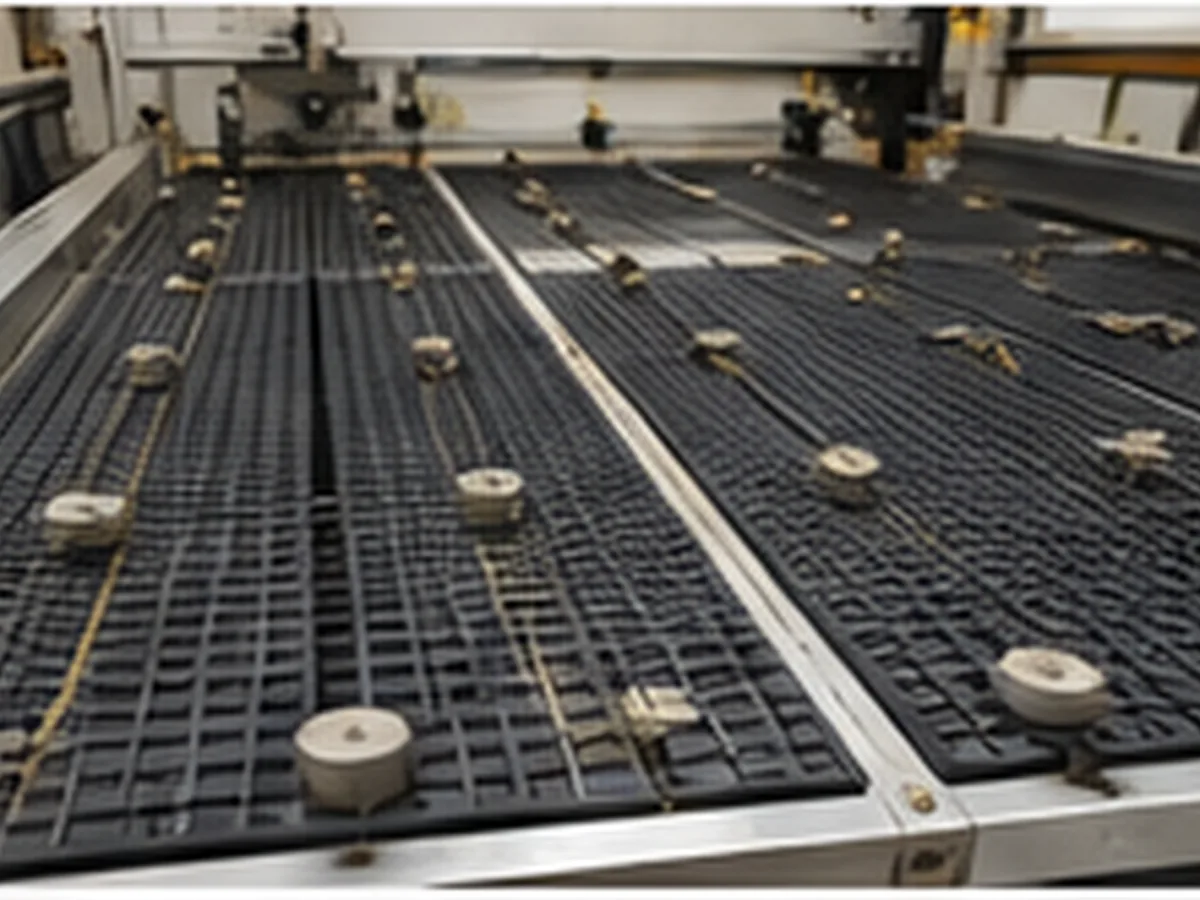
5. Keep the Part Stable Until the Last Cut
The shortest toolpath isn’t always the best toolpath. If the part moves before the important machining is finished, the saved travel distance doesn’t help much.
- Do the inside work first. Drill, groove and pocket while the part still has plenty of support.
- Don’t release small parts too early. Once the outside profile is open, vacuum holding drops quickly.
- Avoid unnecessary stopping. Repeated dwell and slow corners can build heat.
- Choose how the part will be released. Full-depth cutting, onion skin, tabs and final release passes all have their place.
- Don’t dig too deeply into the spoilboard. Deep grooves create more vacuum leakage later.
If one program keeps switching between profile, pocket, drill and V-groove tools, manual tool changes start eating into production time. That’s when an ATC CNC router becomes worth looking at.
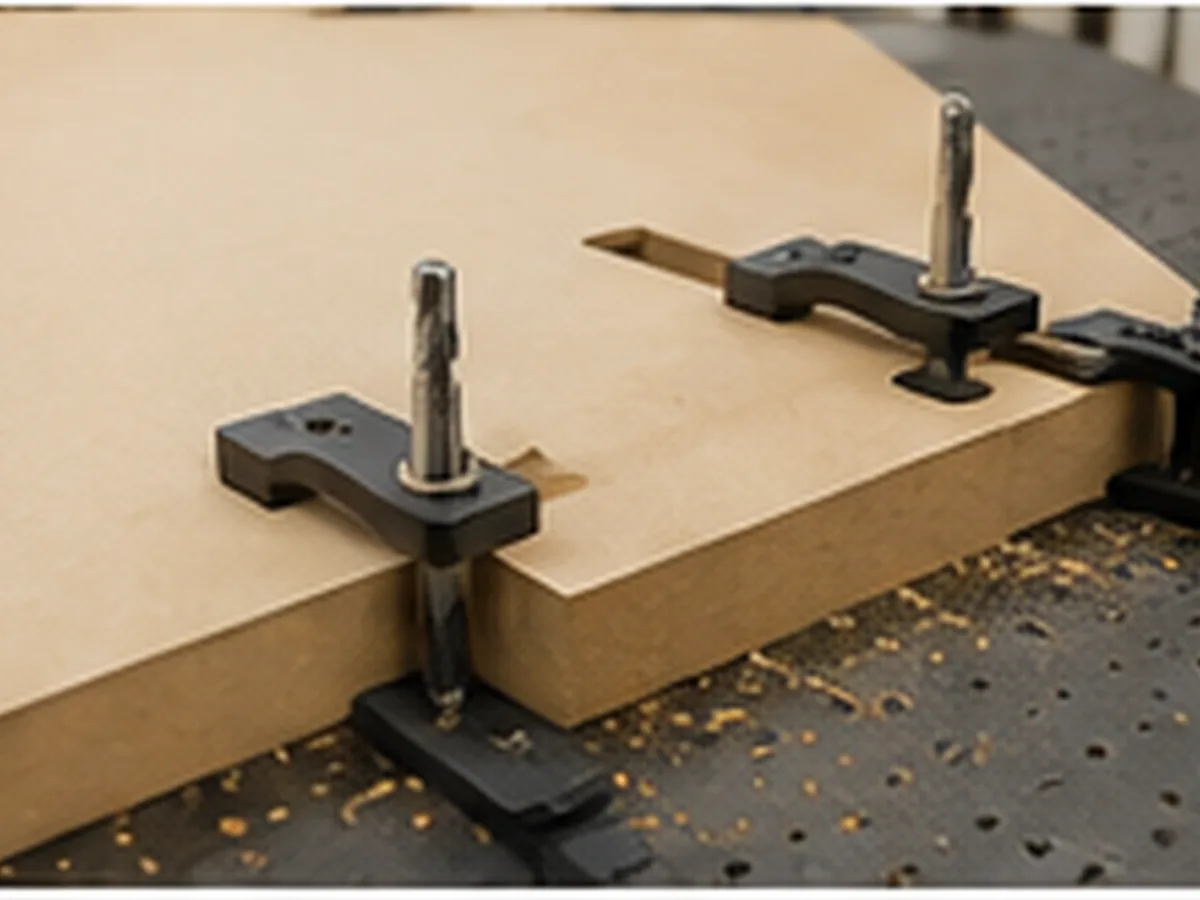
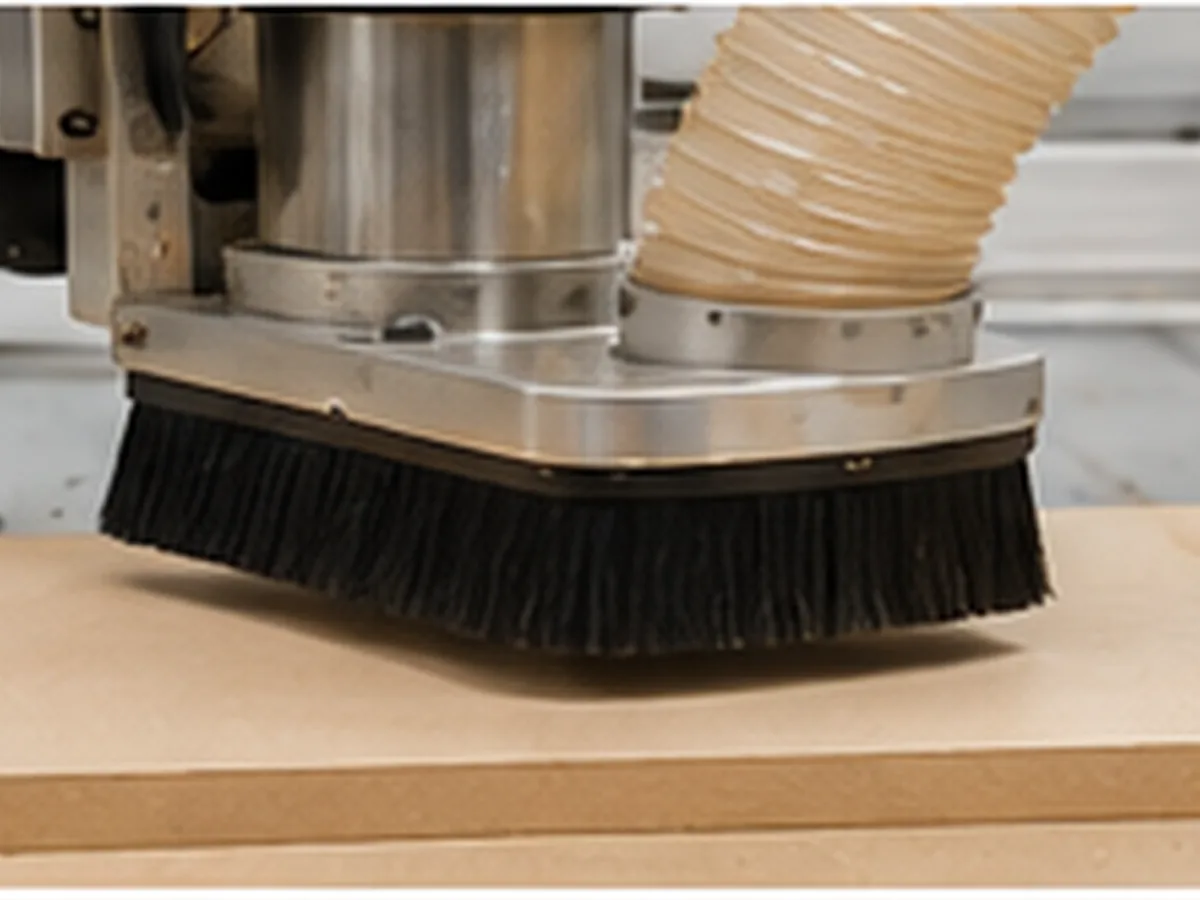
6. Get the MDF Dust Out at the Cutter
MDF makes a lot of fine dust. If the collector is running but dust is still escaping around the spindle, the setup still needs work.
Keep the dust hood close enough to pick up the dust without getting in the way of clamps or tool changes.
Long runs, sharp bends and leaks make dust collection harder.
The collector needs to match the real hood, duct and amount of MDF being removed.
Don’t let fine MDF dust build up around the router or electrical areas.
One simple point that’s easy to mix up: the vacuum table holds the sheet; the dust collector removes dust. They’re doing two different jobs.
7. Test the Real Job Before You Run a Batch
Don’t test one easy straight cut and assume the whole program is ready. Use a real part with the features most likely to cause trouble.
| Check | What You Want to Know | What to Save |
|---|---|---|
| Top and bottom edge | Are both faces clean enough? | Cutter, direction and pass depth |
| Part size and pockets | Does the finished part match the drawing? | Program version and cutter offset |
| Heat | Is the cutter rubbing or glazing the MDF? | RPM and feed |
| Small parts | Did anything lift or move before the final cut? | Vacuum zones, tabs and cut order |
| Dust | Is the dust actually being picked up at the cutter? | Hood and extraction condition |
If something isn’t right, change one big thing at a time. Otherwise you won’t know whether the improvement came from the cutter, feed, vacuum or toolpath.
8. Fix the Setup Before Blaming the Machine
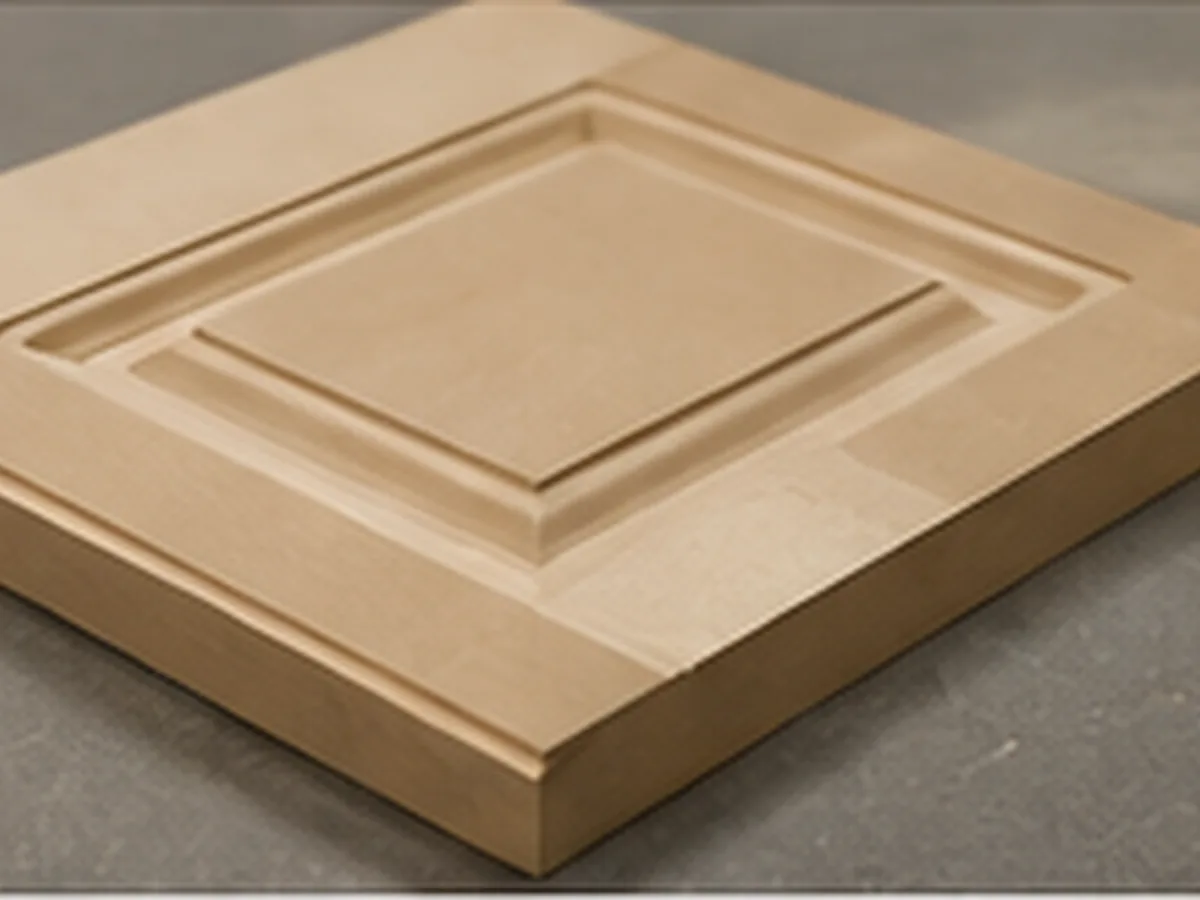
A rough edge doesn’t automatically mean you need a bigger spindle or a new router. A lot of MDF problems start with the cutter, holder, vacuum or program.
| Problem | What Often Causes It | Check First |
|---|---|---|
| Fuzzy edge | Dull cutter, rubbing or a weak finishing pass | Cutter, chip load, runout and final pass |
| Burned or glazed edge | Too much rubbing, dwell or dust recutting | Sharpness, feed/RPM balance and dust removal |
| Rough top face | The cutting direction isn’t protecting the top edge | Downcut/compression cutter and tool condition |
| Rough bottom face | The cutter direction or compression zone isn’t right for the cut | Cutter geometry, cutting depth and spoilboard |
| Part moves | Leaks, small holding area or early profile release | Vacuum zones, spoilboard, cut order and tabs |
| Depth changes | Uneven spoilboard, warped MDF or a setup problem | Spoilboard, sheet flatness and Z reference |
| Chatter marks | Tool flex, long stick-out or weak holding | Tool extension, pass depth, holder and vacuum |
Which CNC Router Makes Sense for Your MDF Work?
Don’t buy the most complicated machine just because it has more features. Start with the problem you’re trying to remove from production.
| Your Work Looks Like This | Start Here | Why | Don’t Pay for It When |
|---|---|---|---|
| Profiles, signs or furniture parts using one or a few cutters | Standard 3-axis CNC router | It handles cutting, pockets, grooves and engraving without extra automation. | Manual tool changes are already slowing the job down every day. |
| Programs keep changing between profile, pocket, drilling and V-groove tools | ATC CNC router | Automatic tool changing removes repeated manual stops. | You use one cutter for most of the shift. |
| You cut full MDF sheets into many cabinet or furniture parts | Nesting CNC machine | It’s built around full-sheet nesting, vacuum holding and releasing many parts. | Most of your work is individual pieces rather than sheet nesting. |
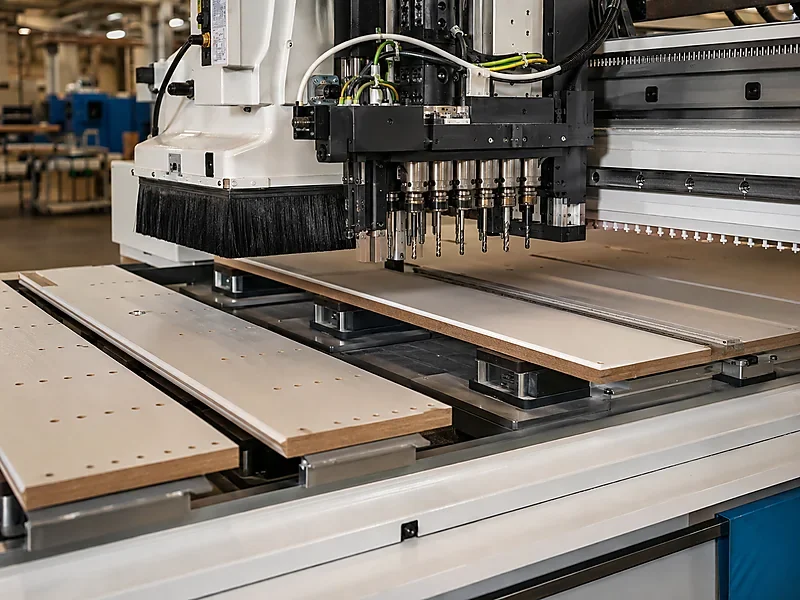
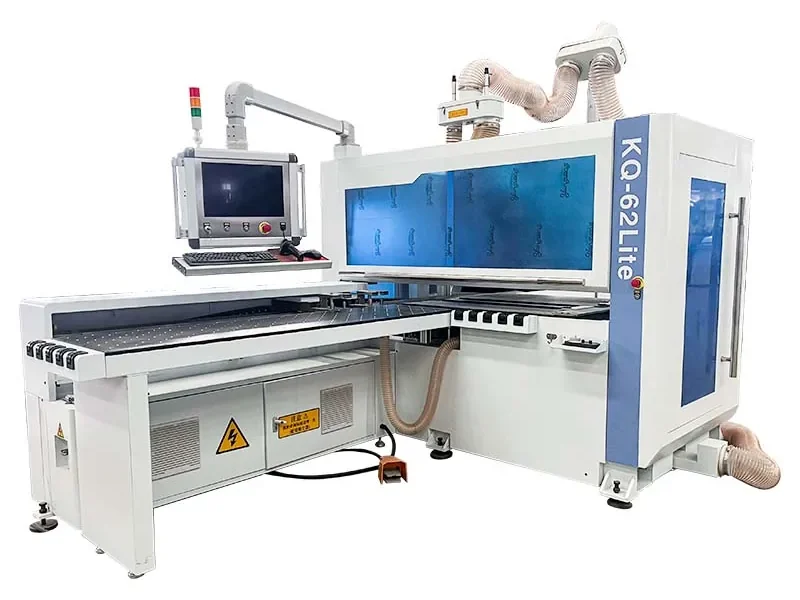
| The MDF also needs edge banding and multi-face drilling | Look at the whole furniture production line | Routing may be only one step in the finished panel process. | Those other operations are already handled elsewhere. |
Here’s the simple version: if you use one cutter most of the day, ATC probably isn’t where you should spend the extra budget. If operators are changing cutters over and over, ATC starts solving a real problem.
And if small parts keep moving, a bigger spindle won’t fix the vacuum problem.
See the CNC router range for standard machines, or the furniture CNC machine range if routing is only one part of the panel process.
Mistakes That Cause Trouble in MDF Cutting
Their cutter, MDF, pass depth and vacuum may be completely different from yours.
More speed doesn’t put a sharp edge back on the tool.
The full sheet may stay down while the smallest parts move.
If the MDF doesn’t reach the correct cutting zones, both faces may not stay clean.
Workholding and dust extraction are two separate systems.
Tooling, vacuum, machine motion and workflow often matter just as much.
Full Sheets Cut Fine, but Small Parts Keep Moving?
This is a common problem in nested MDF cutting. The full sheet may hold perfectly at the start, but the situation changes once the outside profiles start opening up.
- What often happens
- The same full-depth profile strategy is used for large panels and small parts.
- What you see
- Large pieces stay still, but small parts shift and the edge or dimensions suffer.
- Why it happens
- The small part no longer has enough vacuum area to resist the cutting force.
- What to change
- Check spoilboard leakage, close unused zones, cut inside features first and try onion skin, tabs or a fixture where needed.
- The point is simple
- Include the smallest part and nesting layout when you choose the setup. Maximum sheet size alone doesn’t tell the whole story.
Not Sure Which CNC Router Fits the Job?
You don’t need to start by choosing a model number. Start with the MDF and the part.
For a useful first discussion, send these five things:
- MDF type and thickness — tell us what board you normally use and its common thickness.
- Drawing or part file — a drawing shows us the profiles, pockets, grooves, drilling and other operations.
- Sheet size and smallest finished part — we need both because the full sheet and the smallest nested part can have very different holding requirements.
- Main operations — profile cutting, pockets, grooves, drilling, V-grooves, engraving or other repeated work.
- Output target — tell us whether this is occasional work, batch production or regular daily production.
That is enough to narrow the job down to a standard router, an ATC router or a nesting machine.
If you already know the cutter list, vacuum setup, drilling requirements, material handling or other production details, send those too. They help later, but you don’t need all of them for the first message.
Need Help Narrowing Down the Machine?
Send the MDF type and thickness, drawing, sheet size and smallest part, main operations, and your output target. We’ll start with the job and narrow down the machine type before talking about extra options.
Send Your MDF Cutting RequirementsCommon Questions About Cutting MDF With a CNC Router
What is the best CNC router bit for MDF?
There isn’t one best bit for every MDF job. Use upcut when chip removal is the main concern, downcut when the top face needs protection, and compression when both faces of laminated MDF need to stay clean.
What spindle speed should I use for MDF?
Don’t choose RPM by itself. Start from the cutter maker’s chip-load and RPM information, calculate a starting feed, then check the result on your actual MDF.
Can MDF be cut in one pass?
Sometimes, yes. But don’t make one-pass cutting the goal by itself. The cutter, thickness, vacuum, spindle load and required edge all need to support the cut.
Why does MDF burn on the edge?
The cutter may be dull, rubbing instead of cutting, spending too long in corners or recutting dust. Start by checking the cutter, feed-to-RPM balance and dust removal.
Why do small MDF parts move on a vacuum table?
Small parts have much less holding area than a full sheet. Check vacuum leakage, spoilboard condition and cut order, and use onion skin, tabs or fixtures when needed.
Do I need an ATC router for MDF?
Not automatically. If one cutter handles most of your work, a standard router may be enough. ATC becomes more useful when the same program keeps changing between several tools.
When does a nesting CNC machine make more sense?
Nesting makes more sense when production revolves around full MDF sheets being divided into many cabinet or furniture parts, especially when vacuum holding and part release are a big part of the workflow.
References
- OSHA — Wood Dust for general wood-dust and source-extraction guidance.
- LMT Onsrud Cutting Data Recommendations for cutter-specific cutting-data principles.
- Amana Tool Compression Router Bit Information for compression-cutter geometry and application information.
Feed, RPM and cutting depth still need to be checked against the actual MDF, cutter and machine you’re running.
Need Help Matching the MDF Job to the Machine?
Send the MDF type and thickness, drawing, sheet size and smallest part, main operations, and your output target. We’ll work back from the job to the machine and configuration instead of starting with a model number.
Discuss Your MDF CNC Setup
Frannie
Hello, I’m Frannie, a CNC machinery specialist with 15 years of experience in the woodworking CNC industry. I help furniture factories, cabinet makers, woodworking workshops, and production businesses choose CNC machines that match their production needs, factory size, budget, and efficiency goals.
My work focuses on solving real production problems, including replacing outdated equipment, improving machining efficiency, reducing labor costs, and upgrading to smarter CNC solutions. I also support customers with machine installation guidance, operation training, video support, and on-site training when needed, helping them use their machines more confidently and effectively.