Quick Answer
If you want clean plywood edges, do not start by changing feed rate or spindle speed. Start with the plywood and decide which face needs to stay clean. Then choose the bit, holding method, cutting depth and toolpath around that job.
Use an upcut bit when chip removal matters most, a downcut bit when the top face needs protection, and a compression bit when both faces need to stay clean. For feed and RPM, start from the tool maker’s chip-load data and test it on the actual plywood instead of copying one universal setting.
A lot of plywood problems are not caused by a weak spindle. More often, the issue is the cutter, compression engagement, workholding or the order of the cut.
Cutting plywood cleanly mostly comes down to four things: the sheet, the bit, the hold-down and the cutting order. Get those right first. Then it becomes much easier to decide whether you really need a standard router, an ATC machine or a nesting setup.
Before You Cut, Get These Four Things Right
Is a CNC Router the Right Way to Cut This Plywood Job?
Check the Plywood First — Then Set the Machine
Plywood is not one consistent material. Birch plywood, softwood plywood, decorative veneered sheets, laminated plywood and lower-grade structural panels can behave very differently. Face quality, core density, glue, internal voids and flatness all affect the edge, tool life and vacuum holding.
| Check this | Why it matters | What to do |
|---|---|---|
| Visible faces | If only the top is visible, the bit choice may be different from a part where both faces need to stay clean. | Mark the visible faces before choosing the cutter. |
| Actual thickness | The real sheet thickness can be different from the nominal size. Too shallow leaves fibers; too deep cuts more spoilboard than necessary. | Measure several places on the sheet and use only the breakthrough you need. |
| Flatness and porosity | Warped or porous plywood can leak vacuum and lift during profiling. | Check sheet flatness, table zones, gasket condition and spoilboard condition. |
| Core voids and glue lines | Voids weaken small features, while abrasive glue lines can wear the cutter faster. | Test representative parts and keep watching the edge as the batch runs. |
| Smallest component | The smallest part often tells you more about holding than the full sheet does. | Flag the smallest or narrowest parts before you build the final toolpath. |
Choose the Bit for the Edge You Actually Need
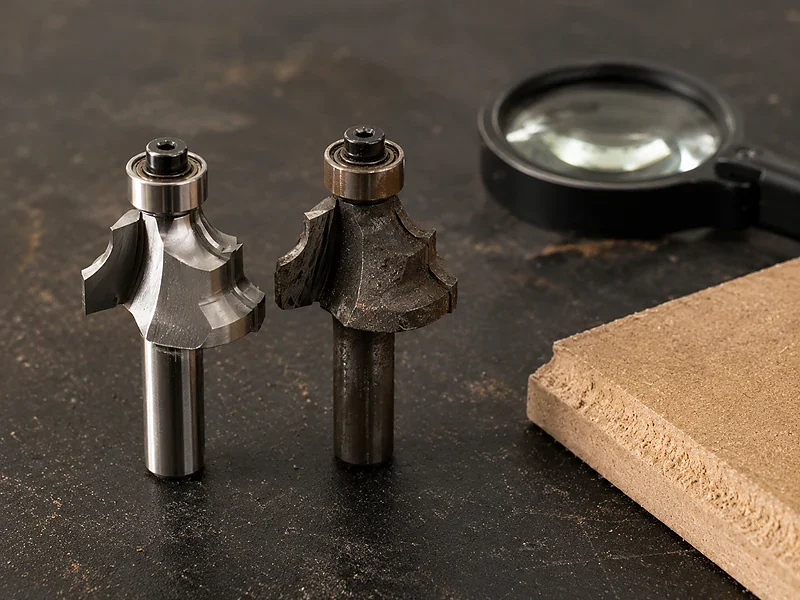
Do not choose a plywood bit just because somebody says one type is “best.” Start with the visible face and how the chips need to leave the cut. Also make sure the cutter fits the smallest inside radius and has enough cutting-edge length for the programmed depth.
| Bit | Where it works well | What it does well | What to watch |
|---|---|---|---|
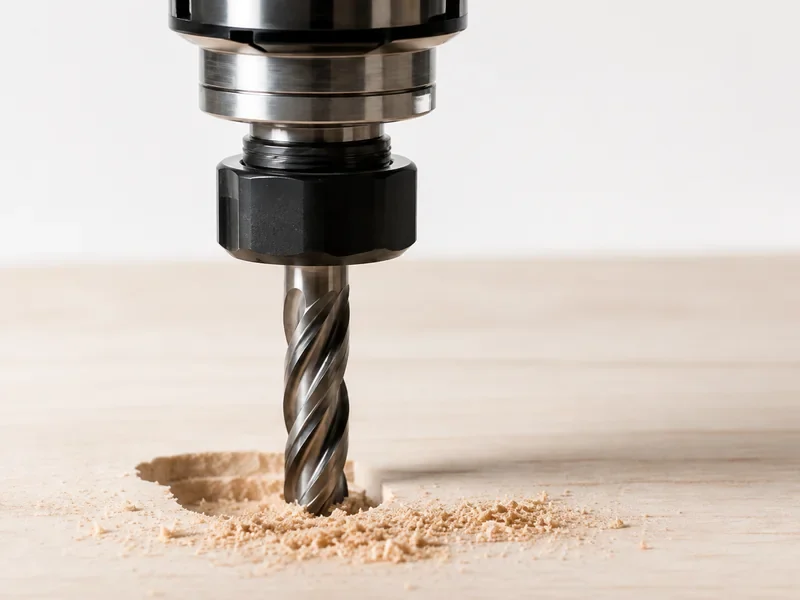
| Upcut spiral | Deep slots, rough cutting and jobs where chip removal or the bottom edge matters most | Pulls chips up and out of the cut | Can lift the top veneer or make a weakly held small part move |
| Downcut spiral | Shallow pockets, grooves and jobs where the top face needs to stay clean | Pushes the top fibers down toward the sheet | Pushes chips down as well, so deep cuts can run hotter |
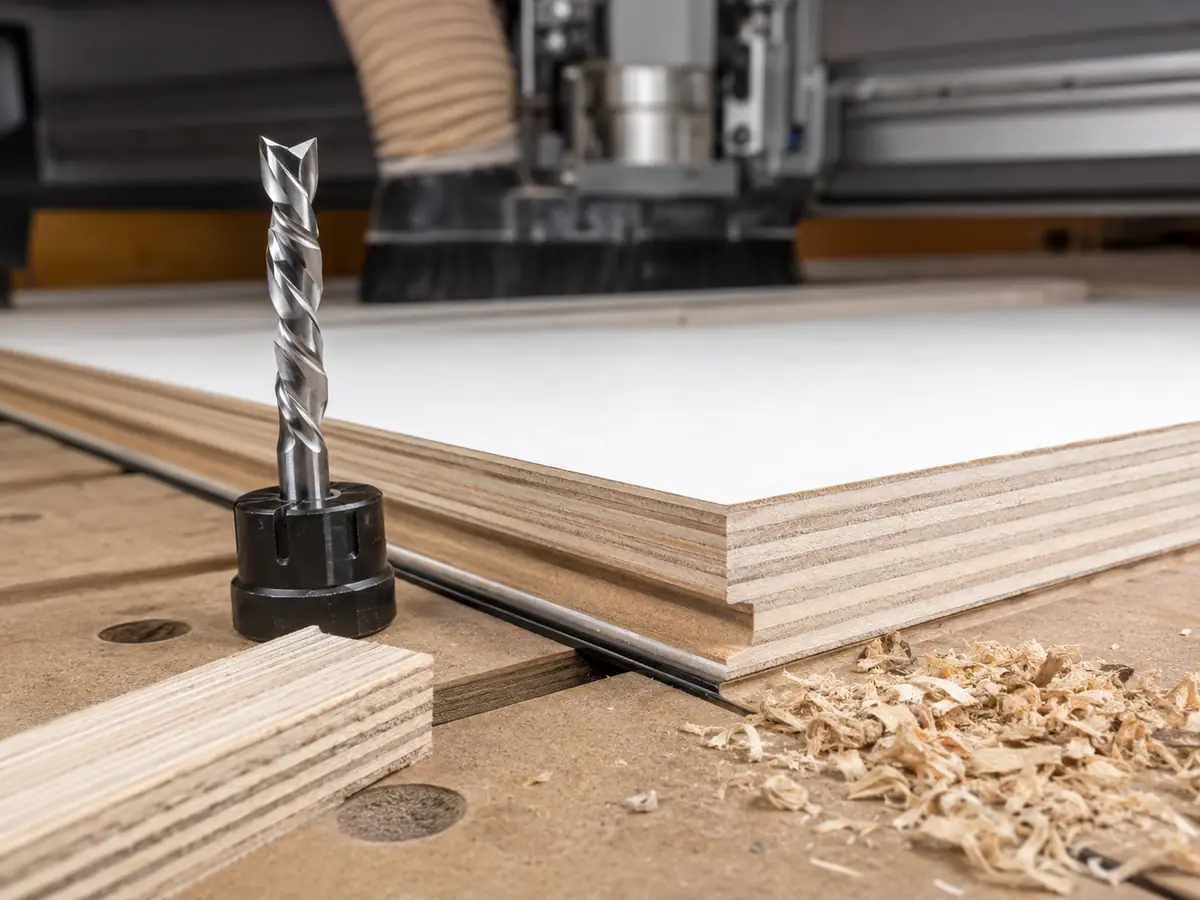
| Compression spiral | Through-cutting veneered or laminated plywood when both faces matter | Pushes toward the middle of the sheet from both sides | It only works properly when the cutting depth engages the compression geometry correctly |
| Mortise / short-upcut compression | Thinner sheets or multi-pass work where the transition on a normal compression bit sits too high | Brings the compression action into the material sooner | You still need to check the actual transition length against the sheet thickness |
| Straight flute | Some delicate veneer jobs or jobs where you want less vertical pulling or pushing | Lower vertical force | Chip removal is normally not as strong as with a spiral tool |
Keeping the Part Still Is Half the Job
A full plywood sheet can feel rock-solid when the program starts and still lose small parts near the end. Every profile you open creates more air leakage and leaves less surface area for the vacuum to hold.
- Surface the spoilboard so the plywood sits flat.
- Clean dust and chips before loading the next sheet.
- Close vacuum zones you are not using.
- Cut holes, pockets and grooves before cutting the outside profile free.
- Keep small parts attached with an onion skin, tabs or bridges until the last pass.
- Use mechanical fixtures when a narrow or irregular part simply does not have enough vacuum area.
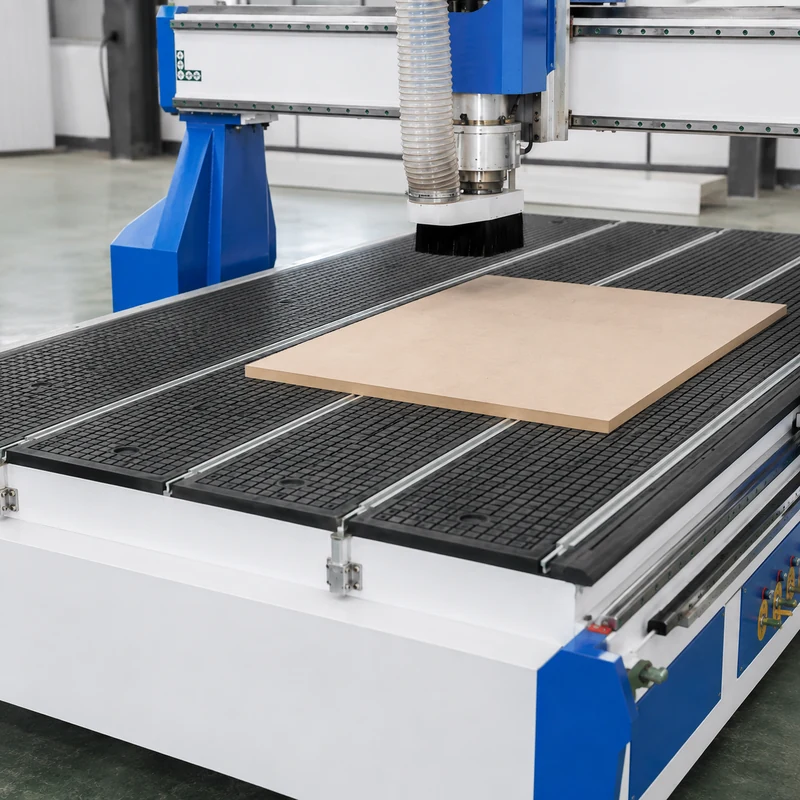
A Practical Cutting Order That Works Better in Production
- Start with the finished part. Mark the visible faces, important edges, smallest inside radius and smallest component.
- Check the sheet. Measure the real thickness and look for obvious warping or core problems before loading it.
- Choose the cutter. Check diameter, flute direction, cutting length, compression transition, shank and holder.
- Get the table ready. Clean and surface the spoilboard, close unused zones and make sure the sheet is stable before the first cut.
- Cut the inside work first. Finish holes, pockets and grooves while the part still has plenty of plywood around it.
- Check the tool setup. Make sure the collet is in good condition, the bit is not sticking out too far and the Z reference is correct.
- Run a real test part. Use the same plywood, bit, holder and holding setup you plan to use in production. Look at both faces, check the size and make sure the part stays still.
- Save what worked. Record the cutter, feed, RPM, pass depth and holding method so the next operator does not have to start over.
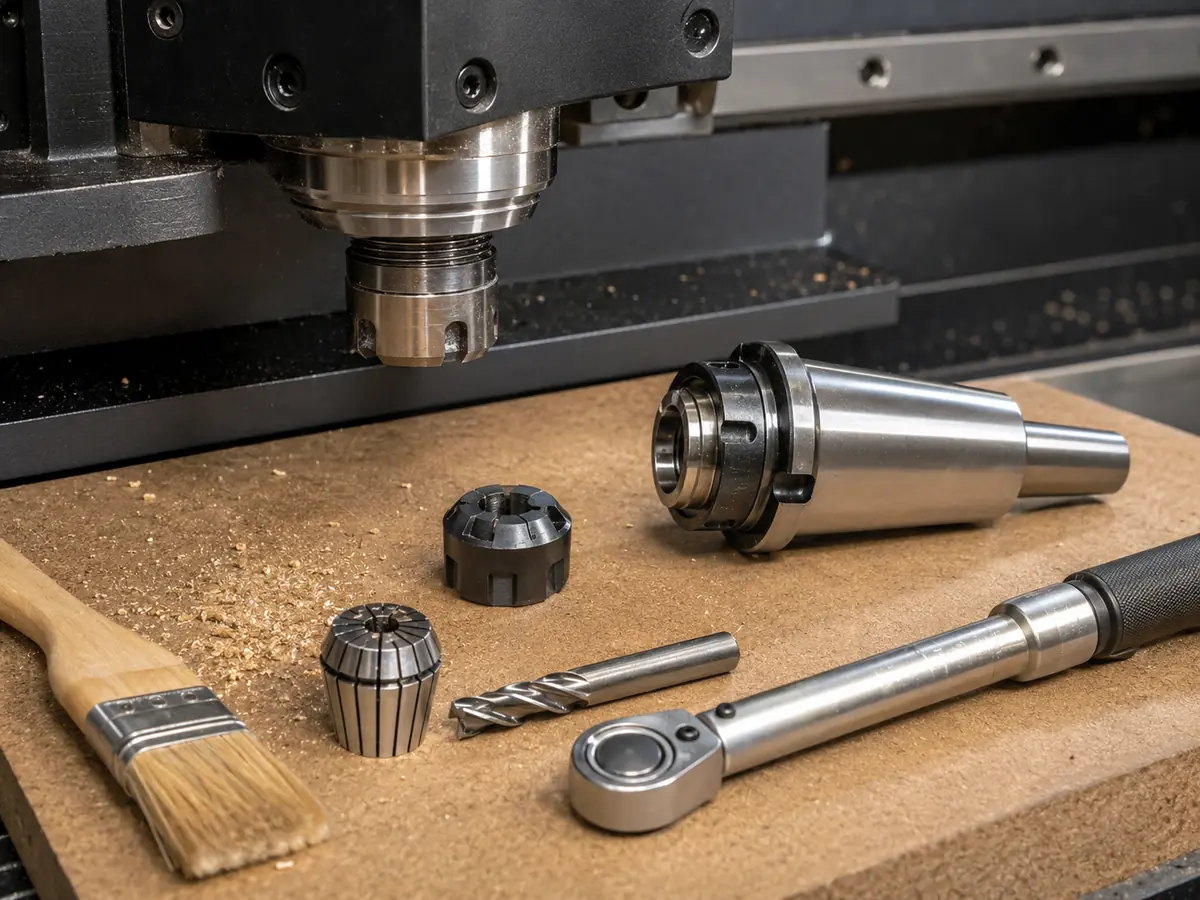
Start With Chip Load, Then Fine-Tune Feed, RPM and Pass Depth
There is no single plywood feed rate that works on every CNC router. Tool diameter, flute count, plywood grade, RPM, cutting depth, tool stickout, machine condition and holding all change the result.
Feed rate = spindle RPM × number of flutes × target chip load per tooth
Keep the units consistent when you use the formula. For example, use mm per tooth with mm/min, or inch per tooth with inch/min.
Start with the cutter manufacturer’s plywood data. Tool makers such as LMT Onsrud and Amana publish chip-load and compression-tool guidance, so use those charts as a starting point and then prove the setup on your actual plywood. You want real chips leaving the tool. Very fine dust, dark edges, rising spindle load or excessive noise are signs that something needs to change.
If the cut is not right, check things in this order
- Make sure the cutter is sharp and not damaged.
- Keep the tool projection as short as the job allows.
- Make sure the sheet and the small parts are held securely.
- Check that the chip-load data matches the actual tool diameter and flute count.
- Fine-tune feed, RPM and depth together instead of changing numbers at random.
- Check both faces and measure the finished part before you approve the setup.
Toolpath Choices That Help Keep the Edge Clean
| Toolpath choice | When it helps | What to do |
|---|---|---|
| Onion skin | Small parts need to stay connected to the sheet until the final pass | Leave enough material to hold the part, then remove it with a light final pass. |
| Tabs or bridges | The plywood is porous or the individual part has very little vacuum area | Put the tabs where removing them will not damage an important visible edge. |
| Roughing + finishing pass | A clean edge or stable finished size matters more than saving a few seconds | Leave a small amount of material and remove it in a separate, stable finish pass. |
| Shallow scoring pass | The face veneer chips before the main profile gets deep into the sheet | Try a shallow surface pass and keep it only if the real plywood edge gets better. |
| Climb vs conventional finishing | One direction gives a cleaner visible edge than the other | Cut a representative feature both ways and use the direction that works better on that plywood. |
If the Plywood Cut Looks Bad, Start Here
| Problem | What may be causing it | What to try |
|---|---|---|
| Top-face tearout | Upcut action, dull cutter, unsupported veneer or aggressive entry | Try a sharp downcut or properly engaged compression bit and review the entry path. |
| Bottom-face tearout | Downcut action, poor spoilboard support or compression geometry not fully engaged | Restore the spoilboard support and check whether upcut or compression geometry is a better fit. |
| Burning / dark edge | Dull cutter, rubbing, low effective chip load, chips being recut or poor extraction | Check the cutter and chip removal first, then adjust feed, RPM and depth. |
| Parts move near the end | The remaining holding area is too small after the profiles open | Keep the parts supported longer or use onion skin, tabs, bridges or another holding method. |
| Cut does not go completely through | Sheet thickness, Z reference or spoilboard flatness does not match the program | Measure the sheet and table again, reset Z and use only the breakthrough you need. |
| Wavy or tapered edge | Long tool stickout, cutter deflection, worn collet, weak holding or too much load | Shorten the tool projection, check the holder and stabilize the part before increasing cutting load. |
| Tool wears quickly | Abrasive glue lines, dirty sheets, excessive heat or the same small section of flute doing all the cutting | Use suitable carbide tooling, improve chip formation and watch tool life by plywood batch. |
Why Small Parts Move Near the End of the Cut
Imagine a cabinet nesting program where the full sheet is stable at the start, but a few narrow parts begin to move during the final outside profiles.
- What went wrong
- The program cut too many outside profiles completely through before the smallest parts were finished.
- What happened next
- More air leaked through the sheet, the small parts lost holding area and some began to rotate or shift.
- The real reason
- The holding setup looked strong on the full sheet, but nobody checked how much holding area would still be left near the end of the program.
- How to fix it
- Do the holes and pockets first, keep useful sheet area connected longer, cut the smallest parts later, and use onion skin or tabs where needed.
- What this tells you
- When choosing a machine or vacuum setup, the smallest part matters just as much as the largest sheet.
Which Machine Makes Sense for Your Plywood Work?
| Your production looks like this | Machine to look at | Why |
|---|---|---|
| Full-sheet profiles, pockets and grooves, with one main cutter doing most of the job | Standard 3-axis CNC router | Keeps the setup simple when manual tool changes are not slowing production down. |
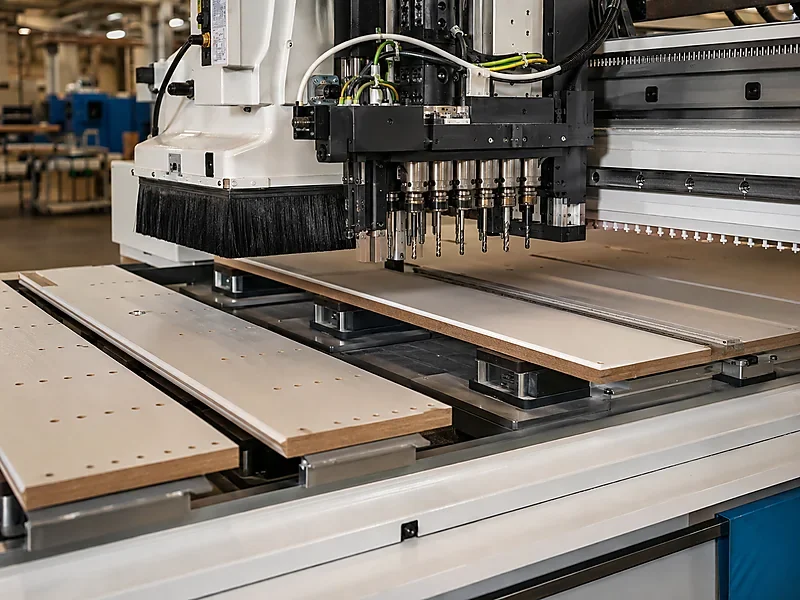
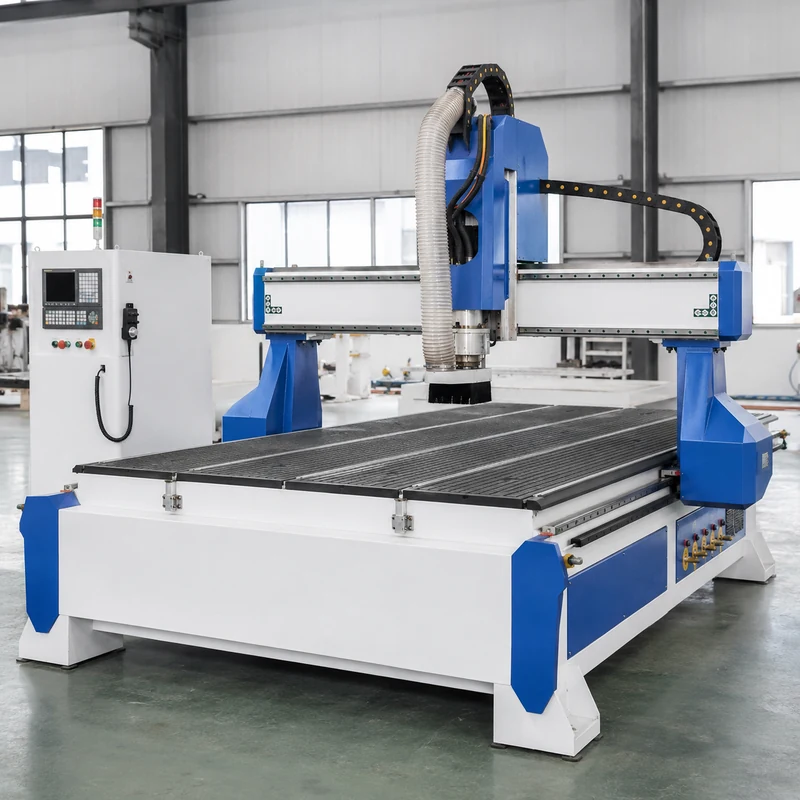
| The same program repeatedly uses compression cutting, drilling, grooving, V-cutting and finishing tools | ATC CNC router | The machine can change tools automatically instead of waiting for the operator between operations. |
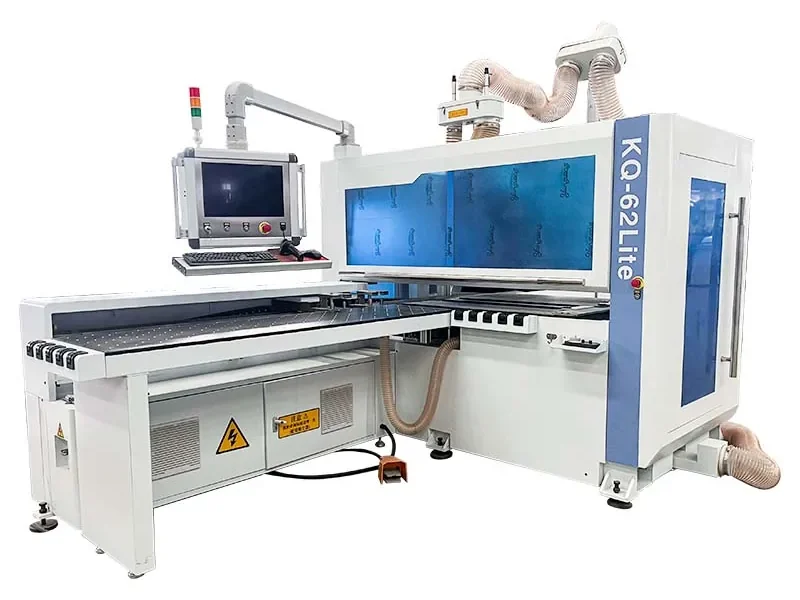
| Cabinet or panel-furniture work with repeated sheet nesting, labeling, loading or downstream production | Nesting CNC machine / furniture production setup | The bottleneck is no longer only cutting. Sheet flow, small-part handling and the next production steps matter too. |
| Irregular parts, small batches or components with too little area for reliable vacuum holding | CNC router with vacuum + T-slot / fixture flexibility | Mechanical clamping gives you another way to hold parts when vacuum alone is not enough. |
Don’t buy ATC just because it sounds more advanced
If most of your plywood jobs run from start to finish with one compression bit, an ATC may add cost without fixing a real production problem. ATC starts to pay off when manual tool changes are actually interrupting the job.
Also check where the real bottleneck is
If loading and unloading are what slow the shift down, simply buying a faster spindle will not solve that problem. In that case, look at the whole sheet flow rather than only cutting speed.
Production volume matters too. If the same plywood parts repeat all shift, loading time, tool-change time and part handling can matter just as much as the cutting speed itself.
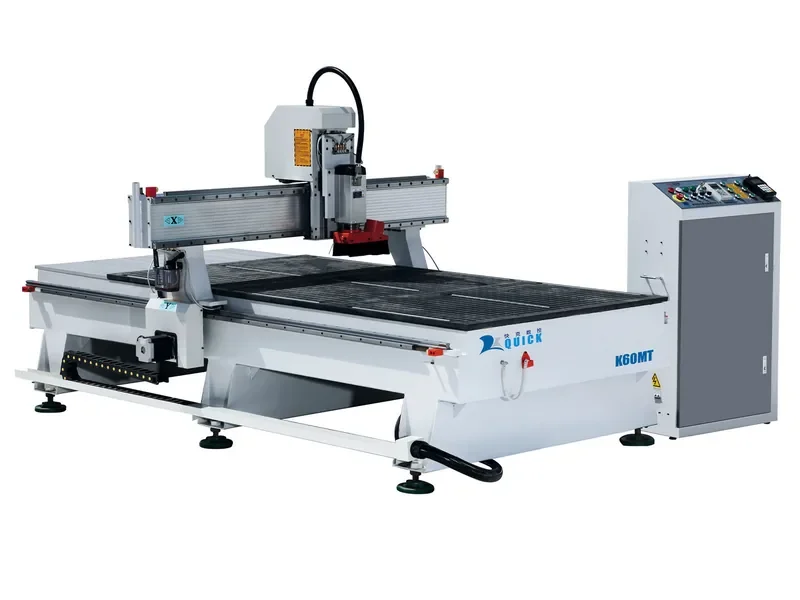
For straightforward 4 × 8 ft (approximately 1220 × 2440 mm) plywood work, see the Quick CNC 1325 wood CNC router. You can also compare the CNC router range, ATC CNC routers and furniture CNC machines.
Not Sure Which Machine Fits? Start With the Part
Do not start by picking a model number. Start with the plywood, sheet size, smallest part, visible faces, operations, tool changes and the output you need.
From there, we can narrow it down to a standard router, ATC machine or nesting setup, then match the table and holding method to the job.
For more detail on tooling, see the CNC router bit guide. For machine selection, see how to choose a CNC router.
Send Us Your Plywood and PartFAQ
Can a CNC router cut plywood cleanly?
Yes. The main things are the plywood itself, a sharp suitable cutter, solid workholding, the right flute direction, sensible chip load and a cutting order that keeps small parts supported until the end.
What is the best CNC router bit for plywood?
Use an upcut bit when chip removal and the bottom edge matter most, a downcut bit when the top face needs to stay clean, and a compression bit when both faces matter. The bit diameter, cutting length and compression transition still have to match the part and sheet thickness.
How do I prevent plywood tearout on both sides?
A sharp compression bit is a common starting point. Make sure its transition sits in the right position inside the sheet, keep the bottom supported by a flat spoilboard and test the cutting direction on the actual plywood.
Should a compression bit cut plywood in one pass?
Not automatically. The compression geometry needs to engage correctly, but the safe depth also depends on the cutter, plywood, holding and machine setup. Thin sheets or multi-pass jobs may need a different compression geometry.
How many passes should a CNC router use for plywood?
There is no useful fixed number for every job. Start with the cutter data, then look at tool diameter, sheet thickness, machine stability and the edge you need. If finish matters, a roughing pass followed by a light finish pass can be worth the extra cycle time.
Why do small plywood parts move on a vacuum table?
As more profiles are opened, the sheet leaks more air and each small part has less area left for the vacuum to hold. Cut internal work first, leave small parts until later and use onion skin, tabs, bridges or another fixture when needed.
How should CNC plywood feeds and speeds be selected?
Start with the cutter manufacturer’s plywood chip-load data. Use RPM, flute count and target chip load to get the initial feed, then check the real cut for dust, burning, chatter, poor chip removal or excessive spindle load.
Do I need an ATC CNC router for plywood?
ATC makes sense when a normal program repeatedly needs several tools such as compression cutting, drilling, grooving, V-cutting and finishing. If one cutter completes most jobs and manual changes are not slowing output, a standard router can still be the better choice.
References
Want to Check Which Router Fits Your Plywood Work?
Send us the plywood type, sheet size, part drawing, smallest part, normal tool changes and the output you need. We can start with the actual job and narrow down the machine and holding setup from there.
Send Your Plywood Cutting Requirements
Frannie
Hello, I’m Frannie, a CNC machinery specialist with 15 years of experience in the woodworking CNC industry. I help furniture factories, cabinet makers, woodworking workshops, and production businesses choose CNC machines that match their production needs, factory size, budget, and efficiency goals.
My work focuses on solving real production problems, including replacing outdated equipment, improving machining efficiency, reducing labor costs, and upgrading to smarter CNC solutions. I also support customers with machine installation guidance, operation training, video support, and on-site training when needed, helping them use their machines more confidently and effectively.